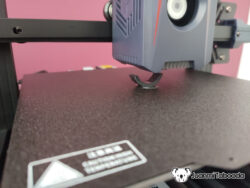
In the last few days, I have been looking for a 3D Printer to bring some of my inventions to life. After reading and comparing, I went for an Anycubic Kobra 2 Neo. It is a great 3D Printer; until today, it has done everything I need to print smoothly.
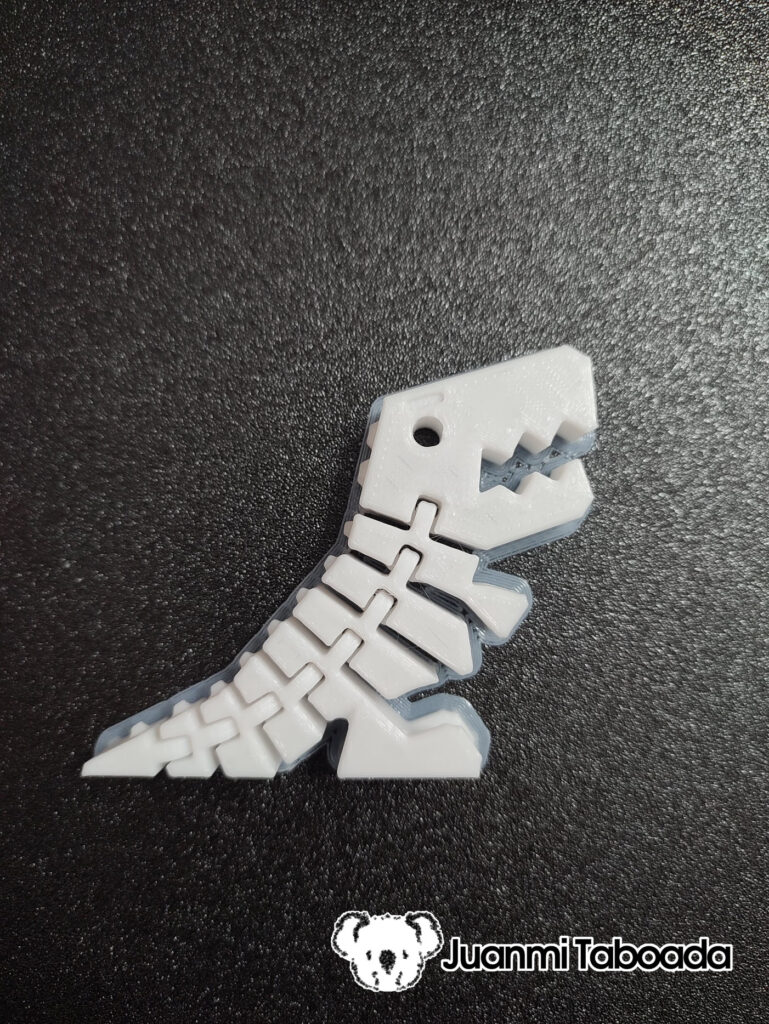
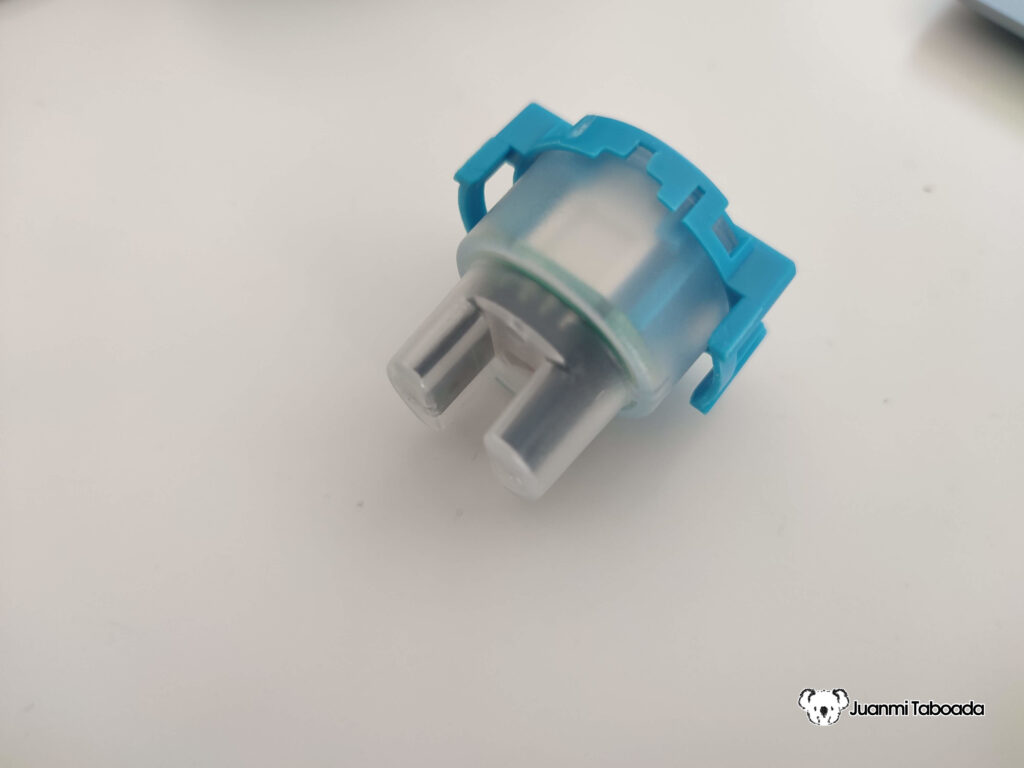
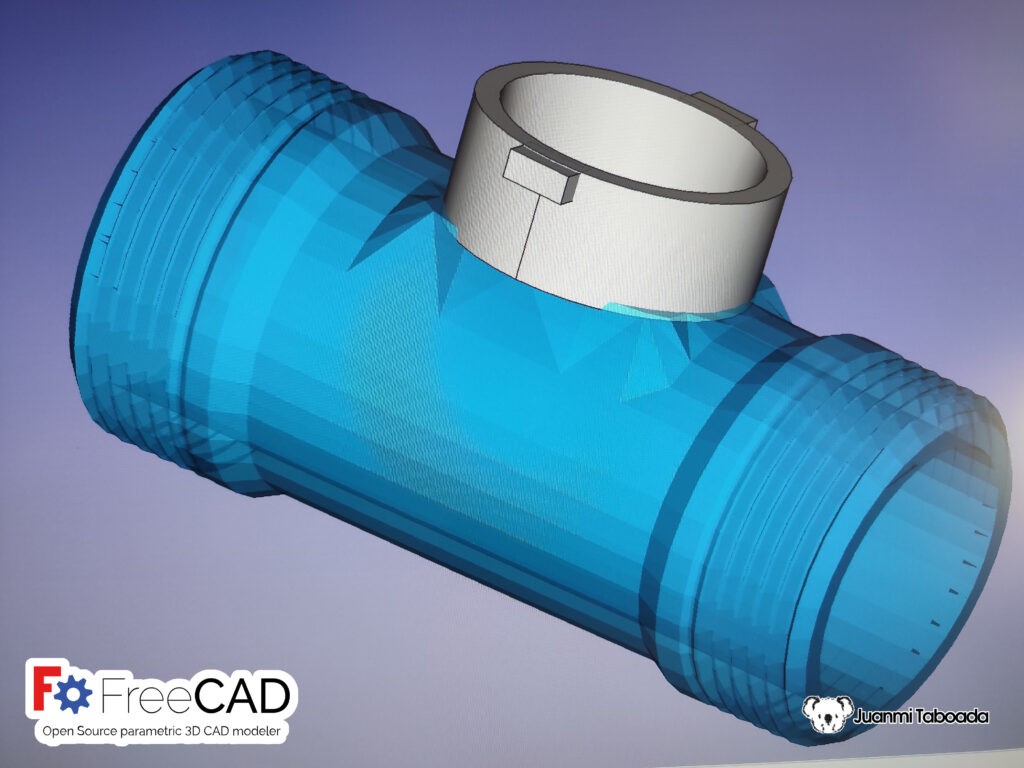
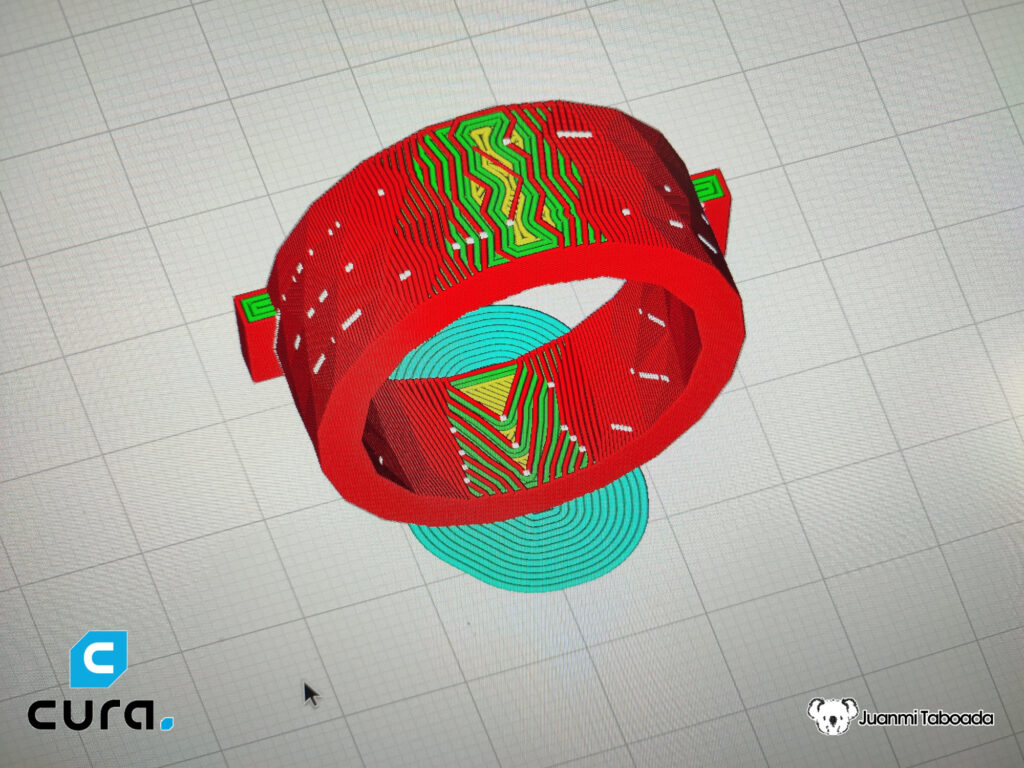
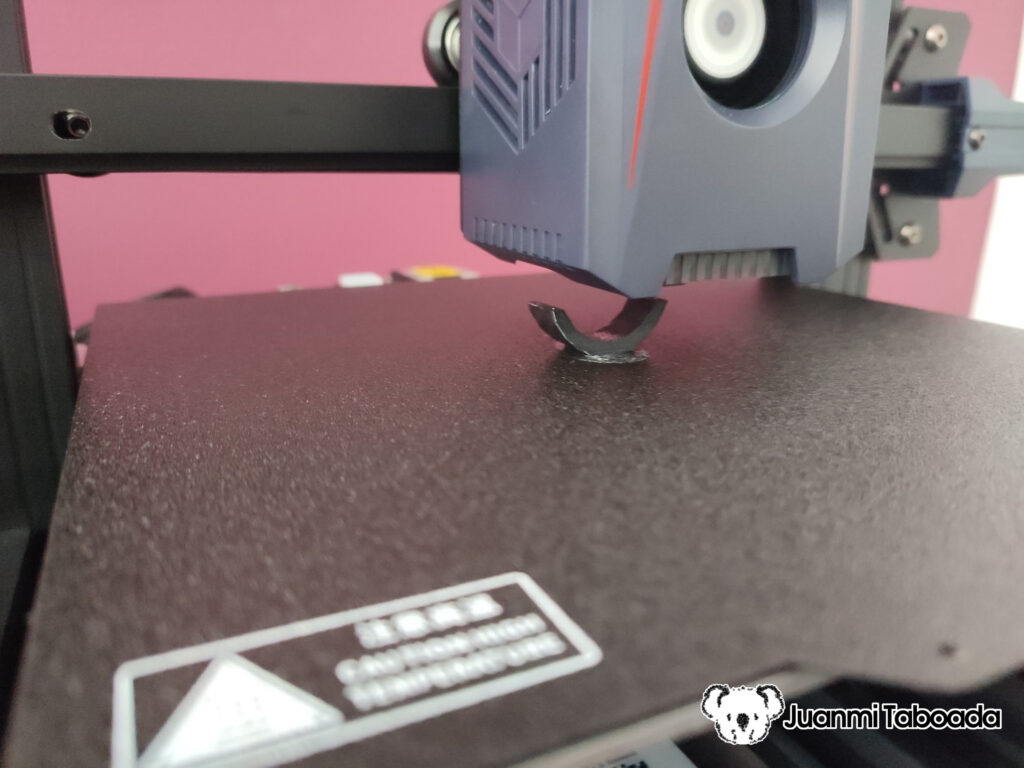
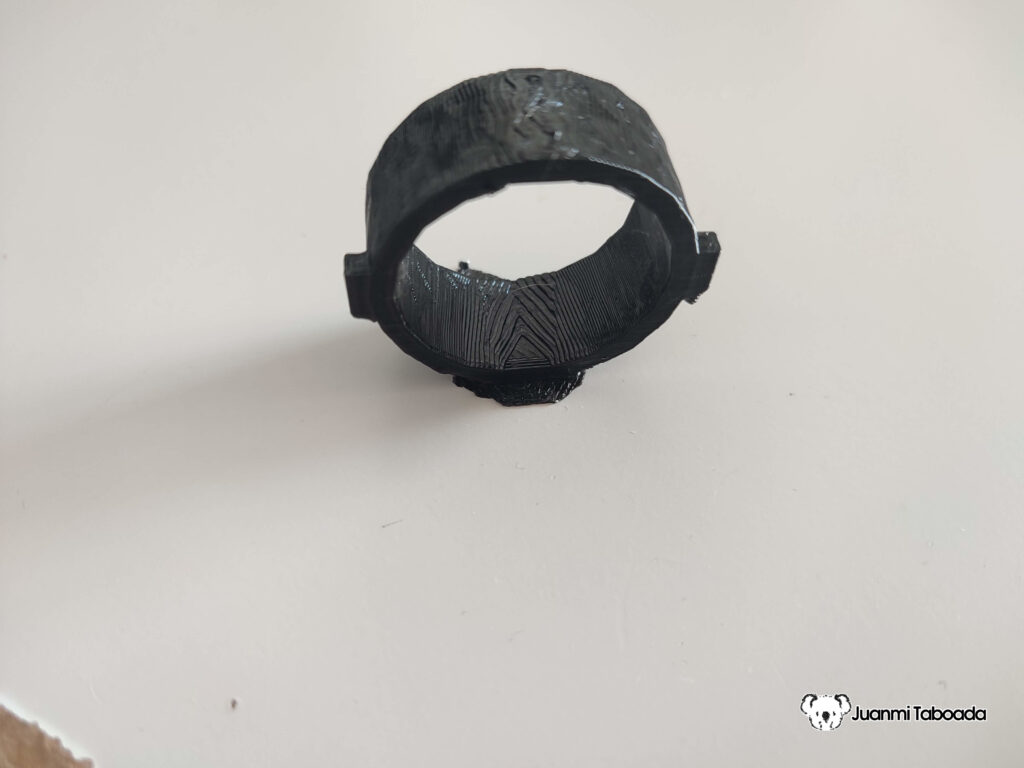
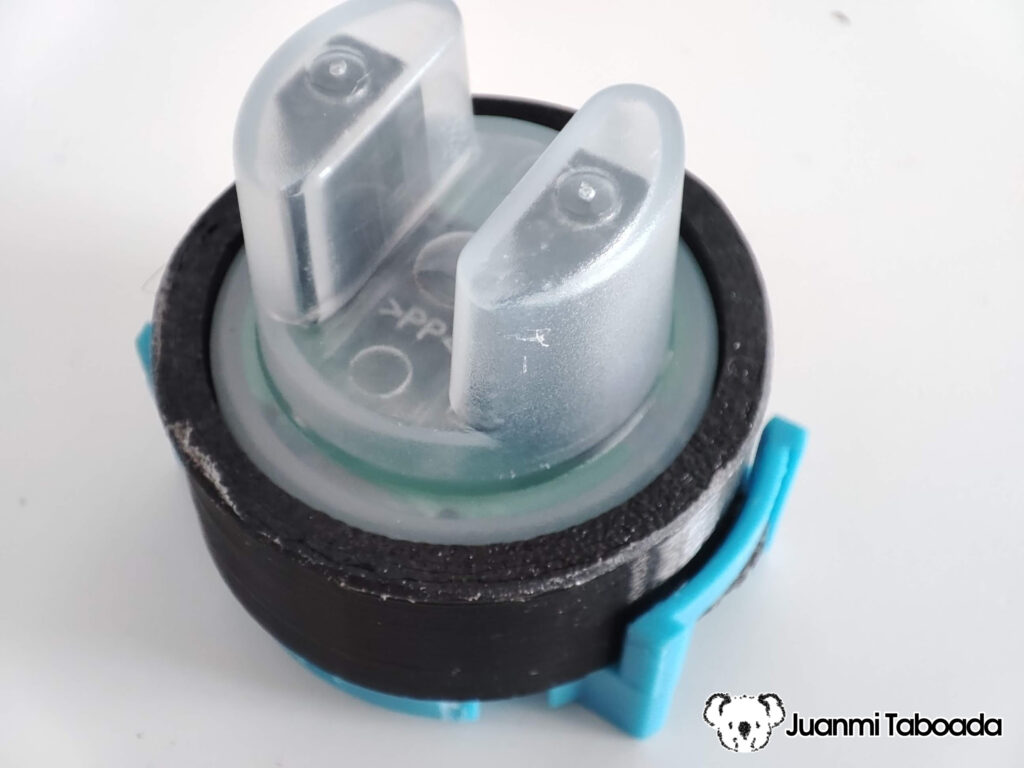
I have built some technical parts for my inventions thanks to this printer. An example of it was a mounting bracket for a turbidity sensor (click on the link to download the model):
1 – Turbidity Sensor2 – Design in FreeCAD3 – Slicing in Cura4 – Printing in Anycubic Kobra 2 Neo5 – The actual part6 – Final result
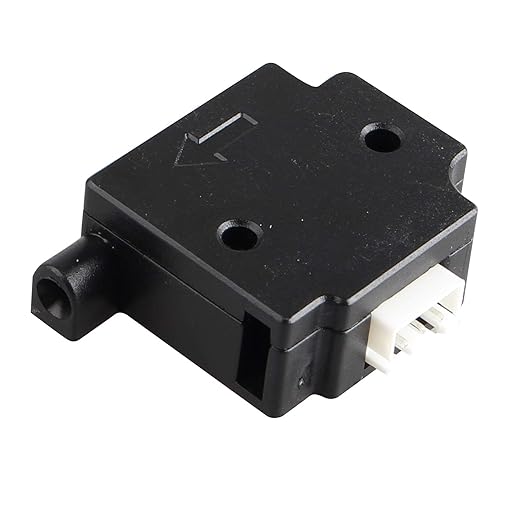
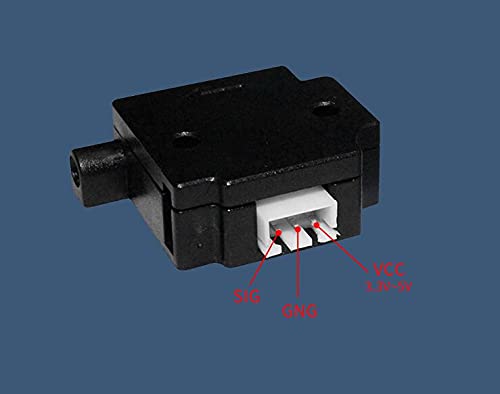
Today, I decided to upgrade it with a filament sensor. This post is about how to do it with a cheap filament sensor and avoid getting stuck. The sensor looks like this:
Pinout filament sensor
The first thing that you have to know is how it works:
The filament goes from one side to the other through the sensor.
When a filament is inside, the switch is pushed, and the circuit closes to connect VCC and SIG.
When there is no filament, the switch inside is not pushed, and the circuit gets opened, so VCC and SIGwill not be connected.
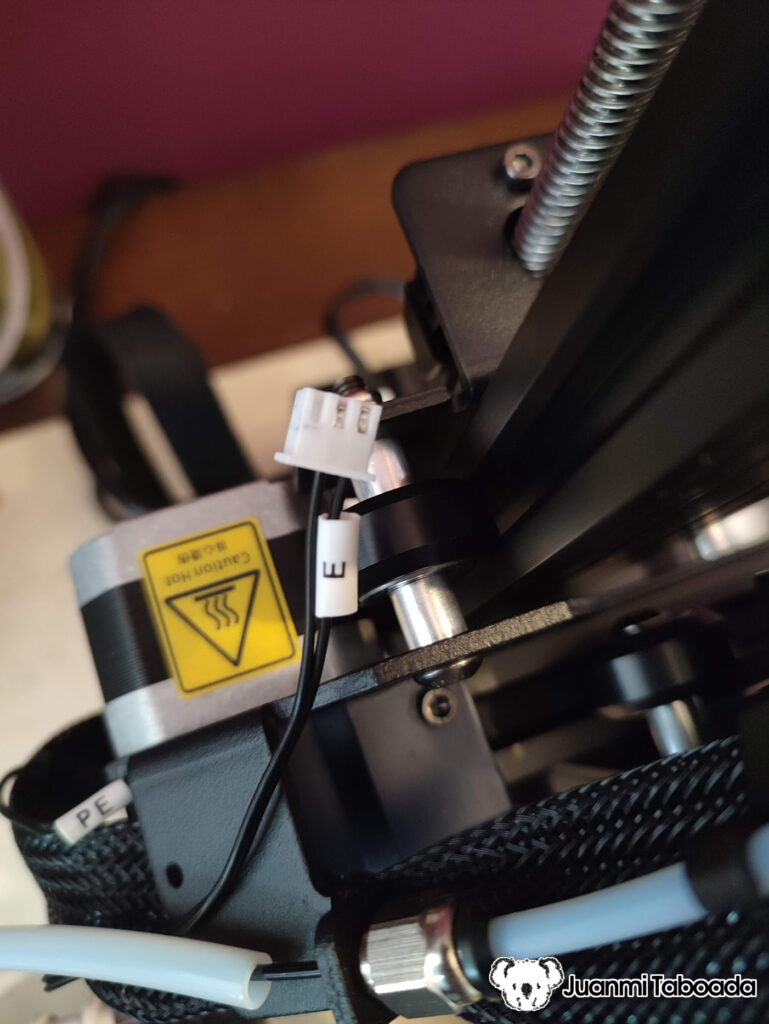
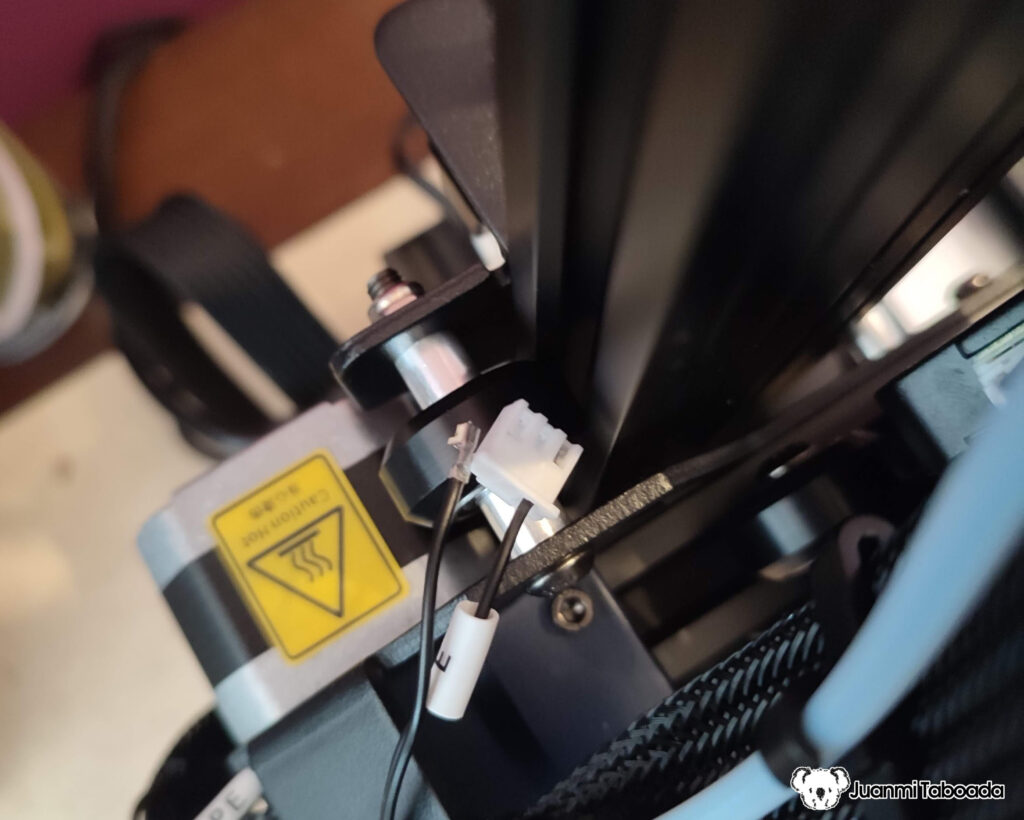
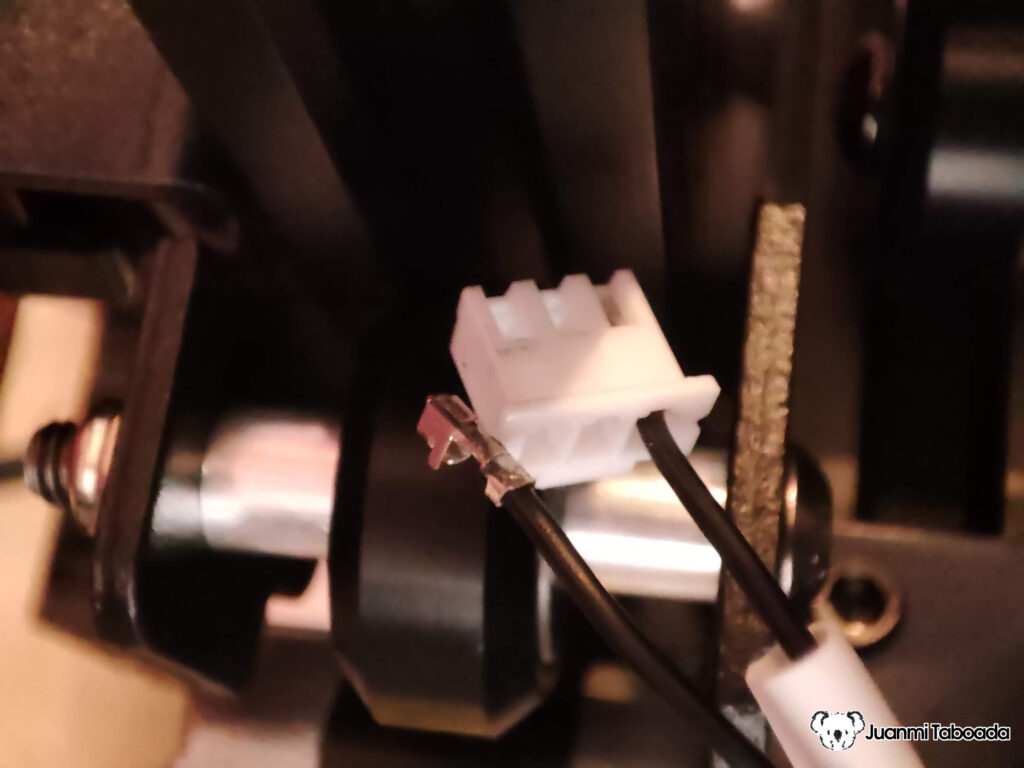
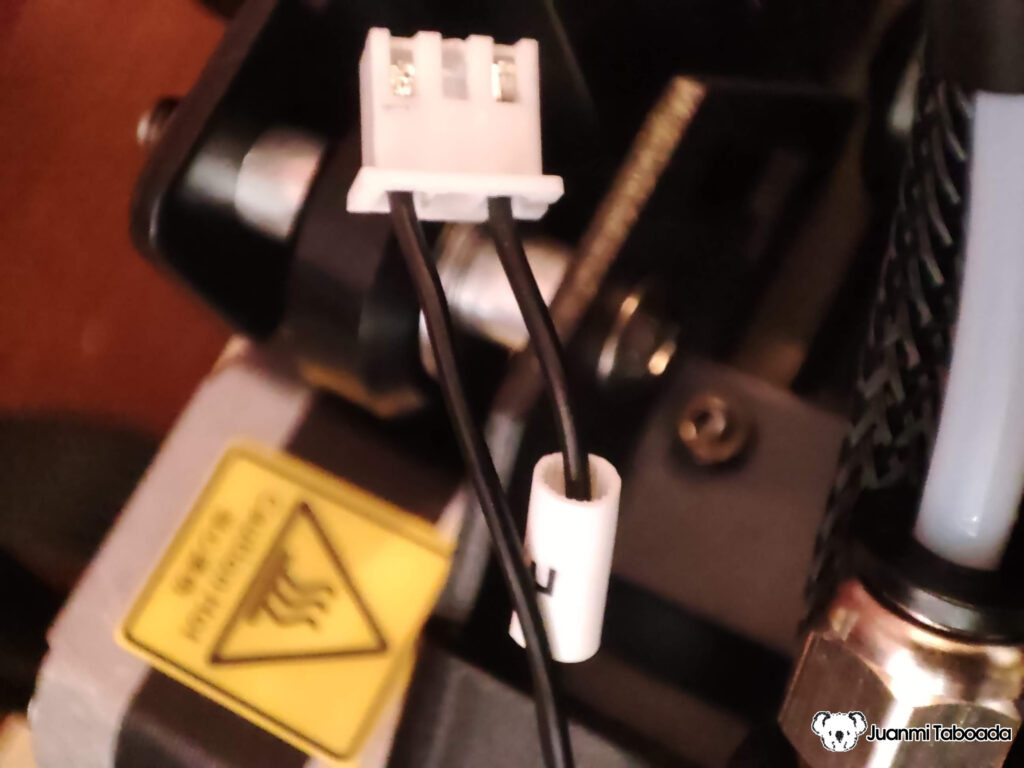
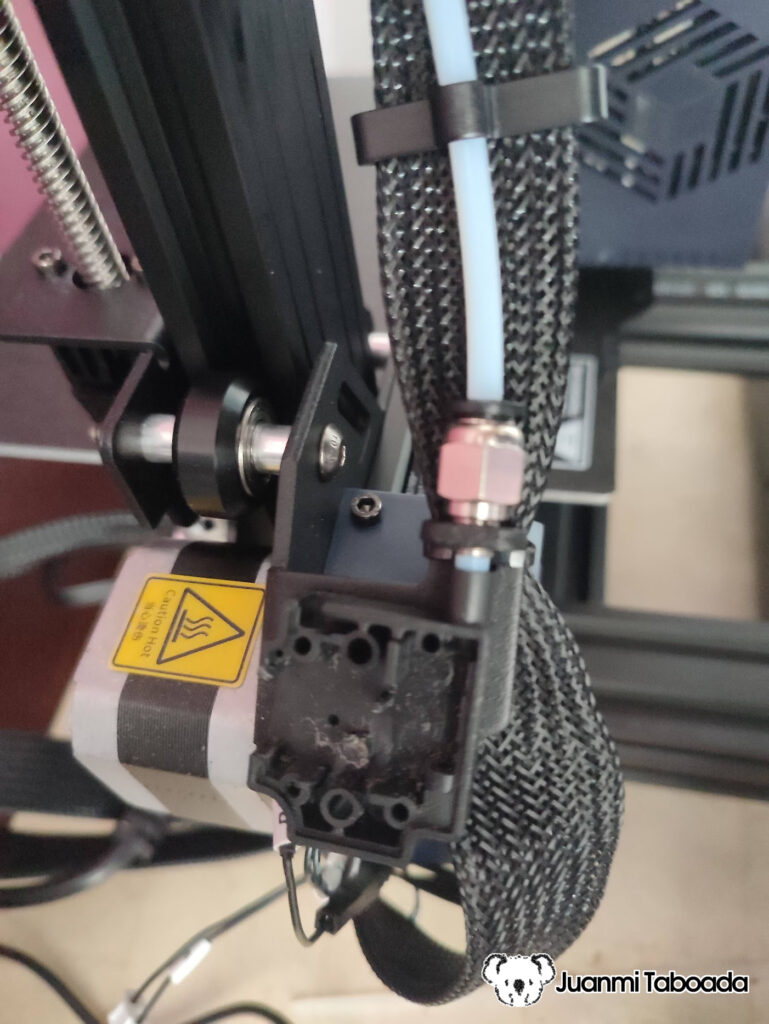
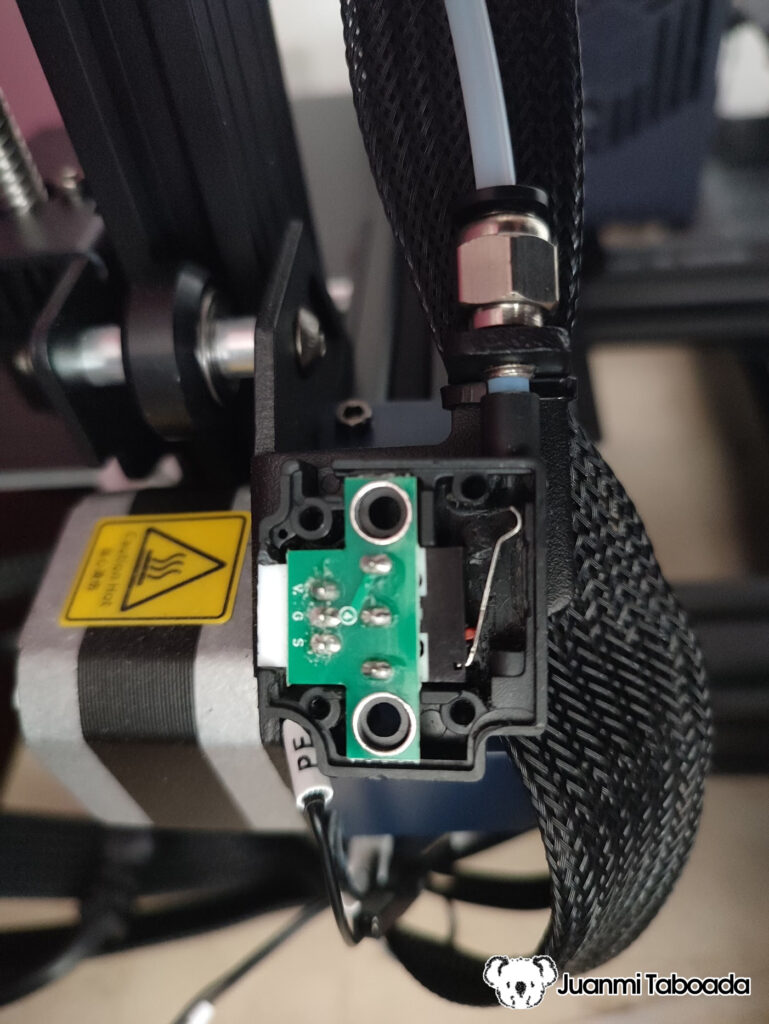
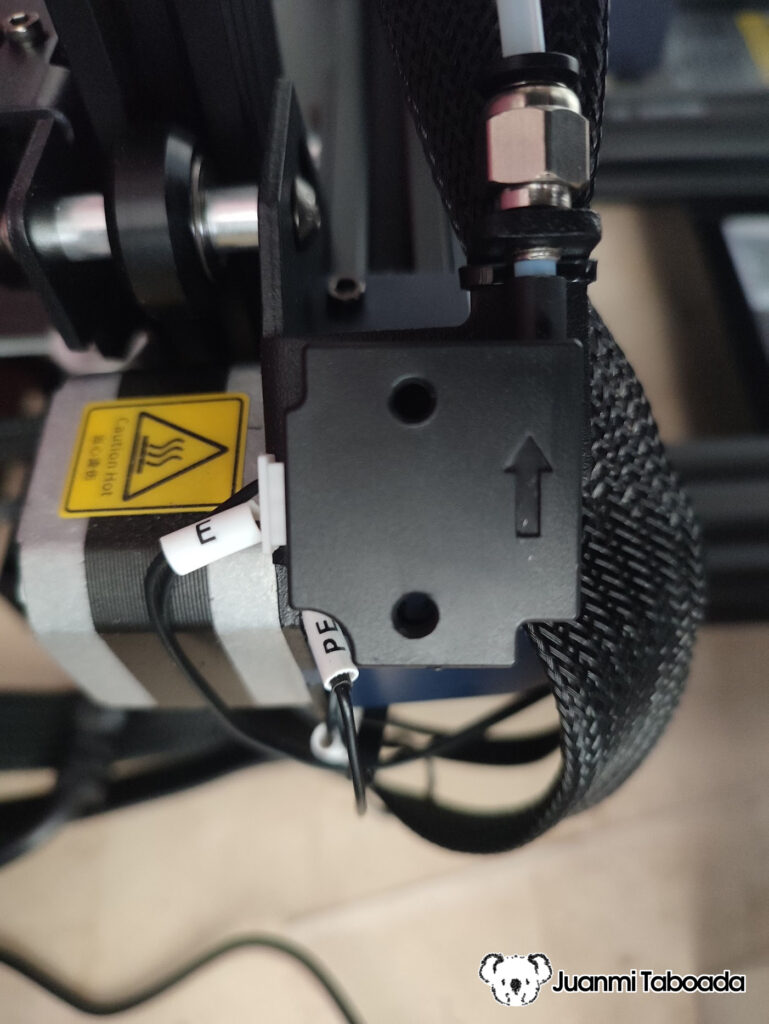
The printer has an unused cable labelled “E”. This is the filament sensor cable for the motherboard, so there is no need to open the printer. The first thing we will do is to change the pin in the centre to the side. Watch the photos closely. You can pull the pin out by pushing the metal with a sharp object. Then, plug it again in the right place (4). Follow me in the process:
1 – Original cable2 – Take the pin out3 – Closer look with pin out4 – Plug the pin back in the right place
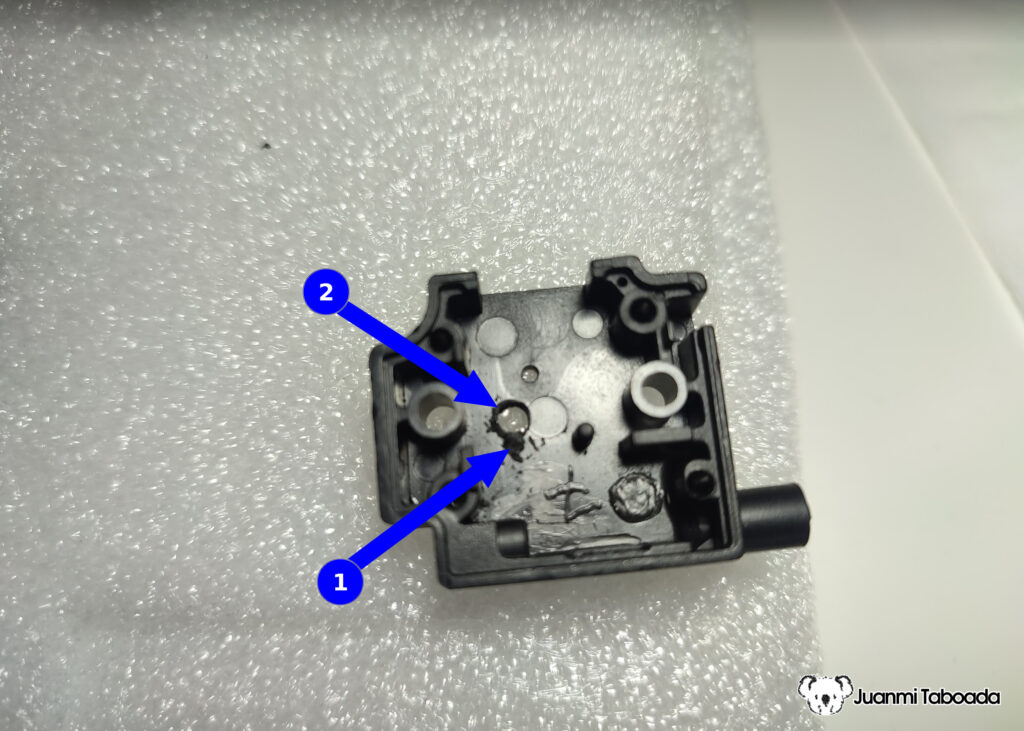
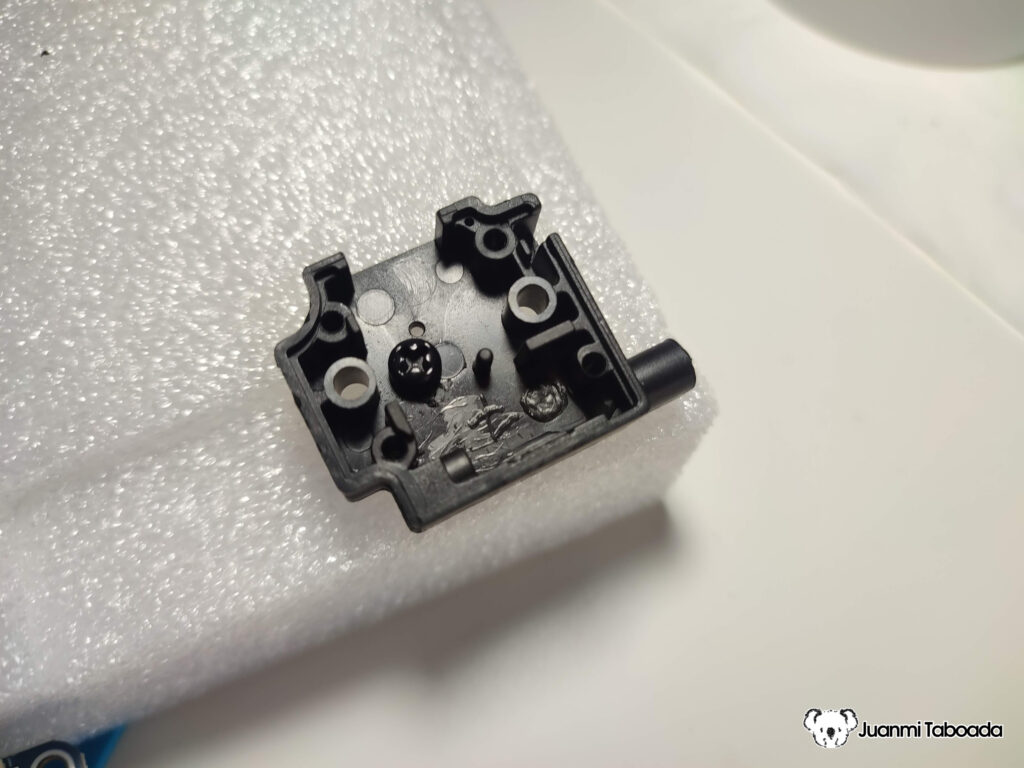
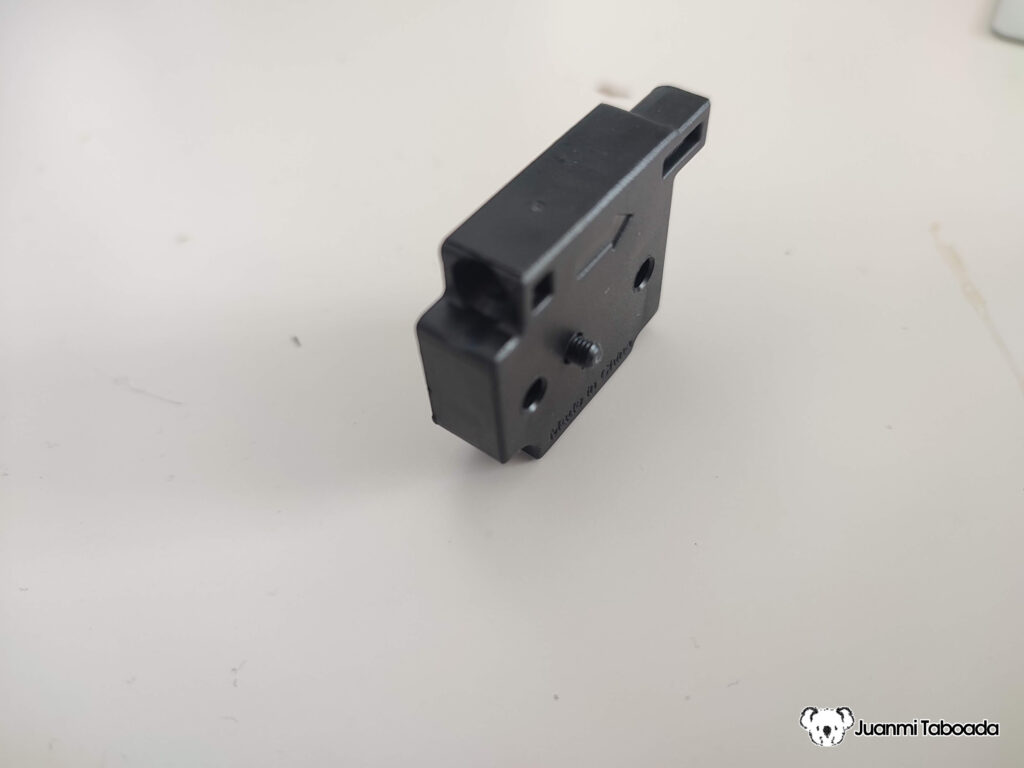
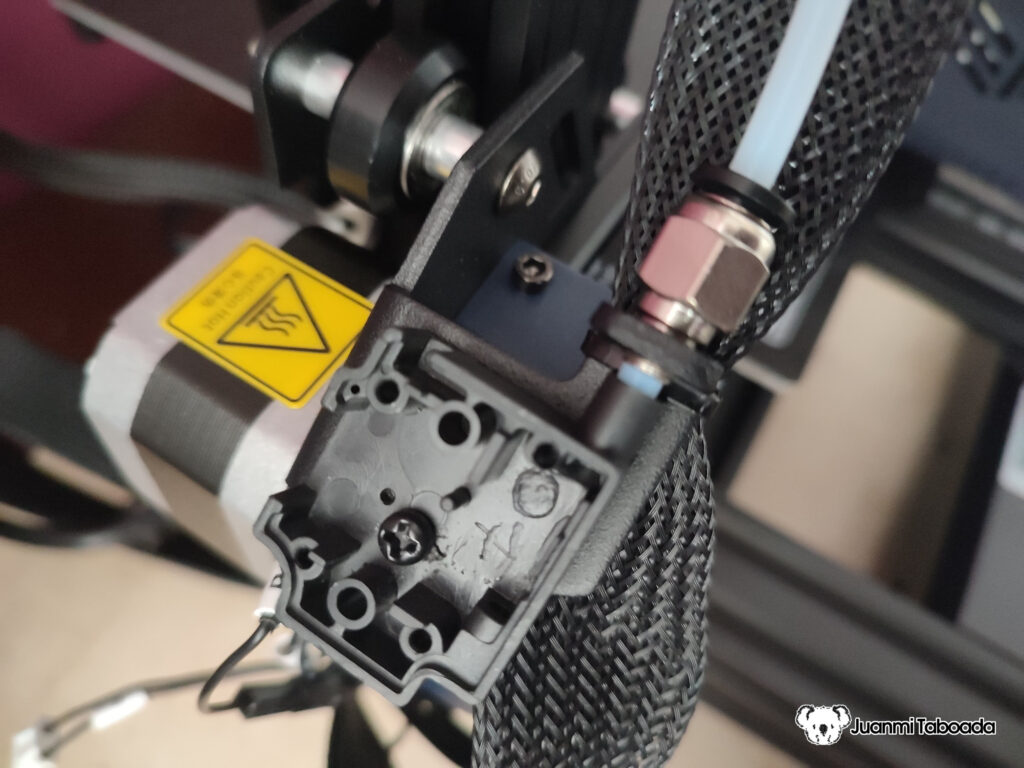
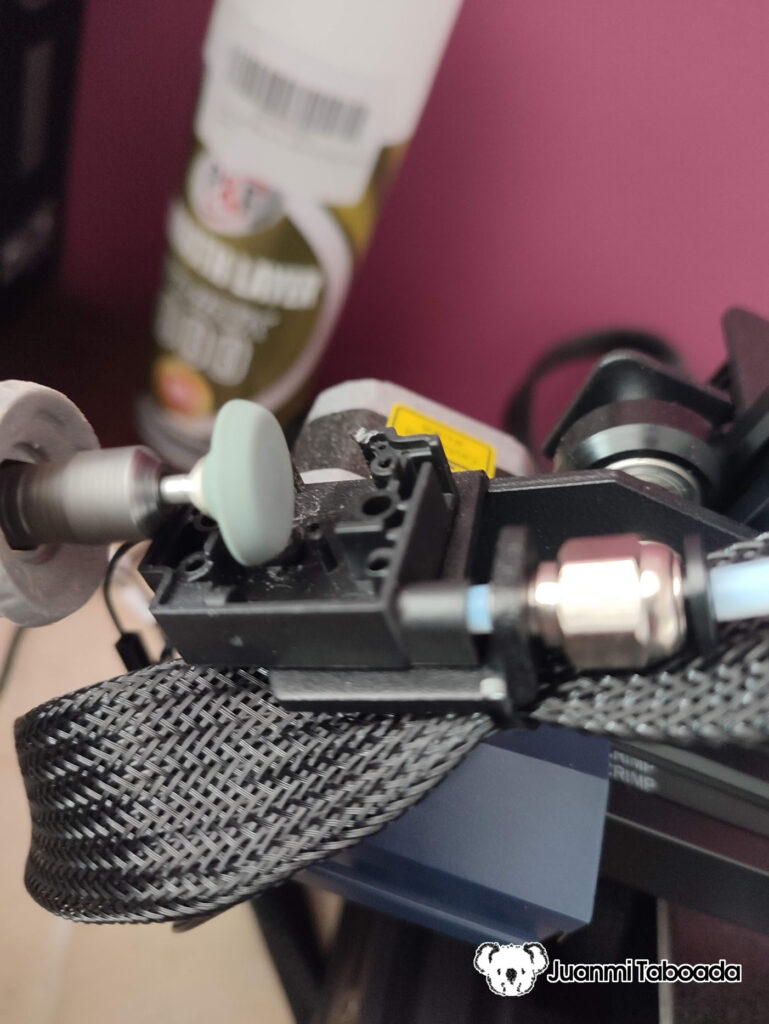
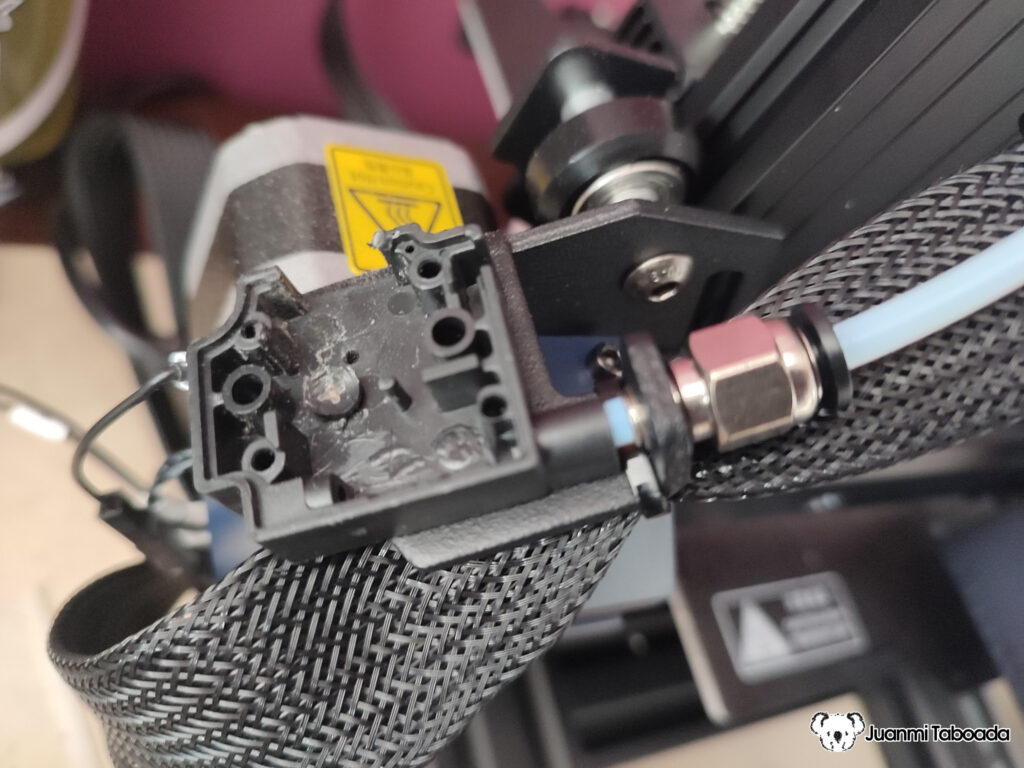
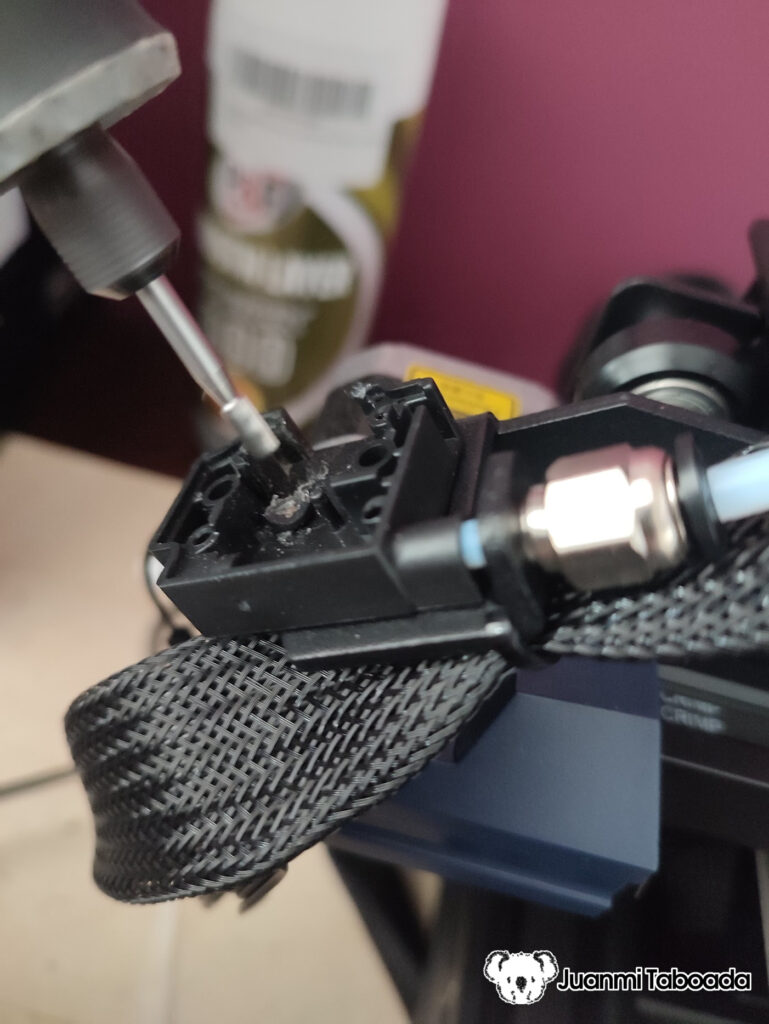
I also modified the filament sensor box to attach it firmly to the printer. The most important step was to cut the piece of plastic (1) that was not used either by the circuit or by the cover and drill a hole (2) exactly in that place. I decided to use a screw made of nylon so I could shape it easily, and later, if I wanted to remove it, I could cut it. Follow me in the process:
1 – Cut & drill2 – Attach a screw3 – Screw from the outiside4 – Attach to the printer5 – Shape the top of the screw6 – Closer look7 – Shape the side of the screw8 – Closer look9 – Add the filament sensor board10 – Close and plug
I even shouldn’t mention that if you have one of these printers, you should be sure:
Precision vs. Creativity: Navigating the Landscape of AI Language Models in Problem-Solving In the ever-evolving landscape of AI language models, precision and creativity stand as two distinct yet vital attributes. My recent exploration into the capabilities of ChatGPT and Bard, two language models known for their coherent text generation, shed light on their respective strengths […]
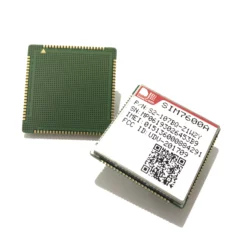
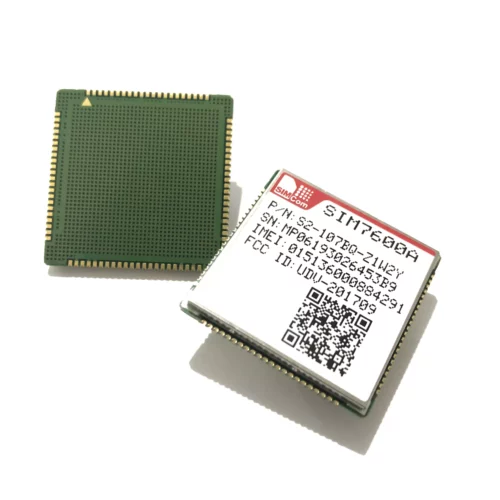
Here is how to make a SIMCOM 7600 module work on an Arduino board (Uno, Mega 2560, Leonardo, Due, Micro, Zero, Nano, Pico), ESP8266, ESP32, Raspberry Pi Pico, MicroPython, or any other microcontroller. If your module accepts 5-10V, the short answer is the following diagram: SIMCOM SIM7600 GSM/GRPS/GPS/Bluetooth Modules will consume a peak current of […]