In my last post, “Underwater Alioli ROV“, I shared all the information I got from the Internet to build my Underwater ROV. In this post, I will explain how I made the frame.
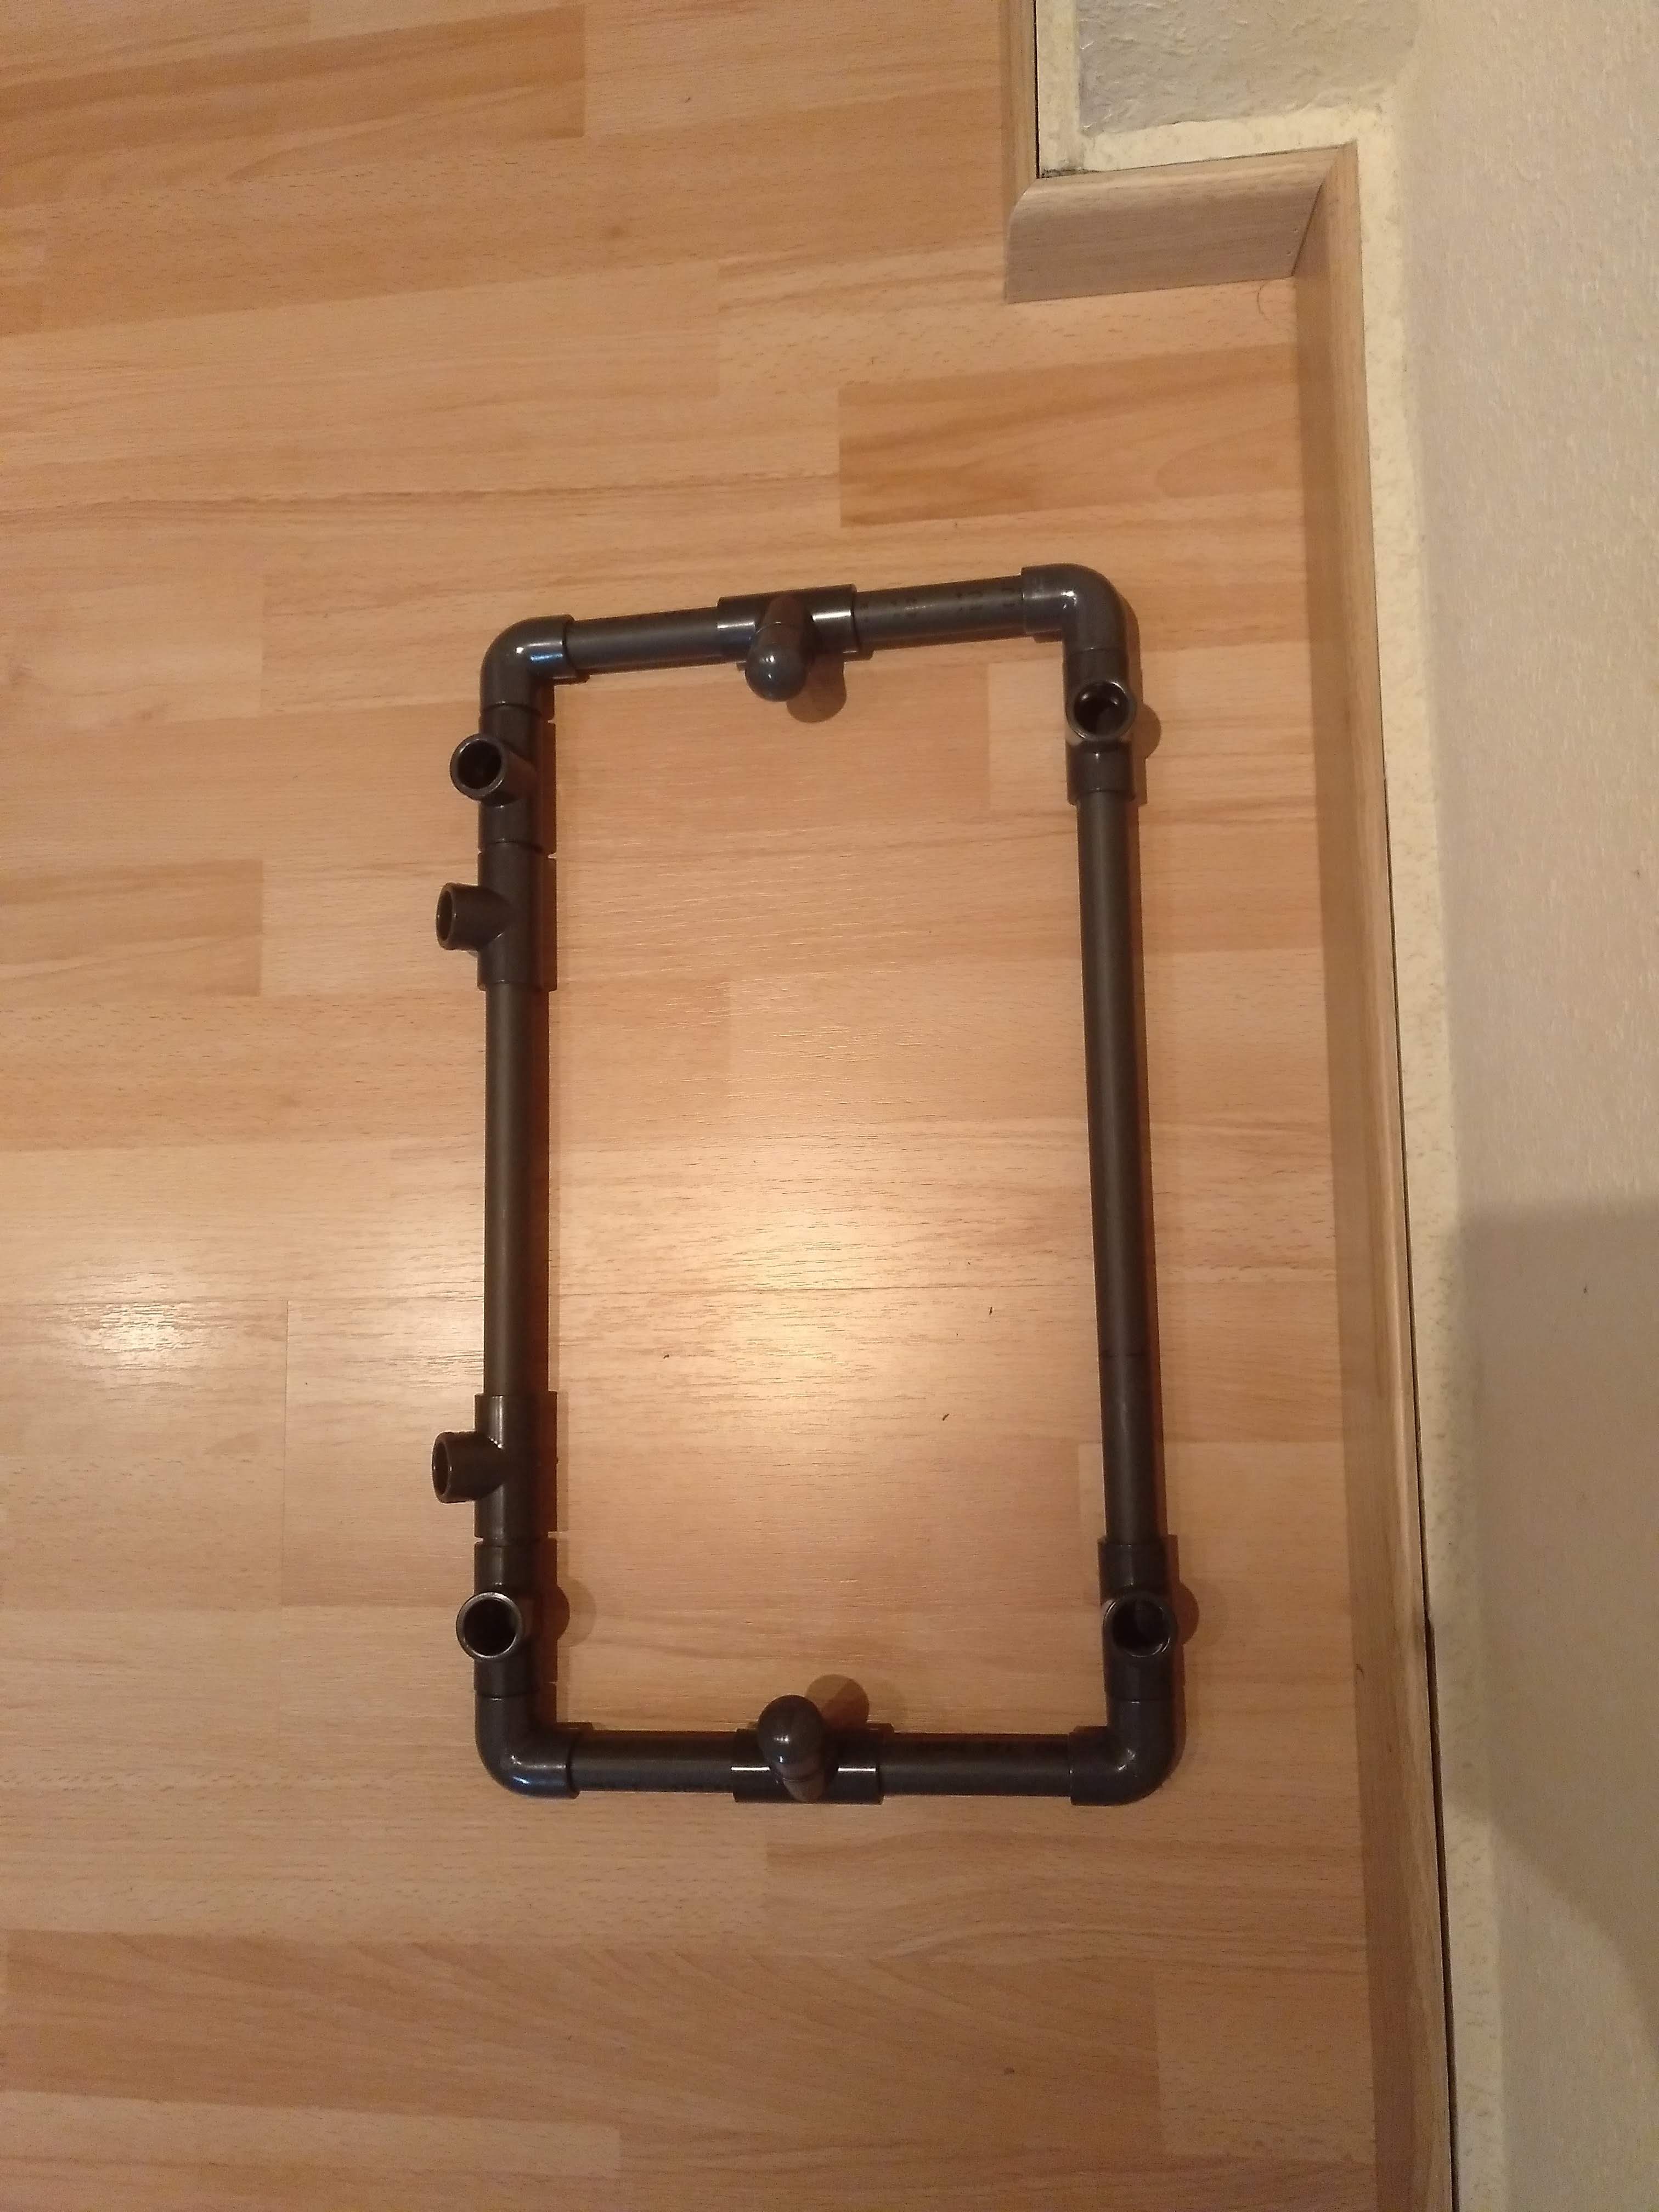
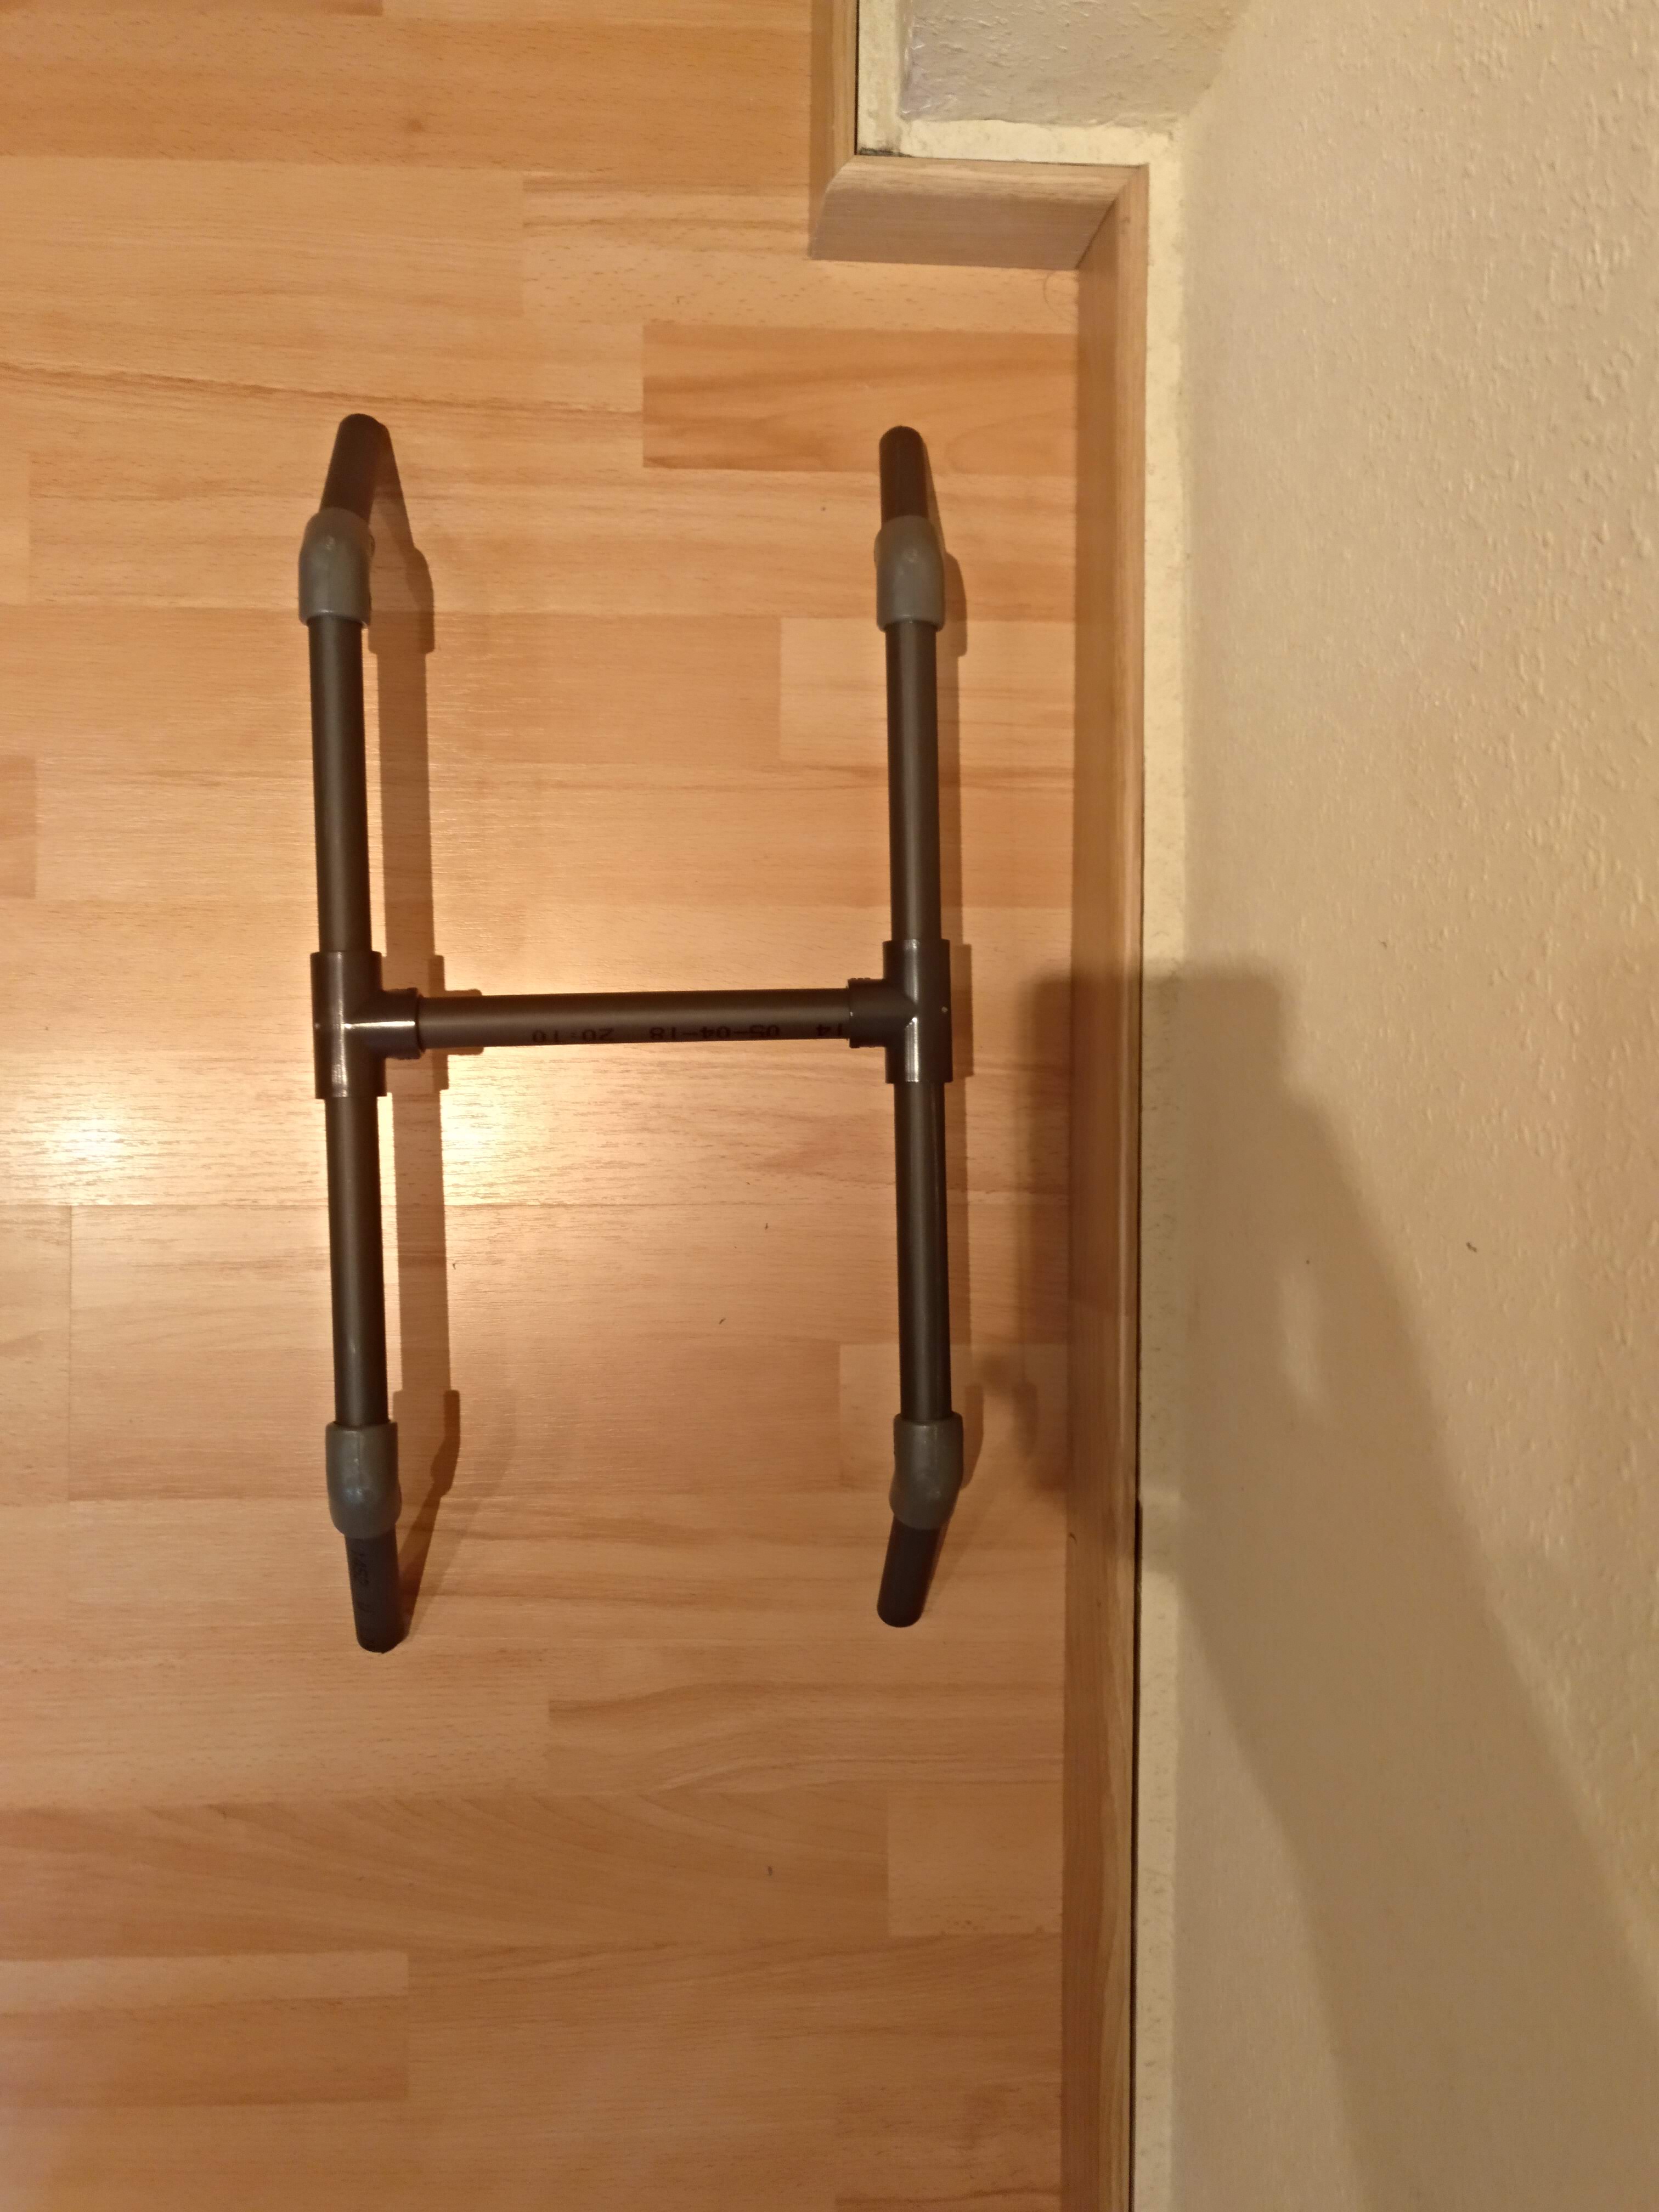
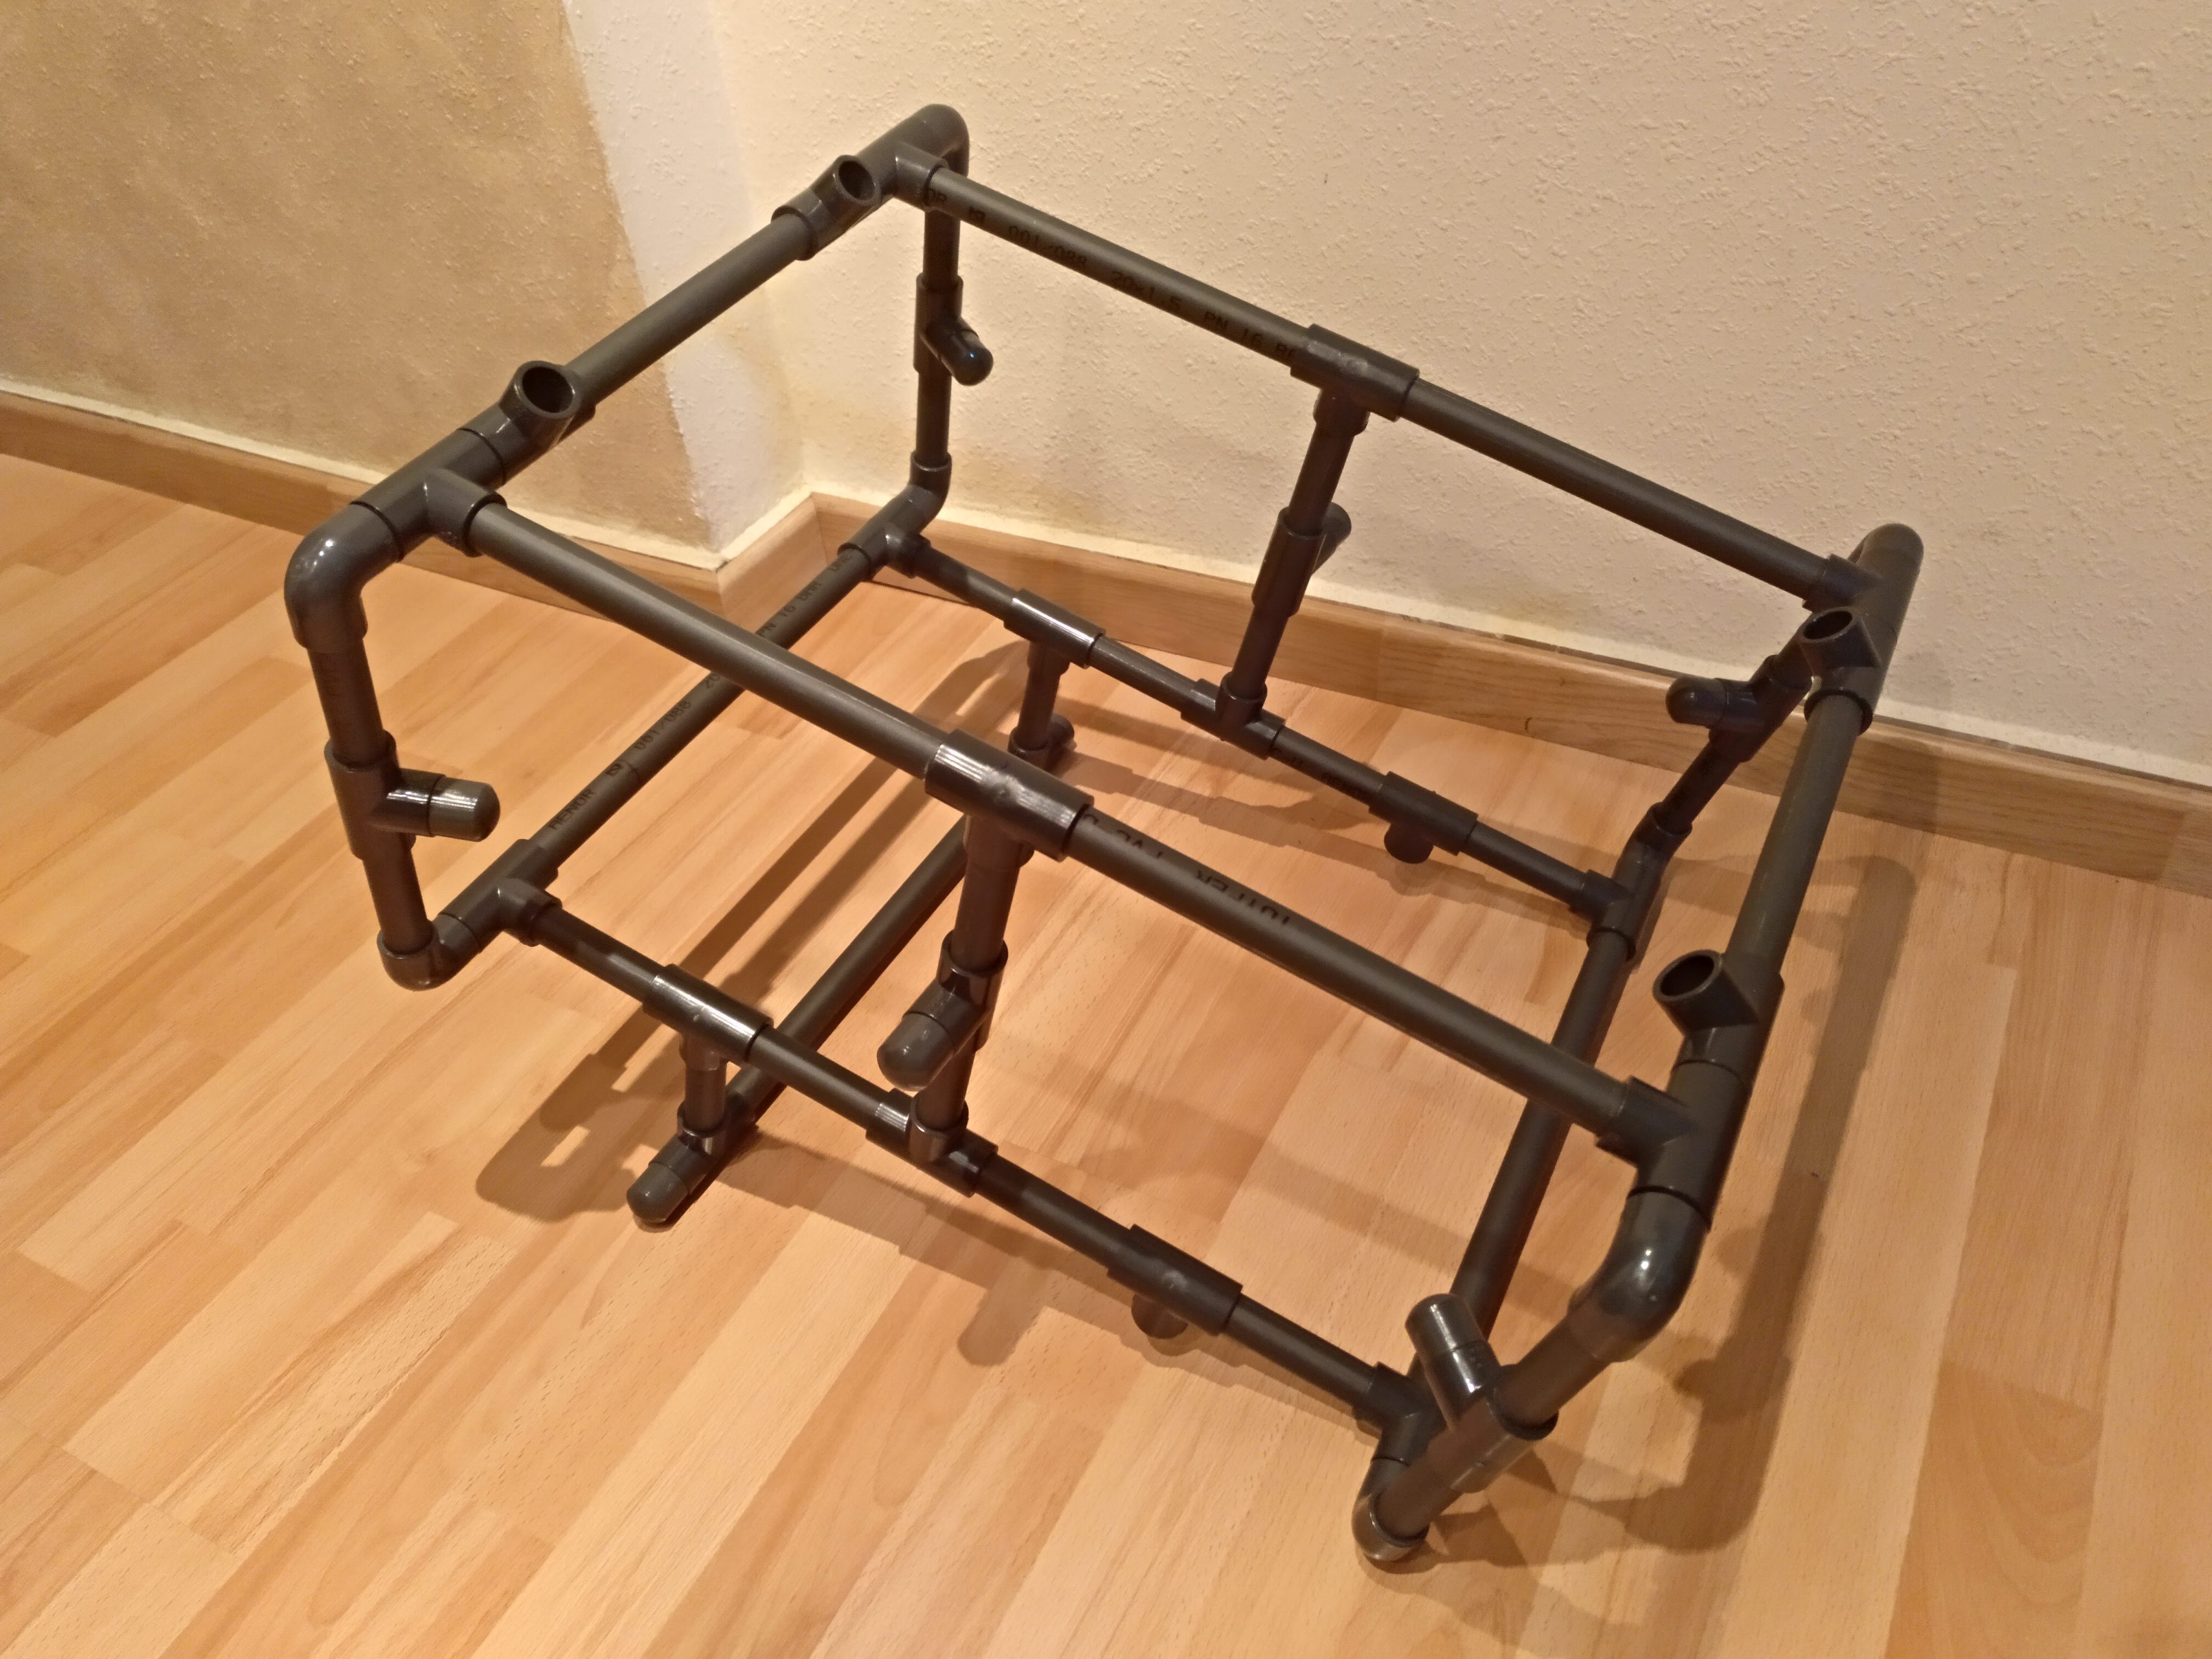
The main thing the ROV needs to become real is a frame, something to rest on. After checking several designs from different websites, I got ideas and made my own version. Even if I had a clear idea about how I wanted the frame to look like I had to change the design because of the lack of pipe joins. My first version looked like this:
The first version of Aliolirov’s frame
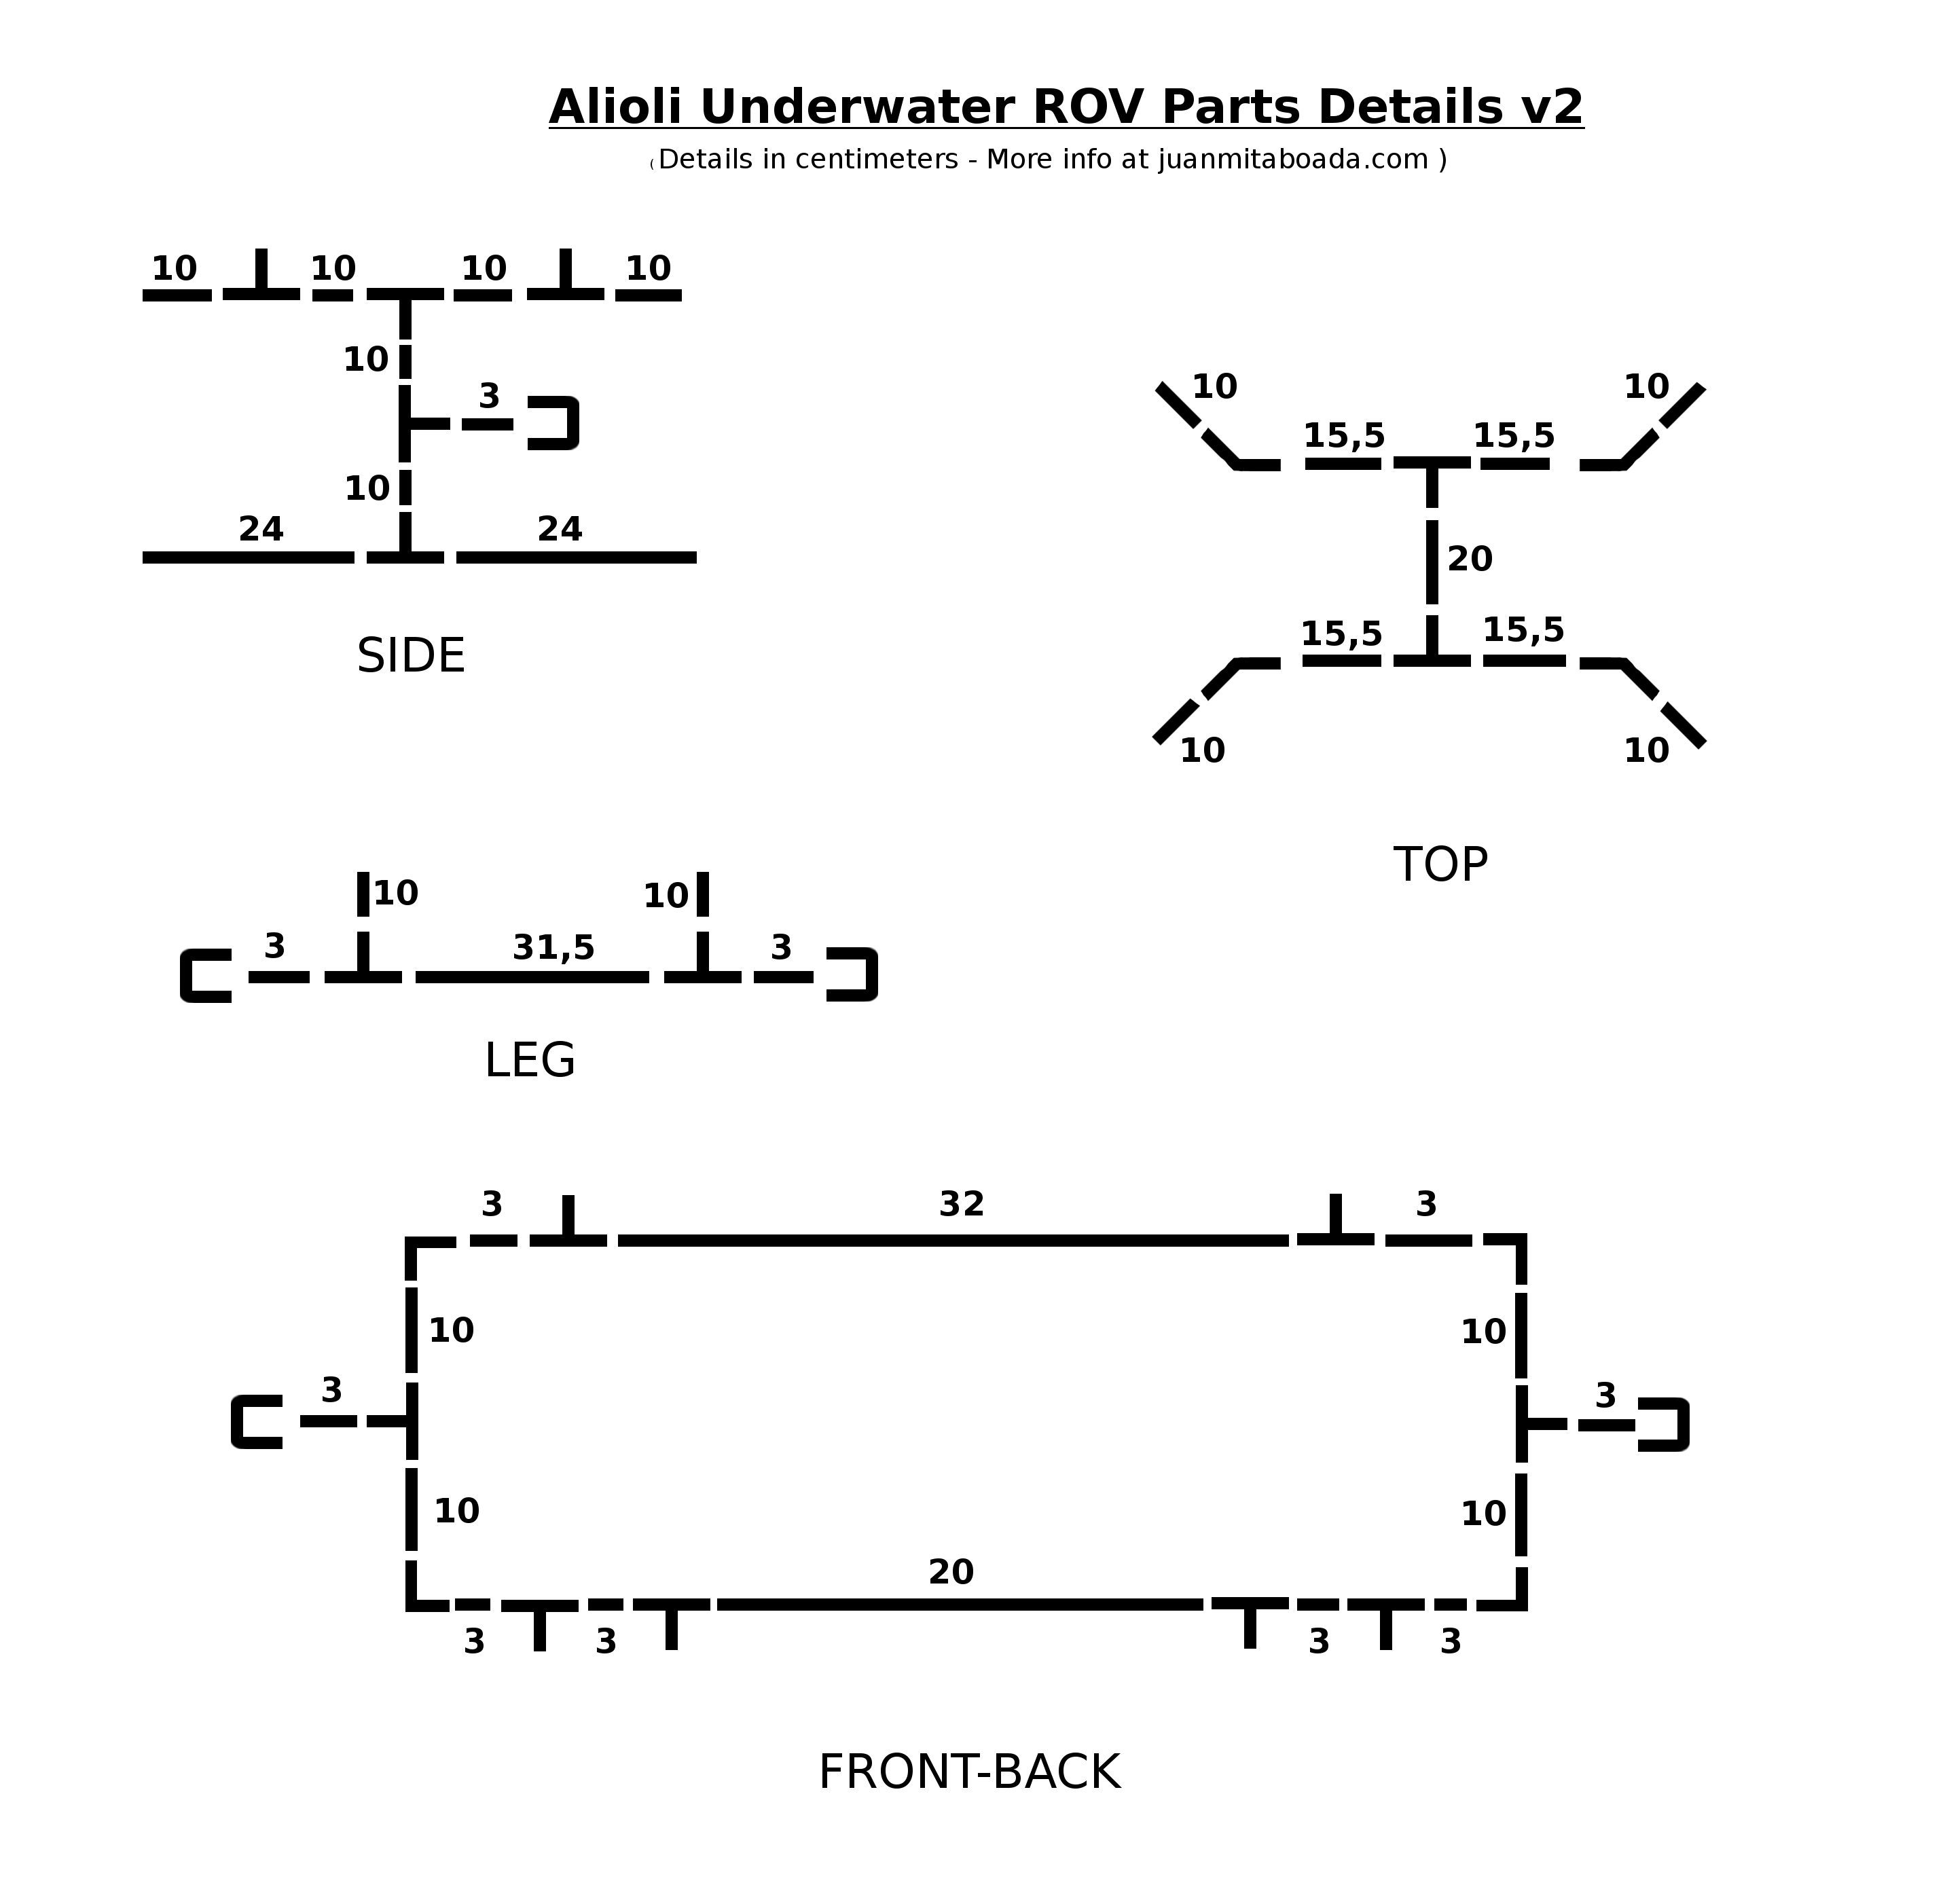
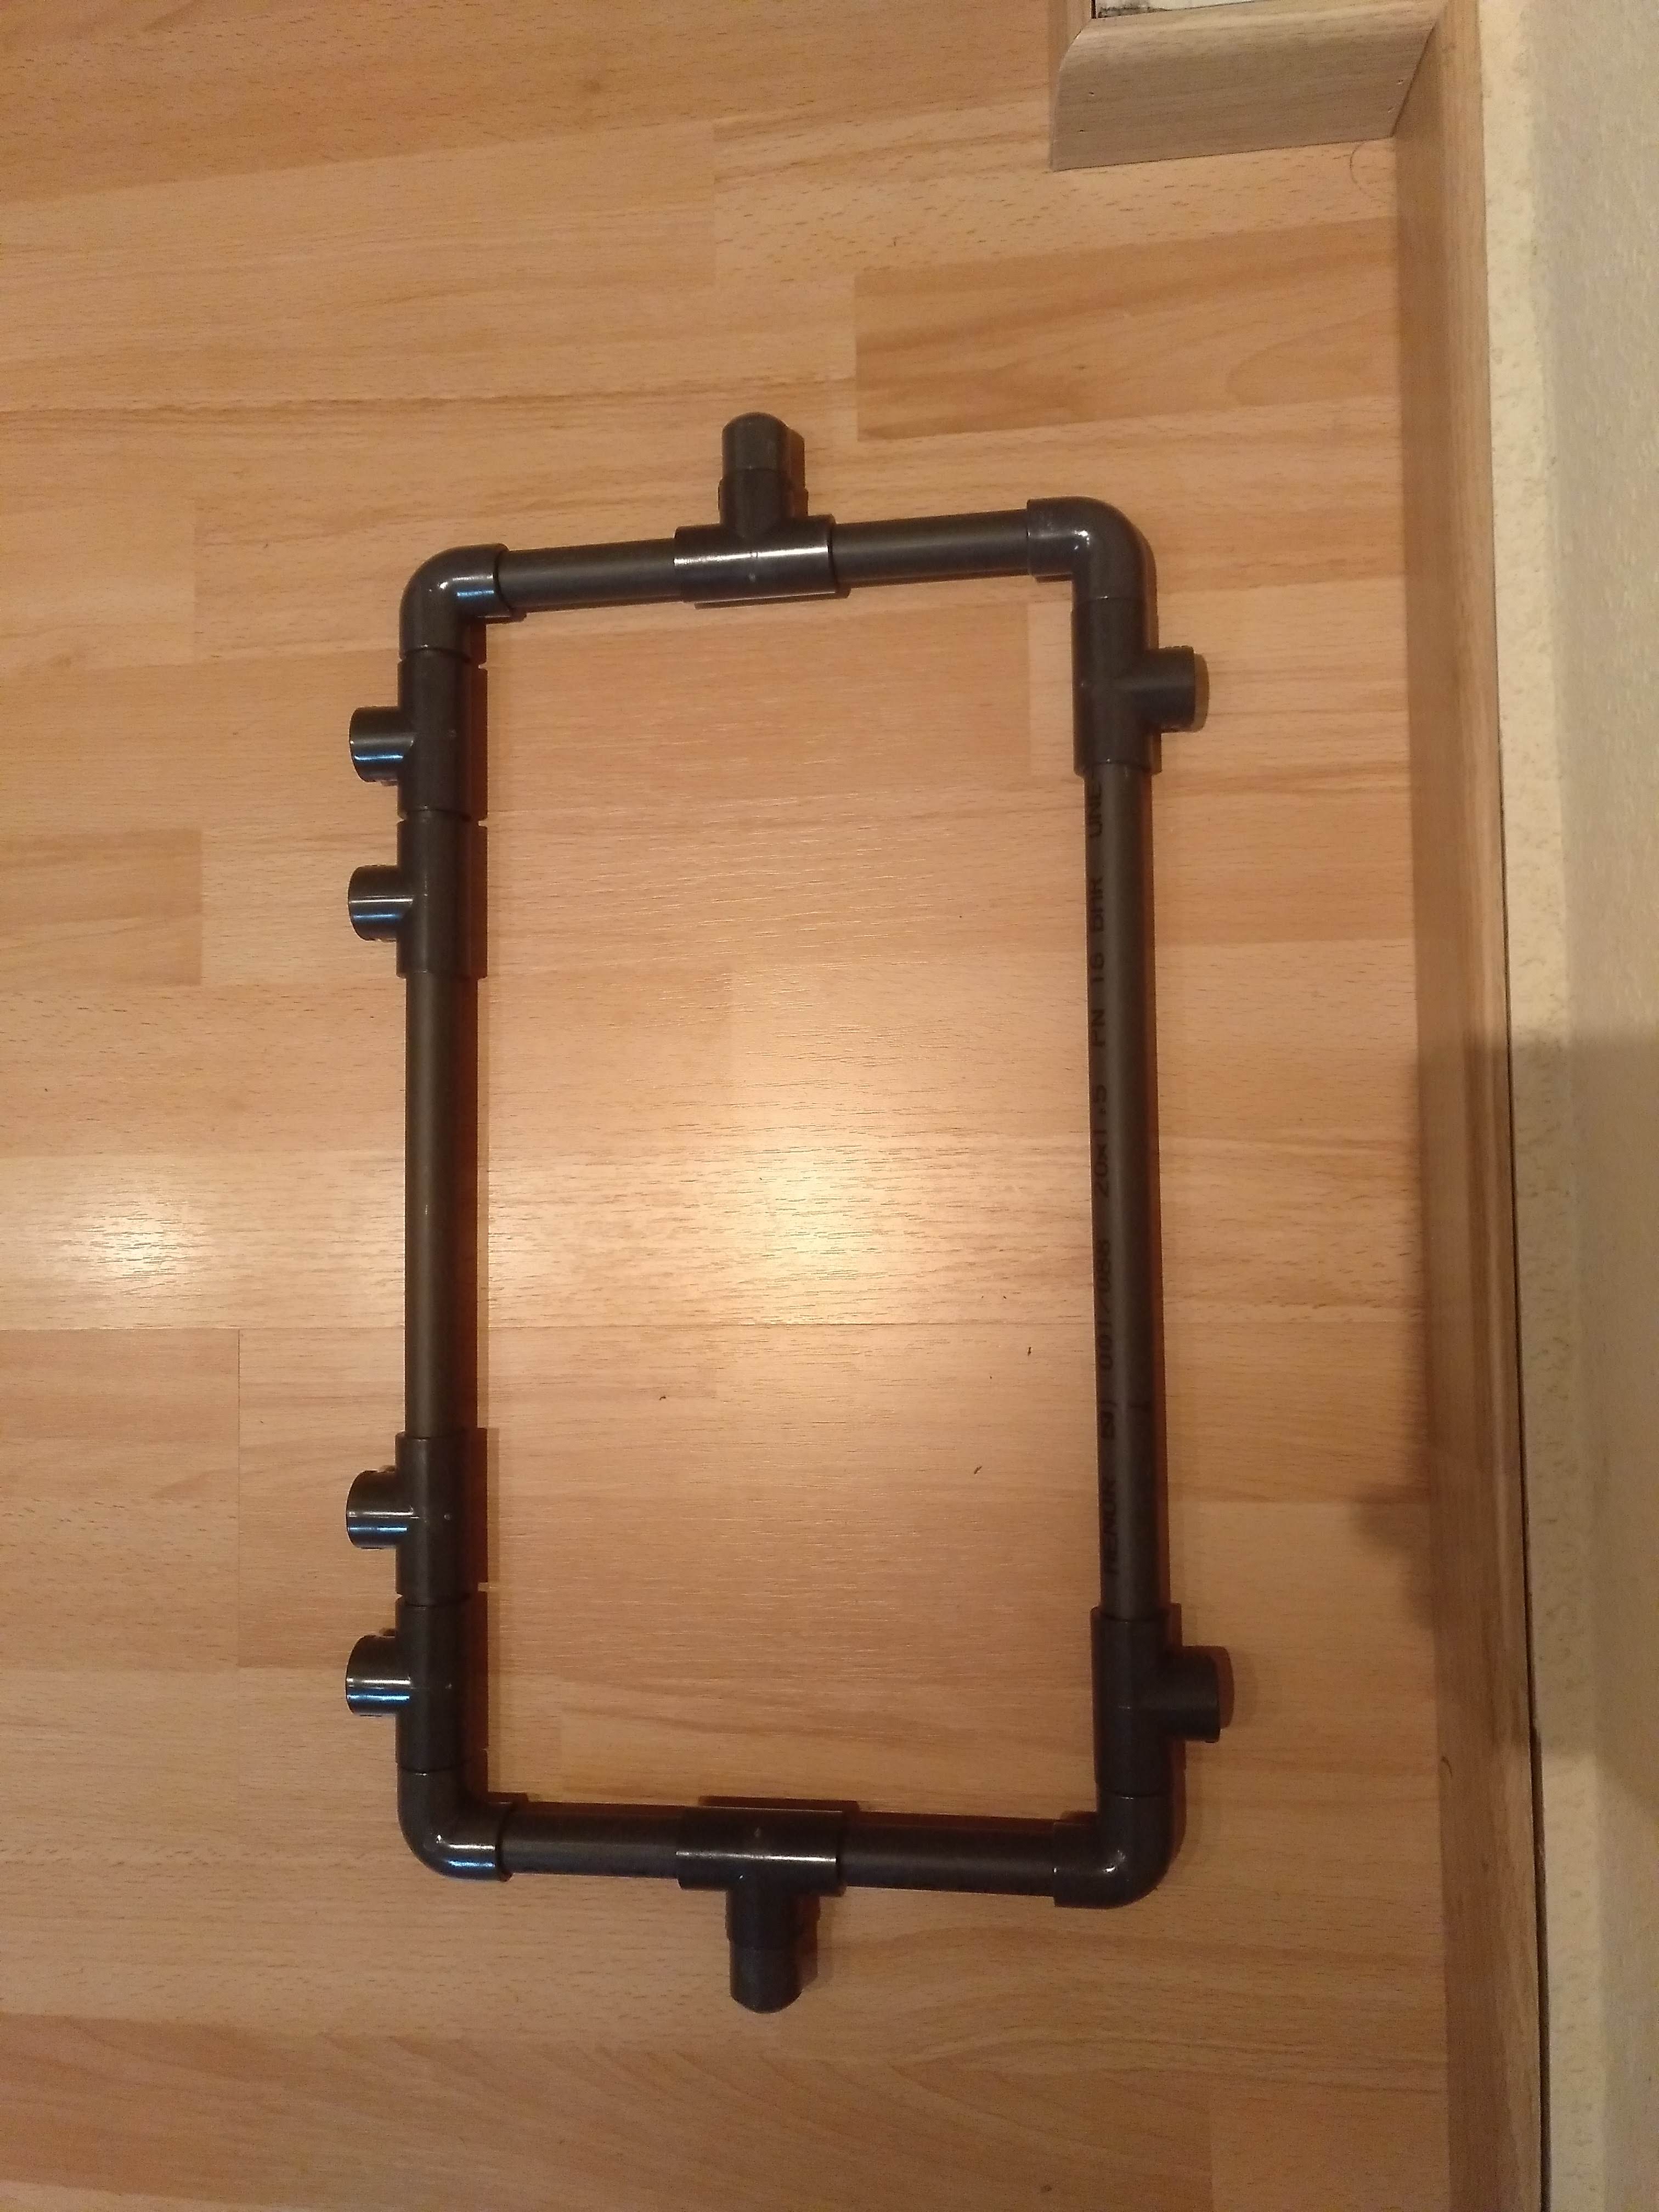
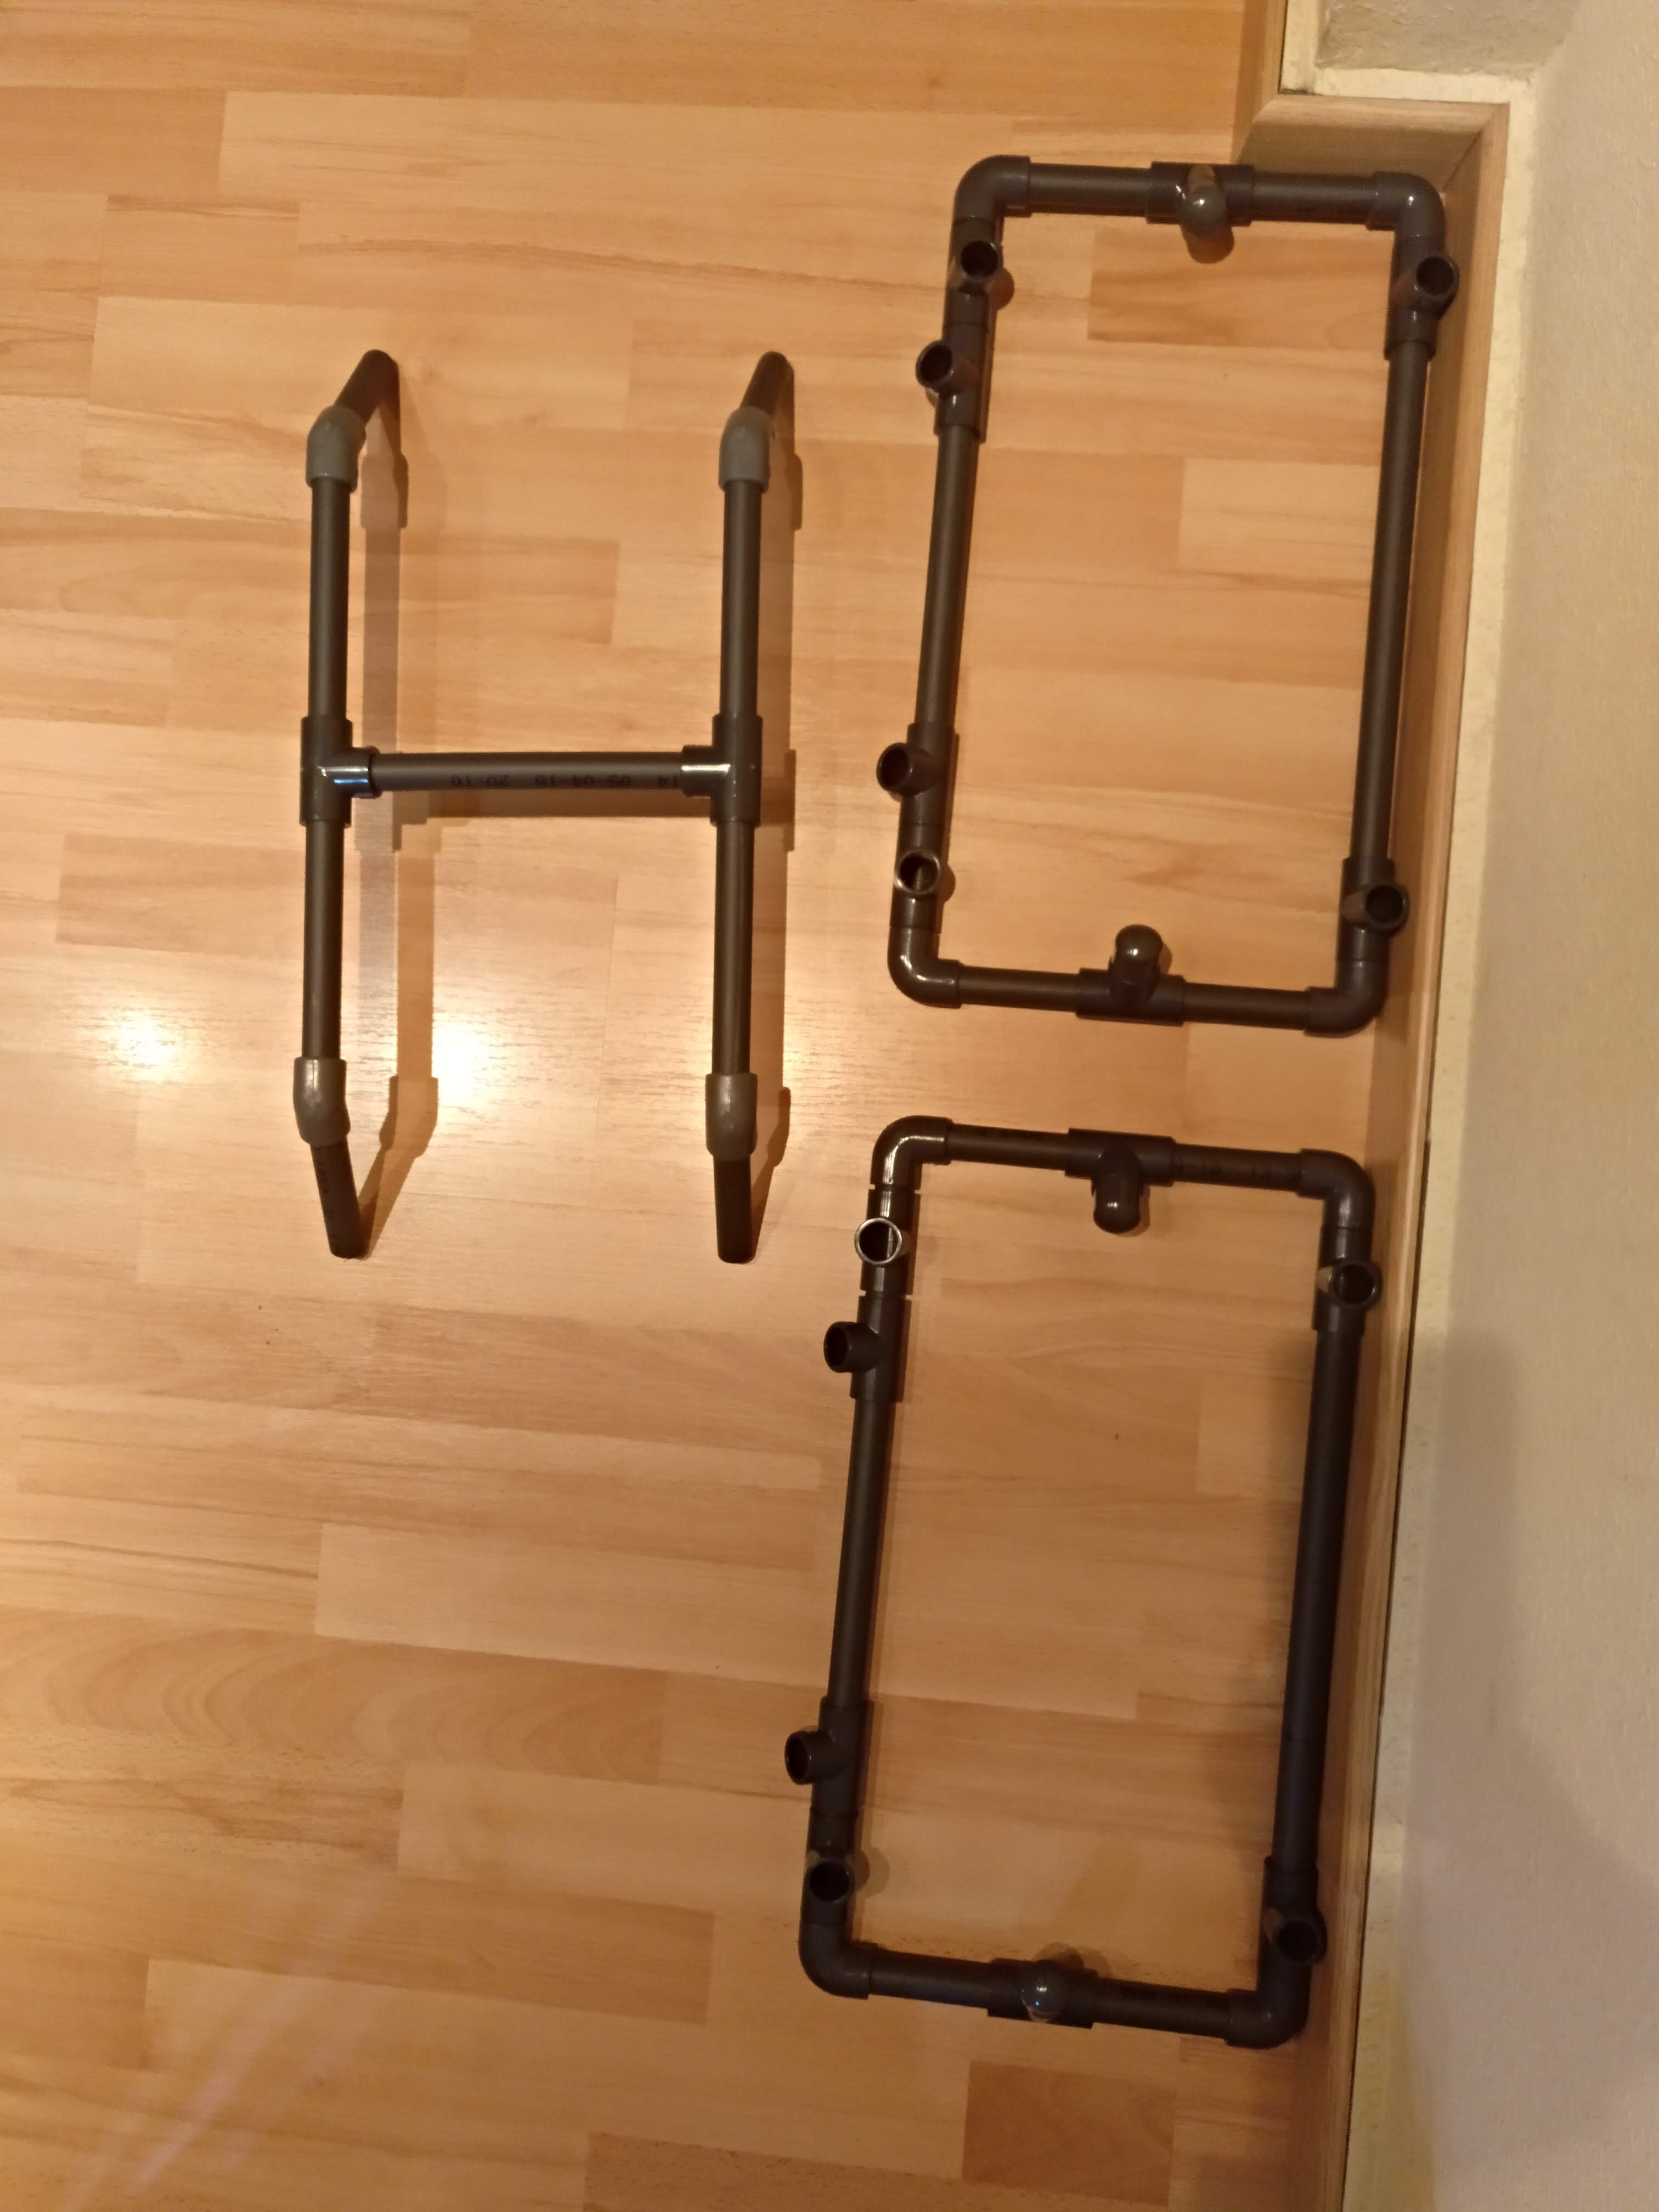
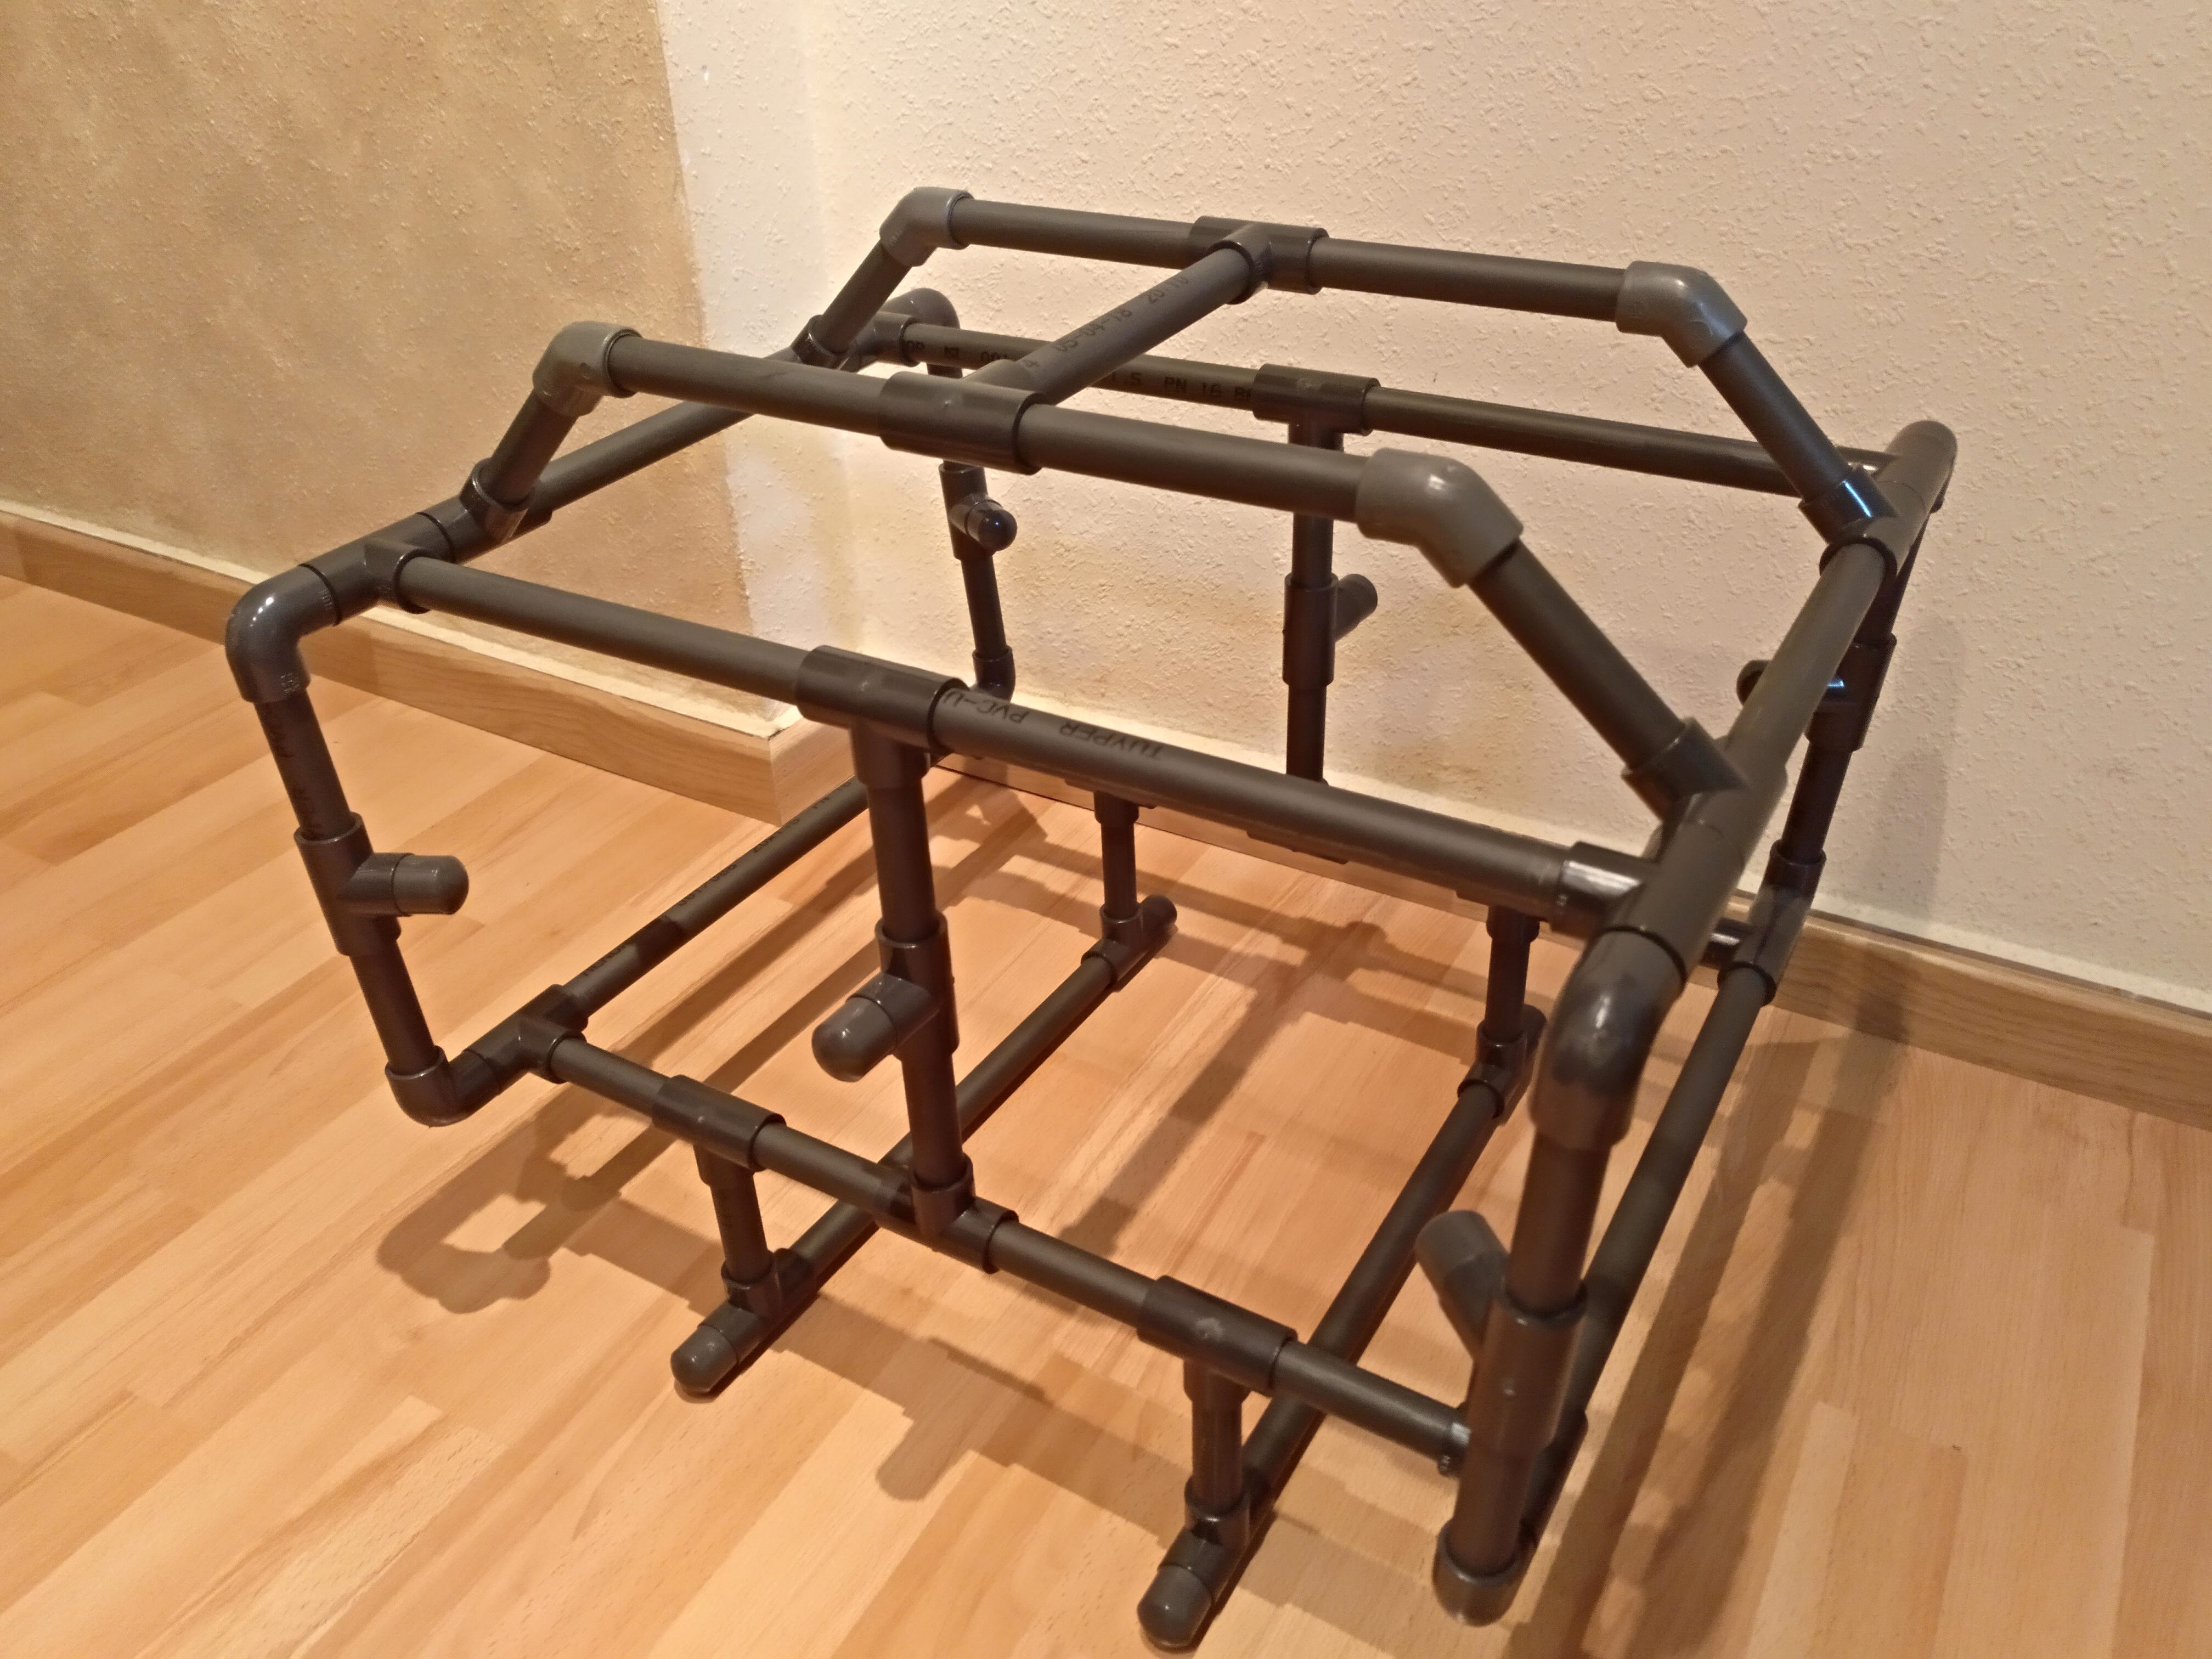
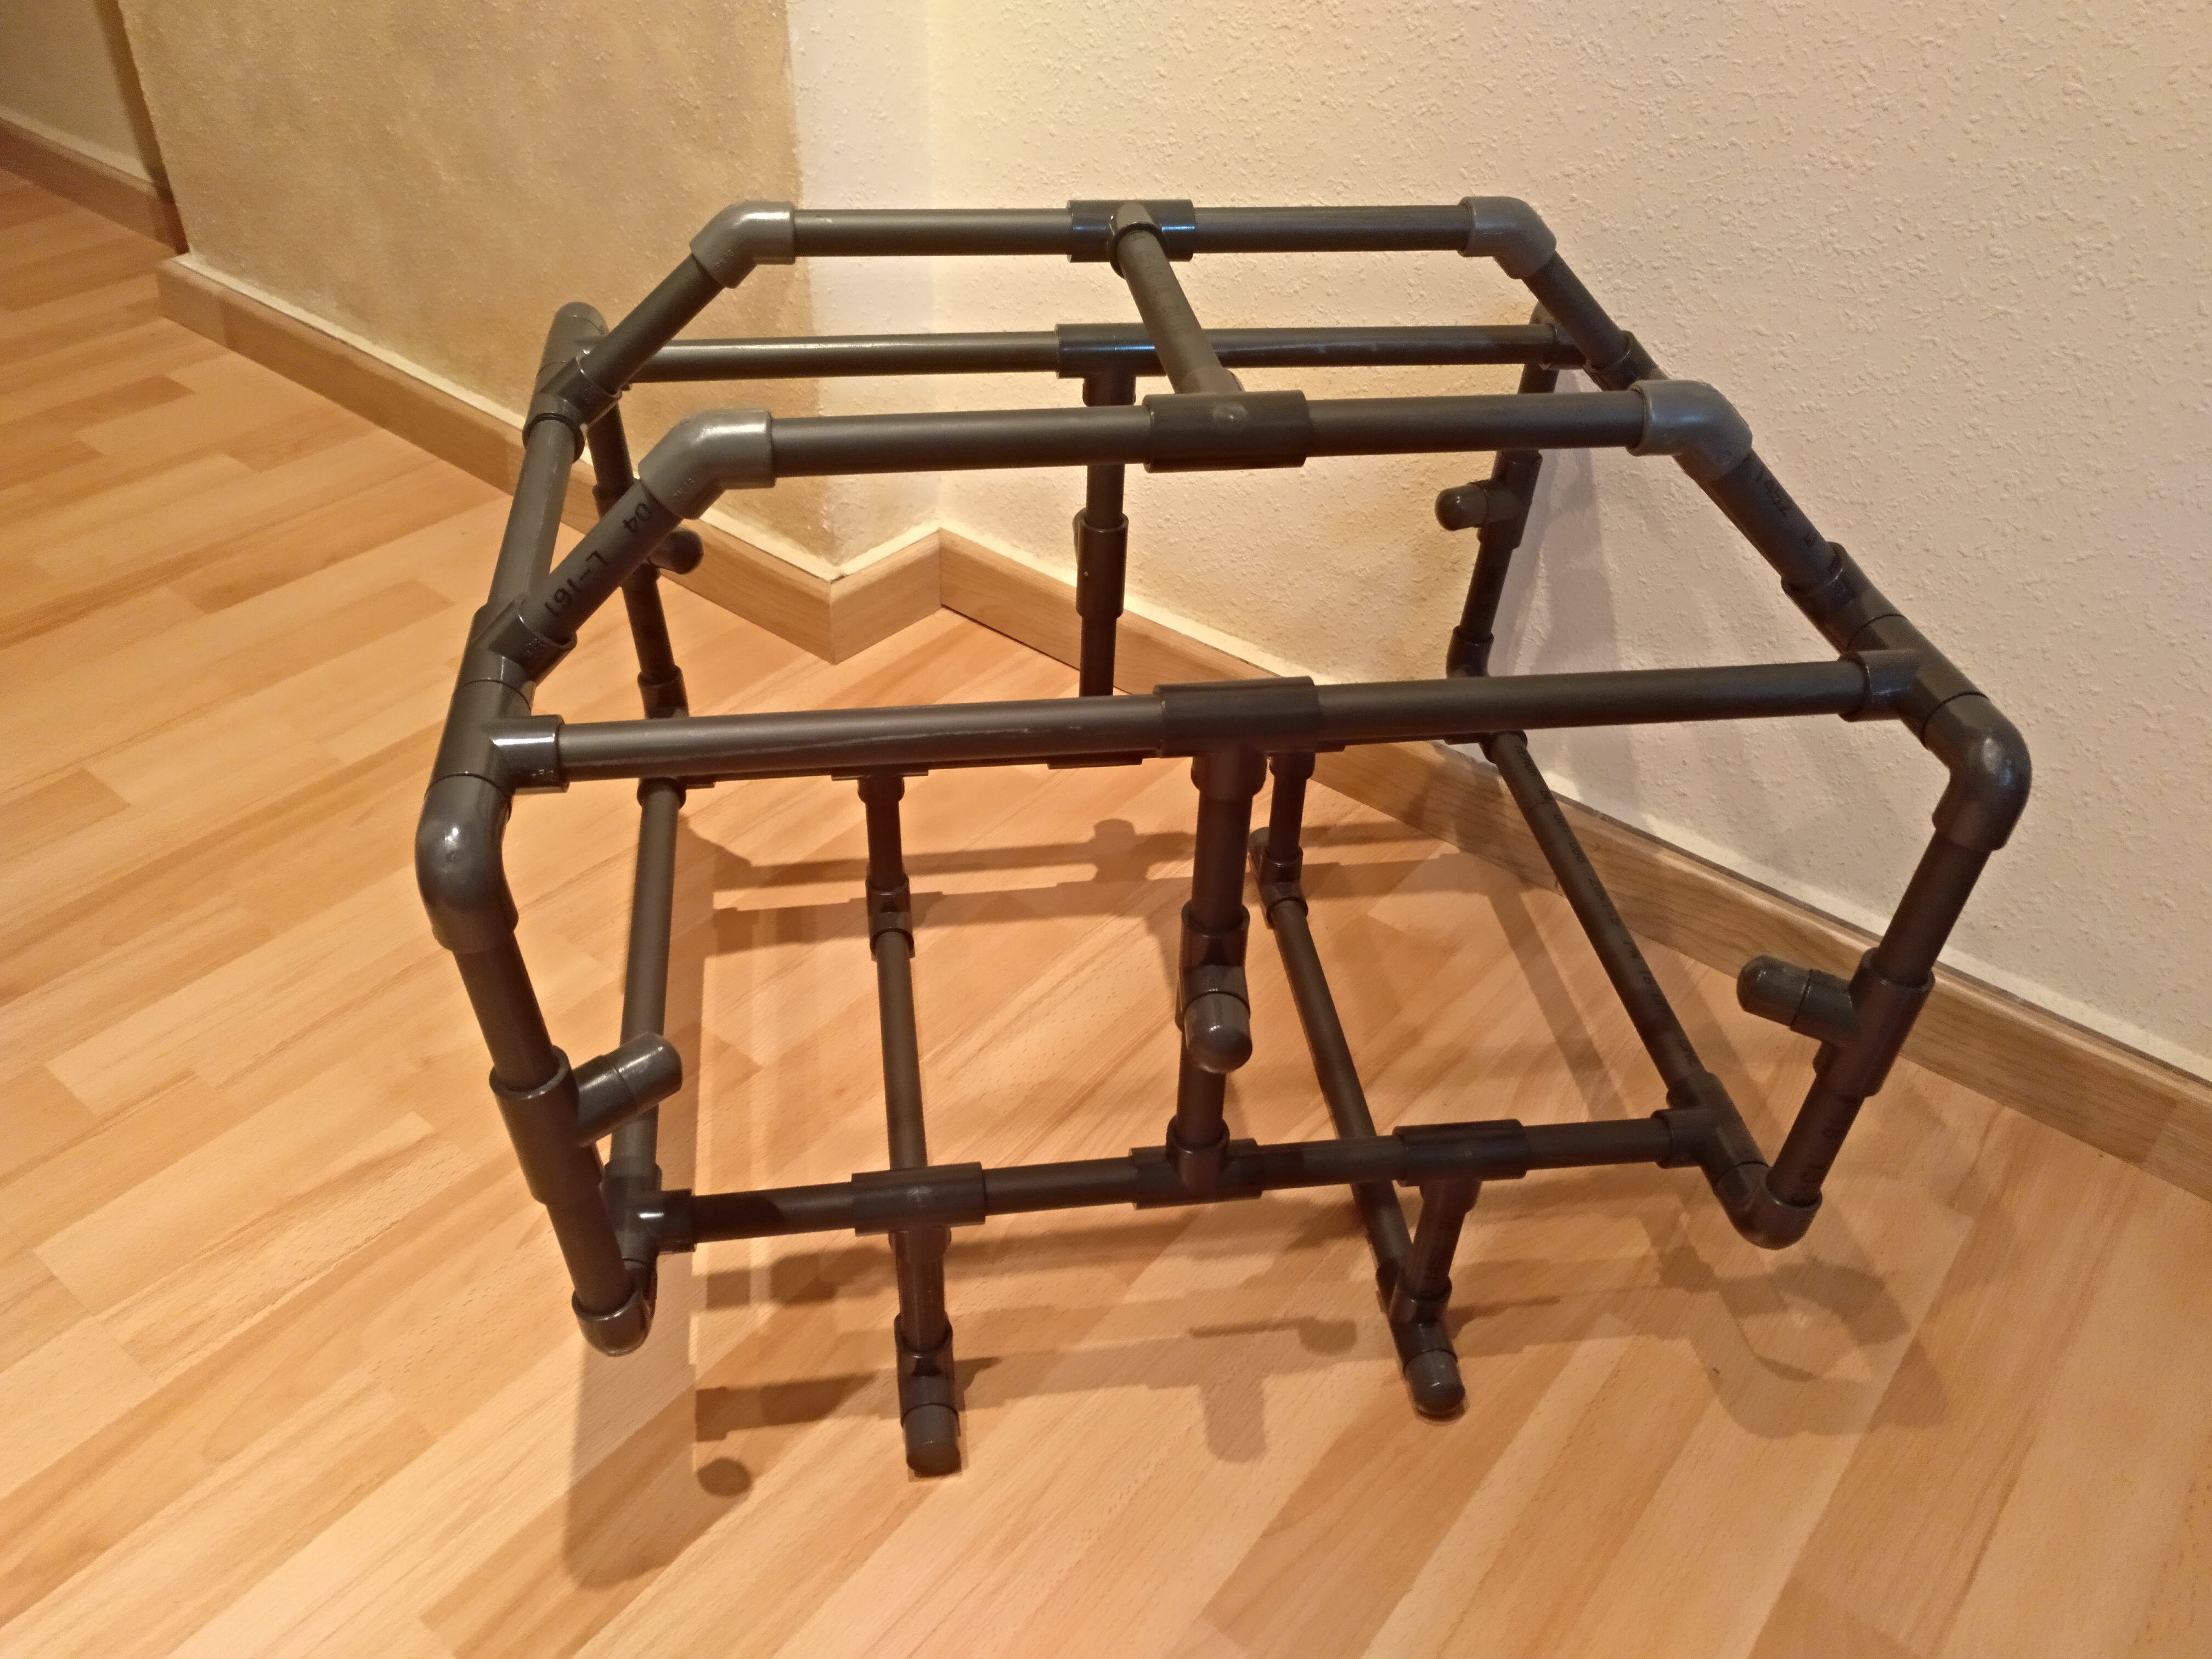
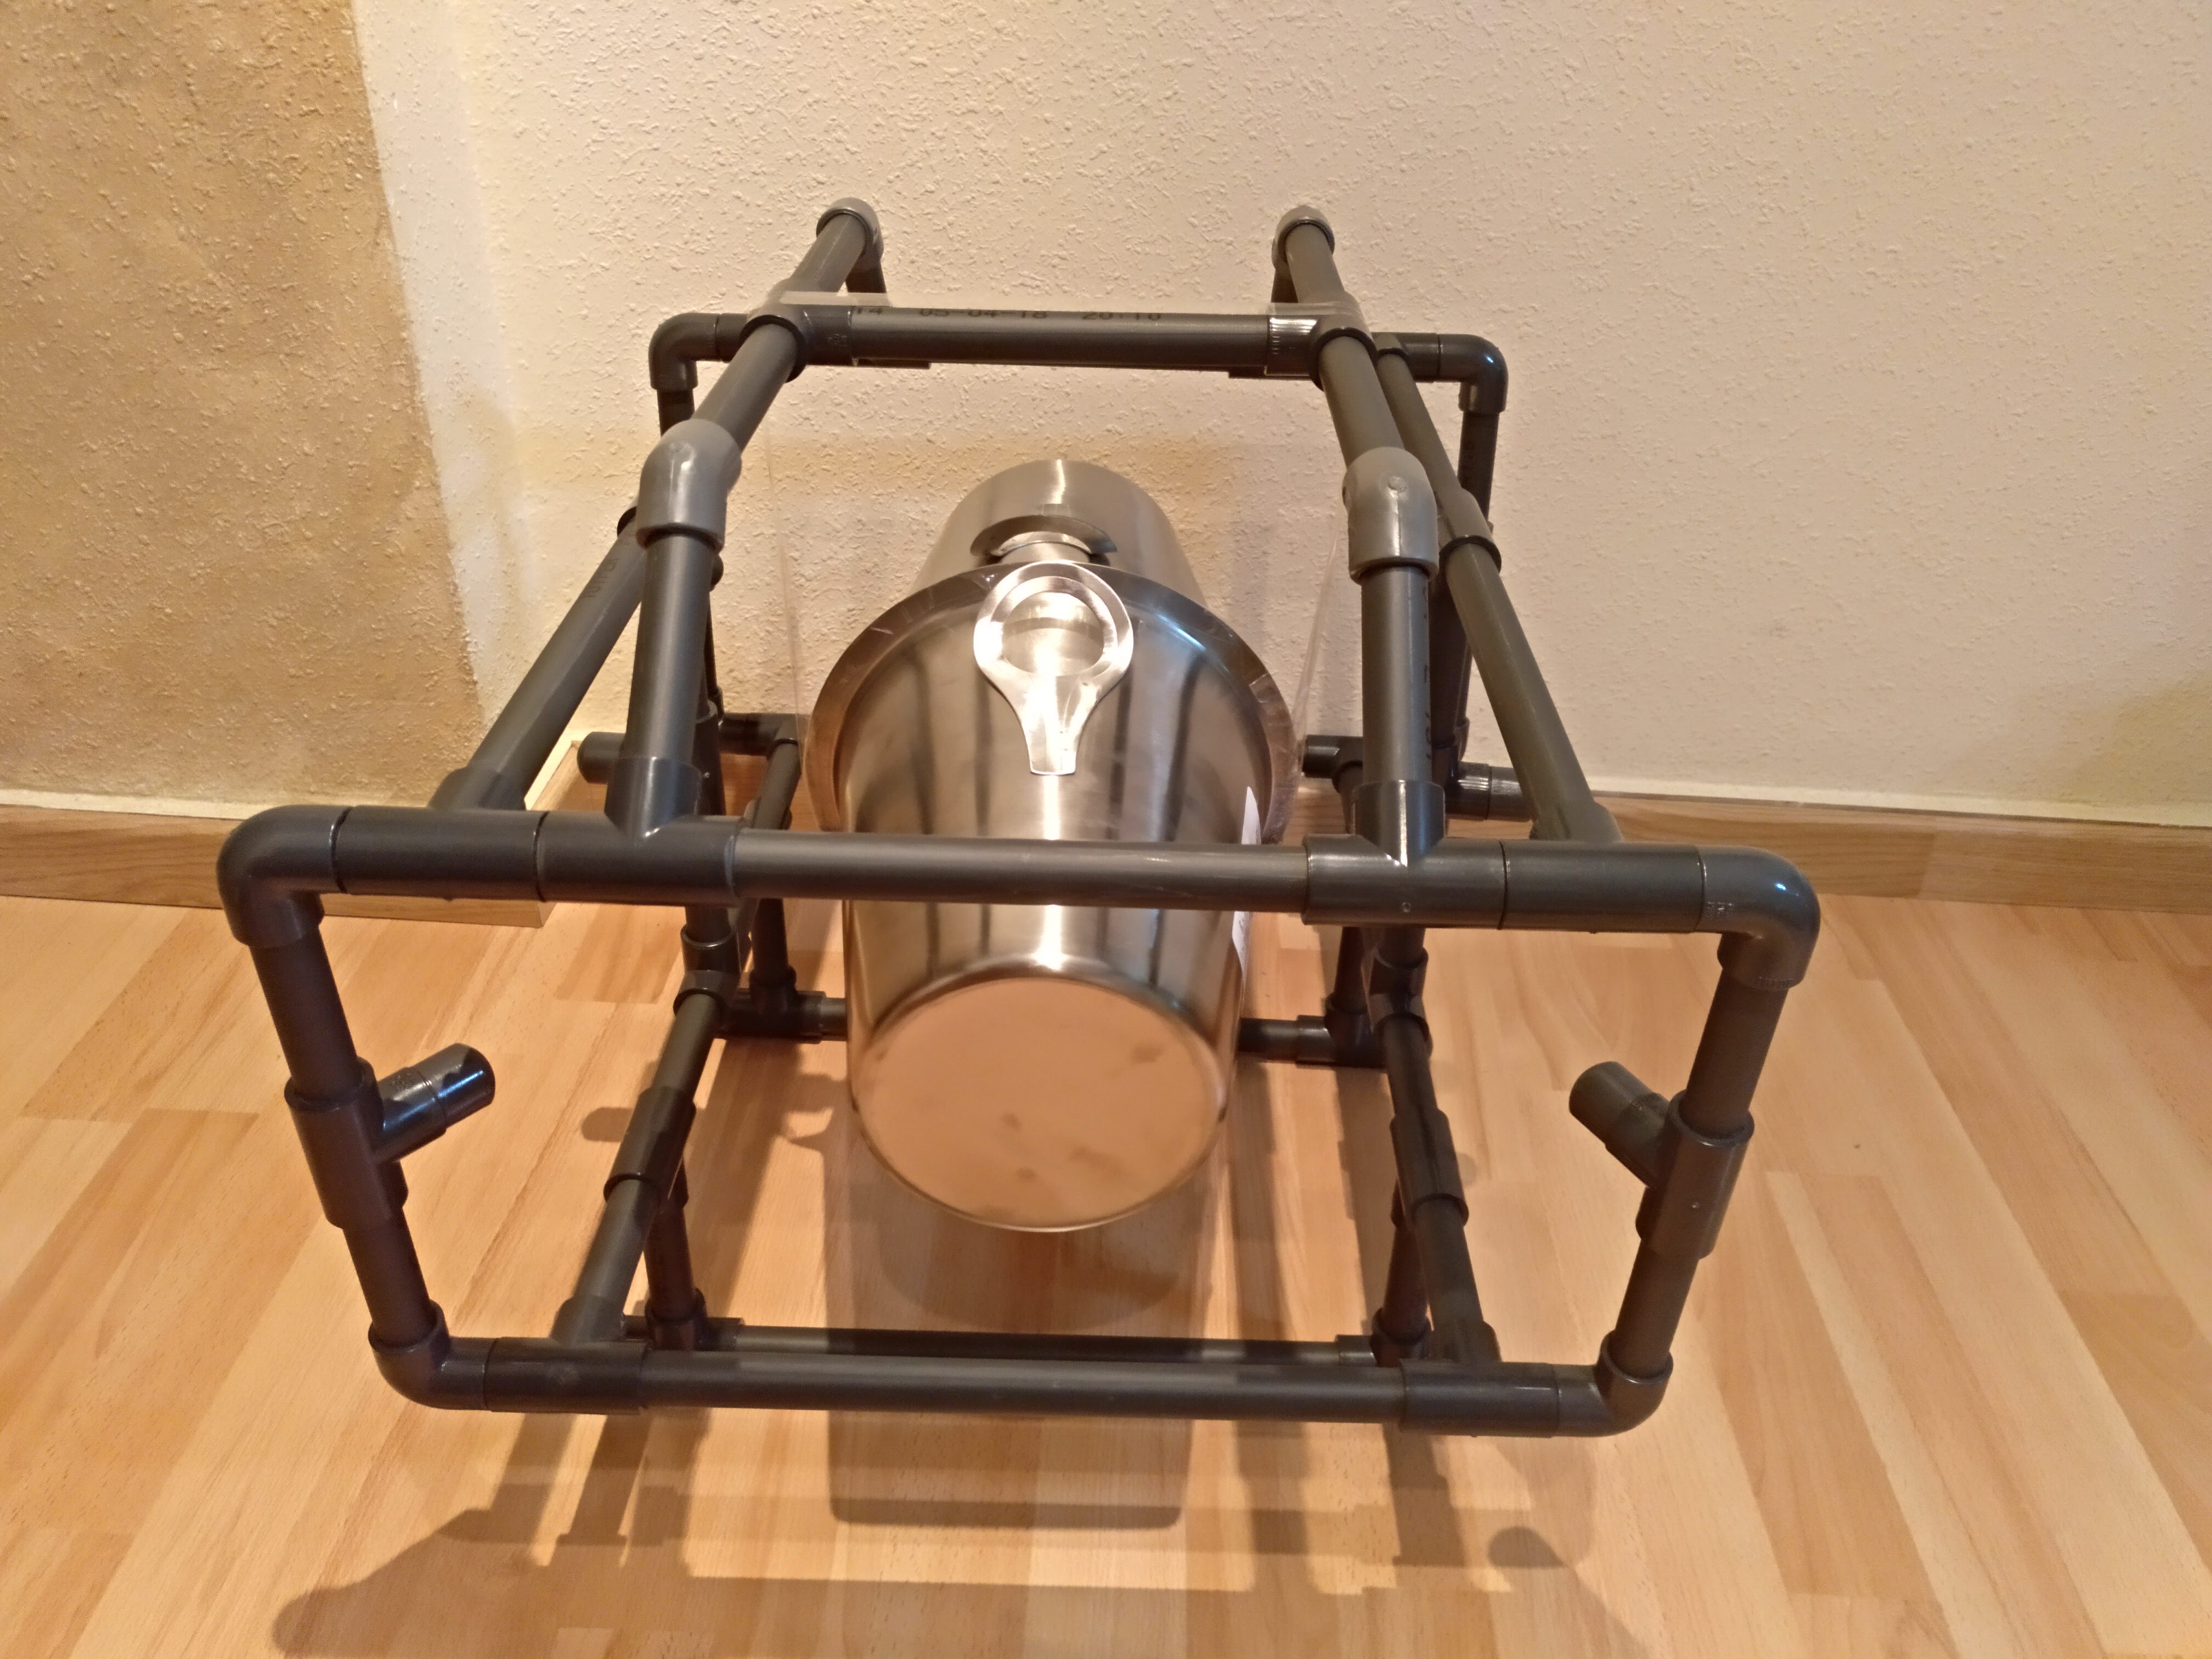
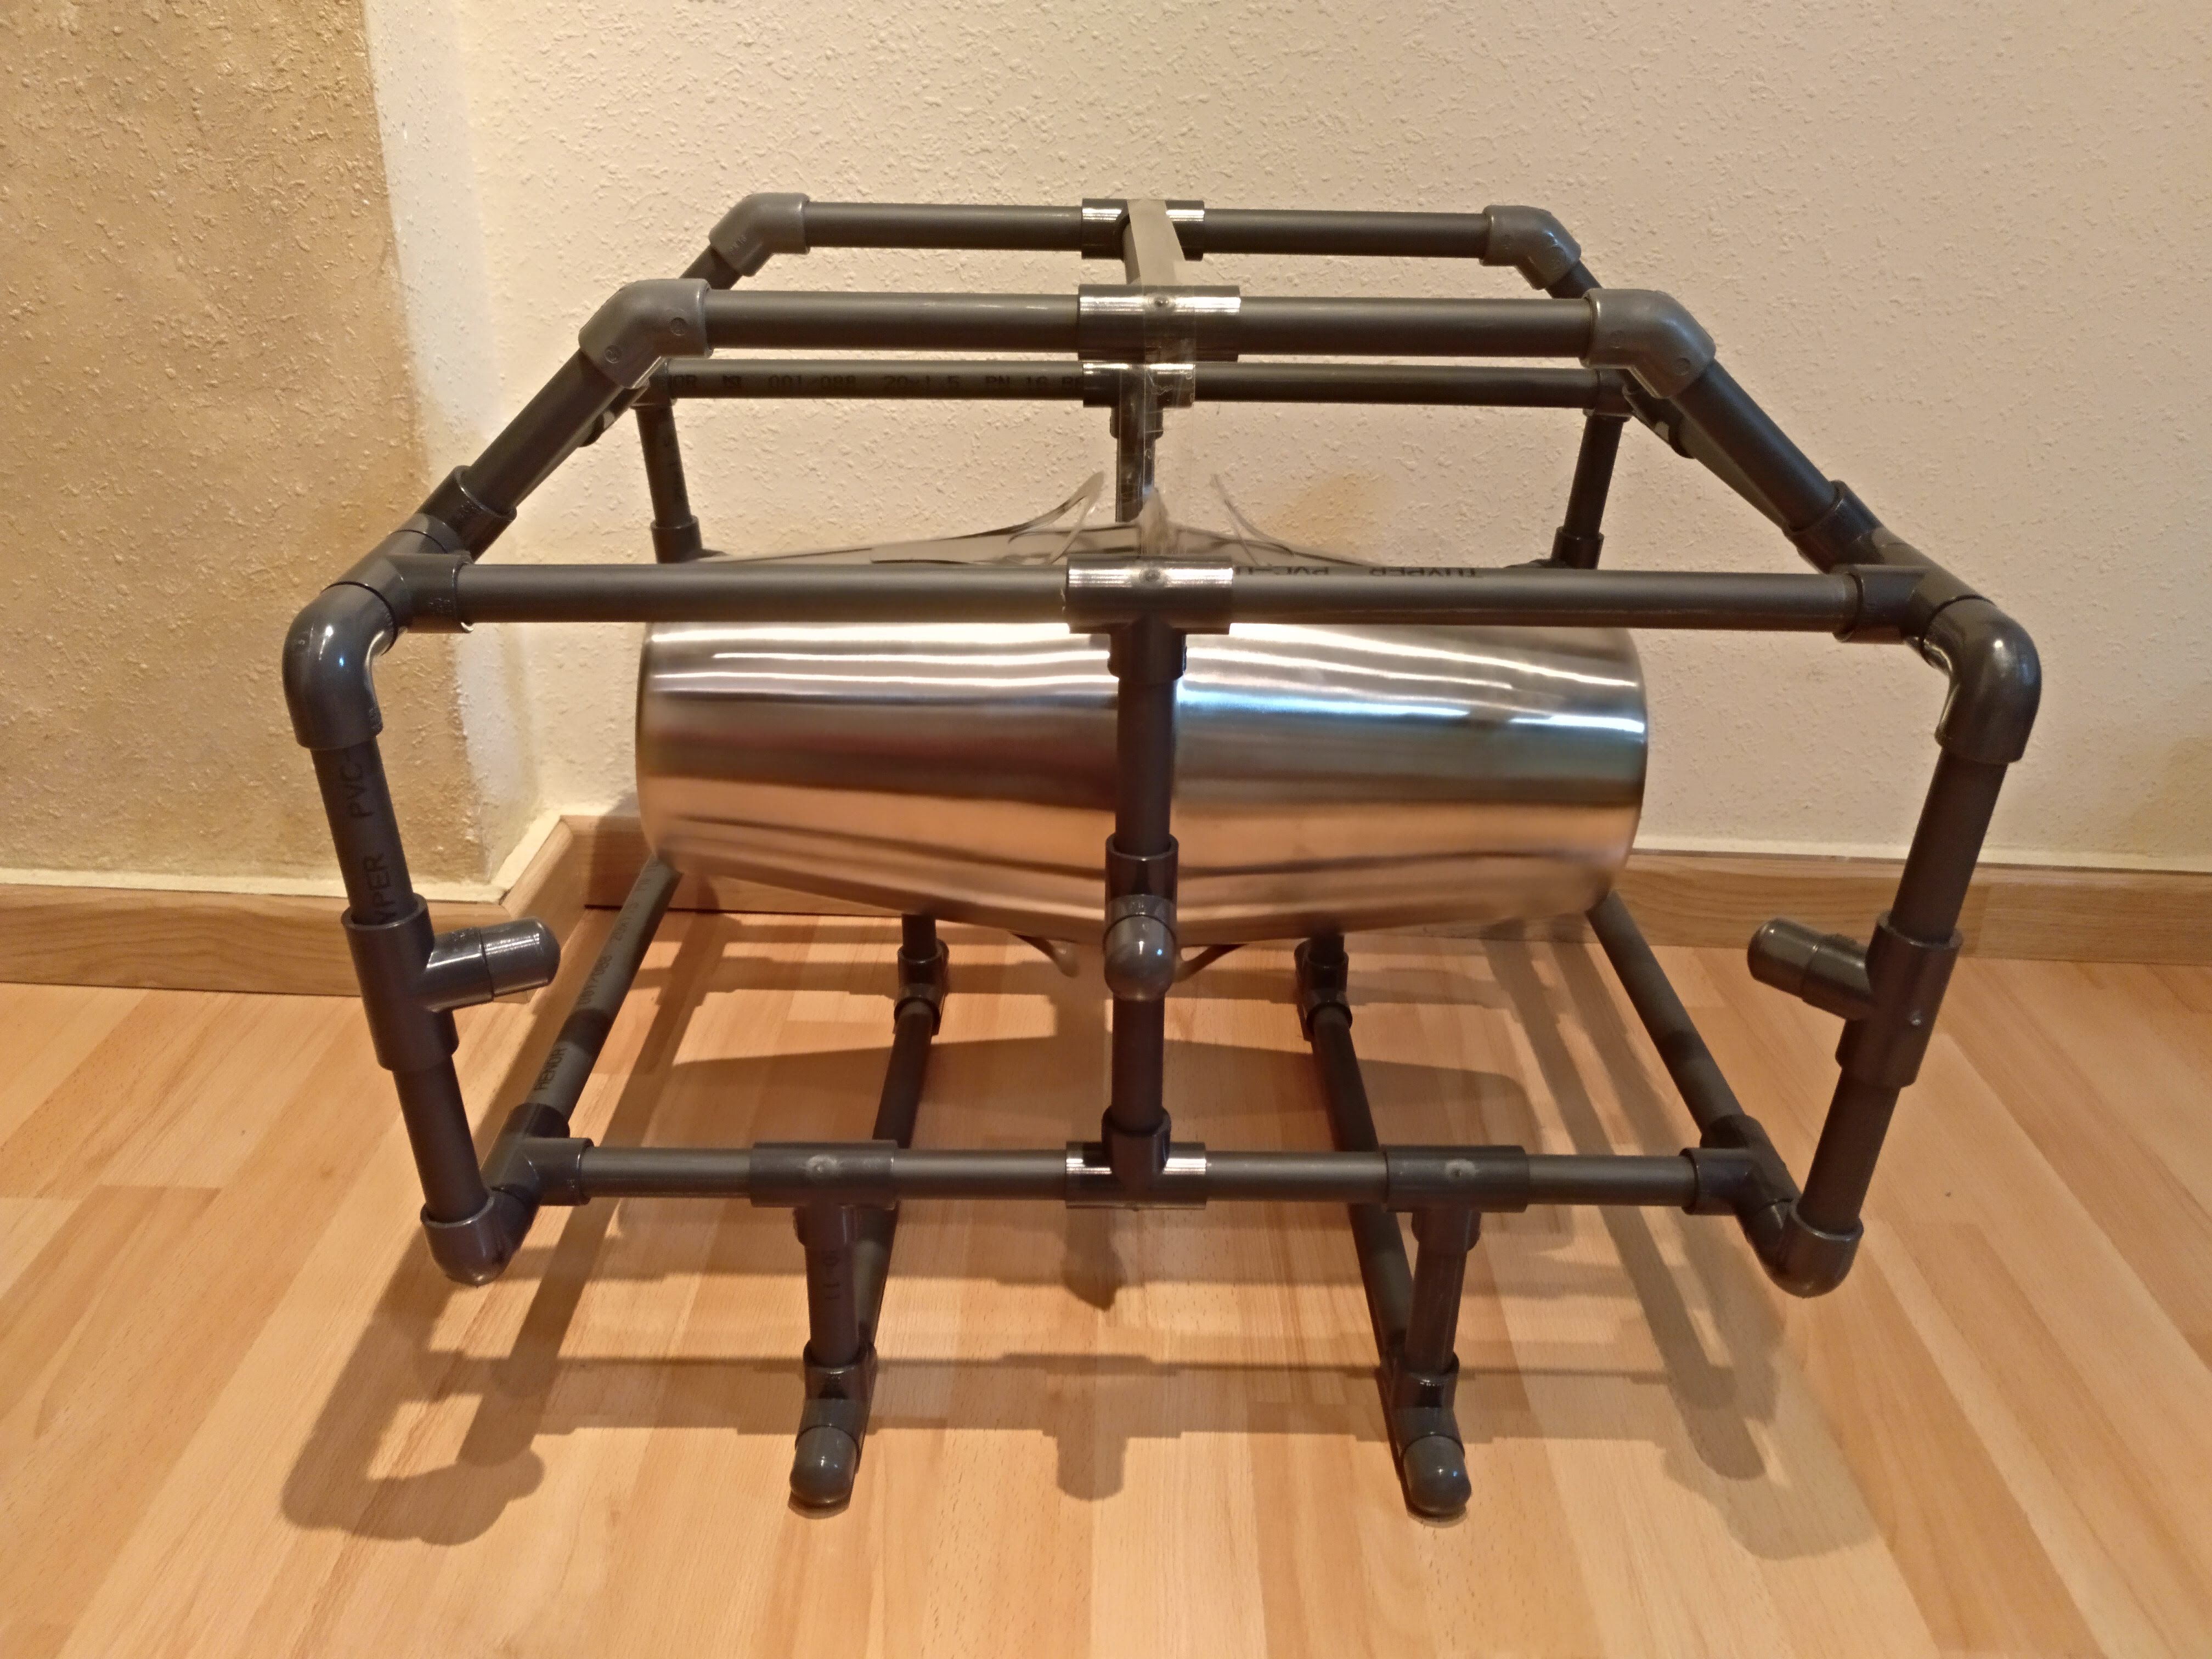
But then I realized that I made some mistakes in the design because it was difficult for me to find some joins. The reason was that I had only the choice of joins of a few kinds: 135 degrees (very open “L”), 90 degrees as an “L”, the shape of “T” and nothing else, so I wasn’t able to make the corners as an X-Y-Z Axis. This was why I decided to add some changes to make it compatible with what I could find in usual shops. So here is version 2 of Alioli Underwater Rov:
The second version of Aliolirov’s frame
Here you have the Blender 3D project just for downloading:
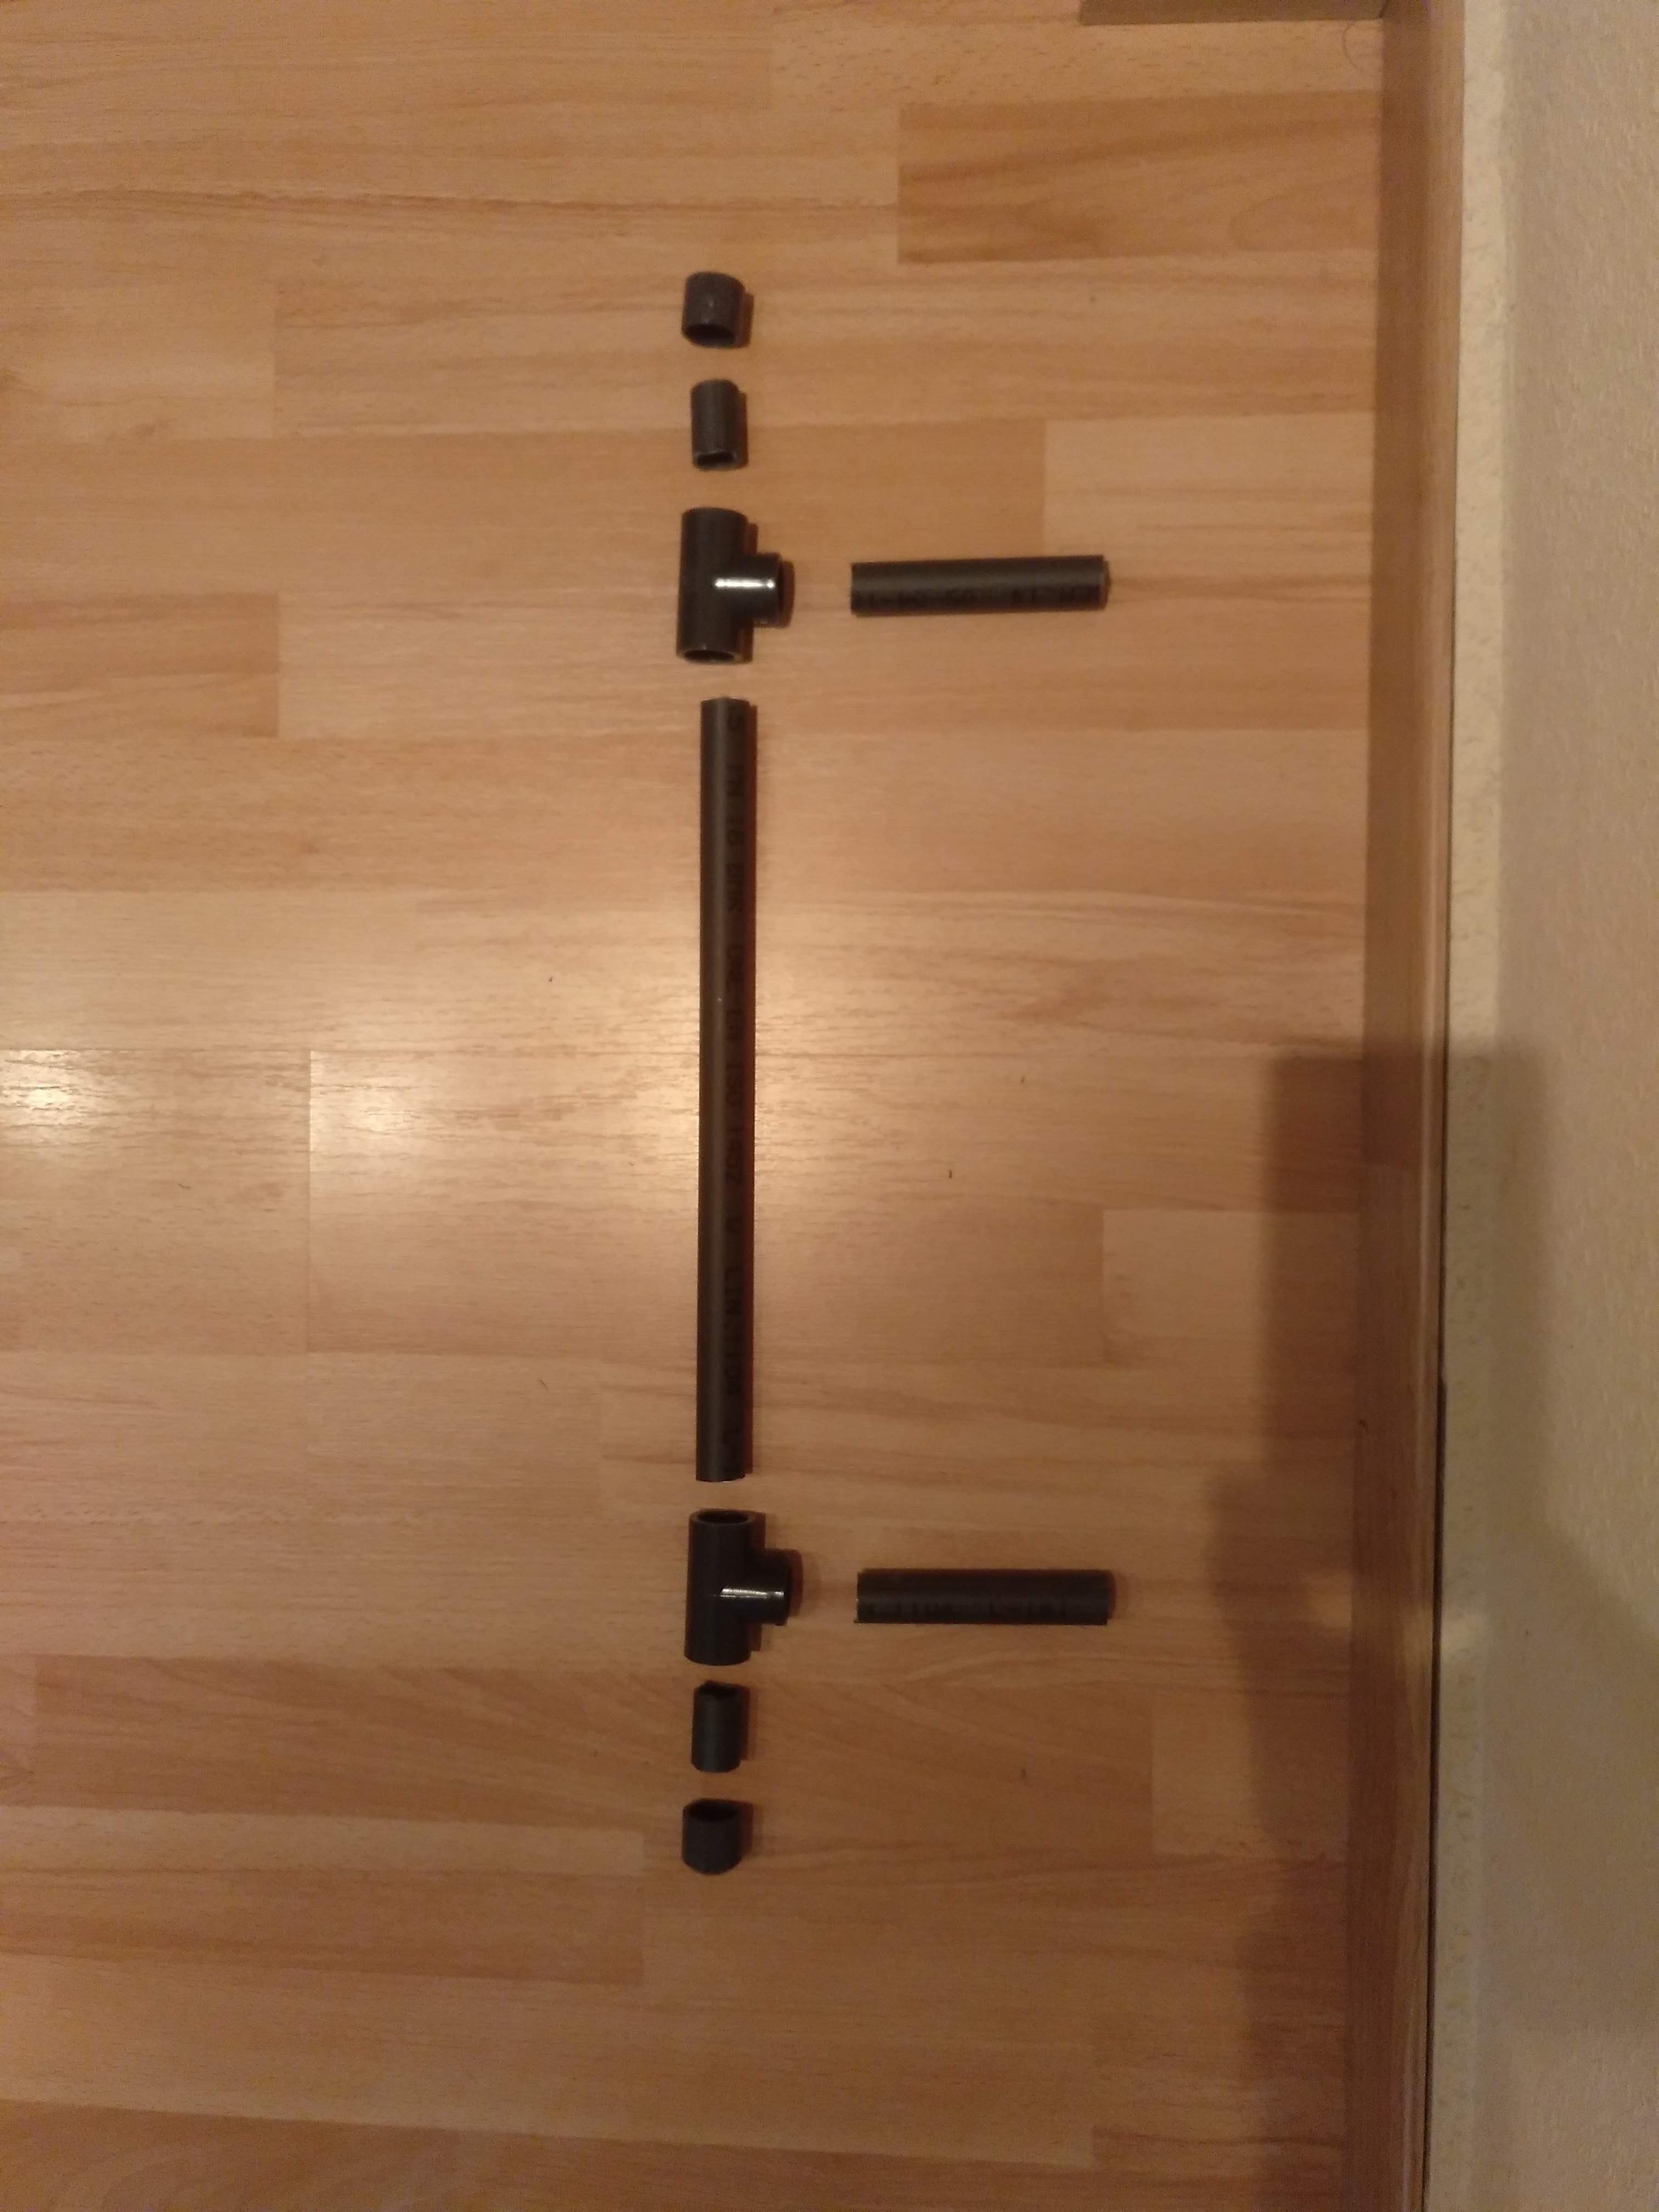
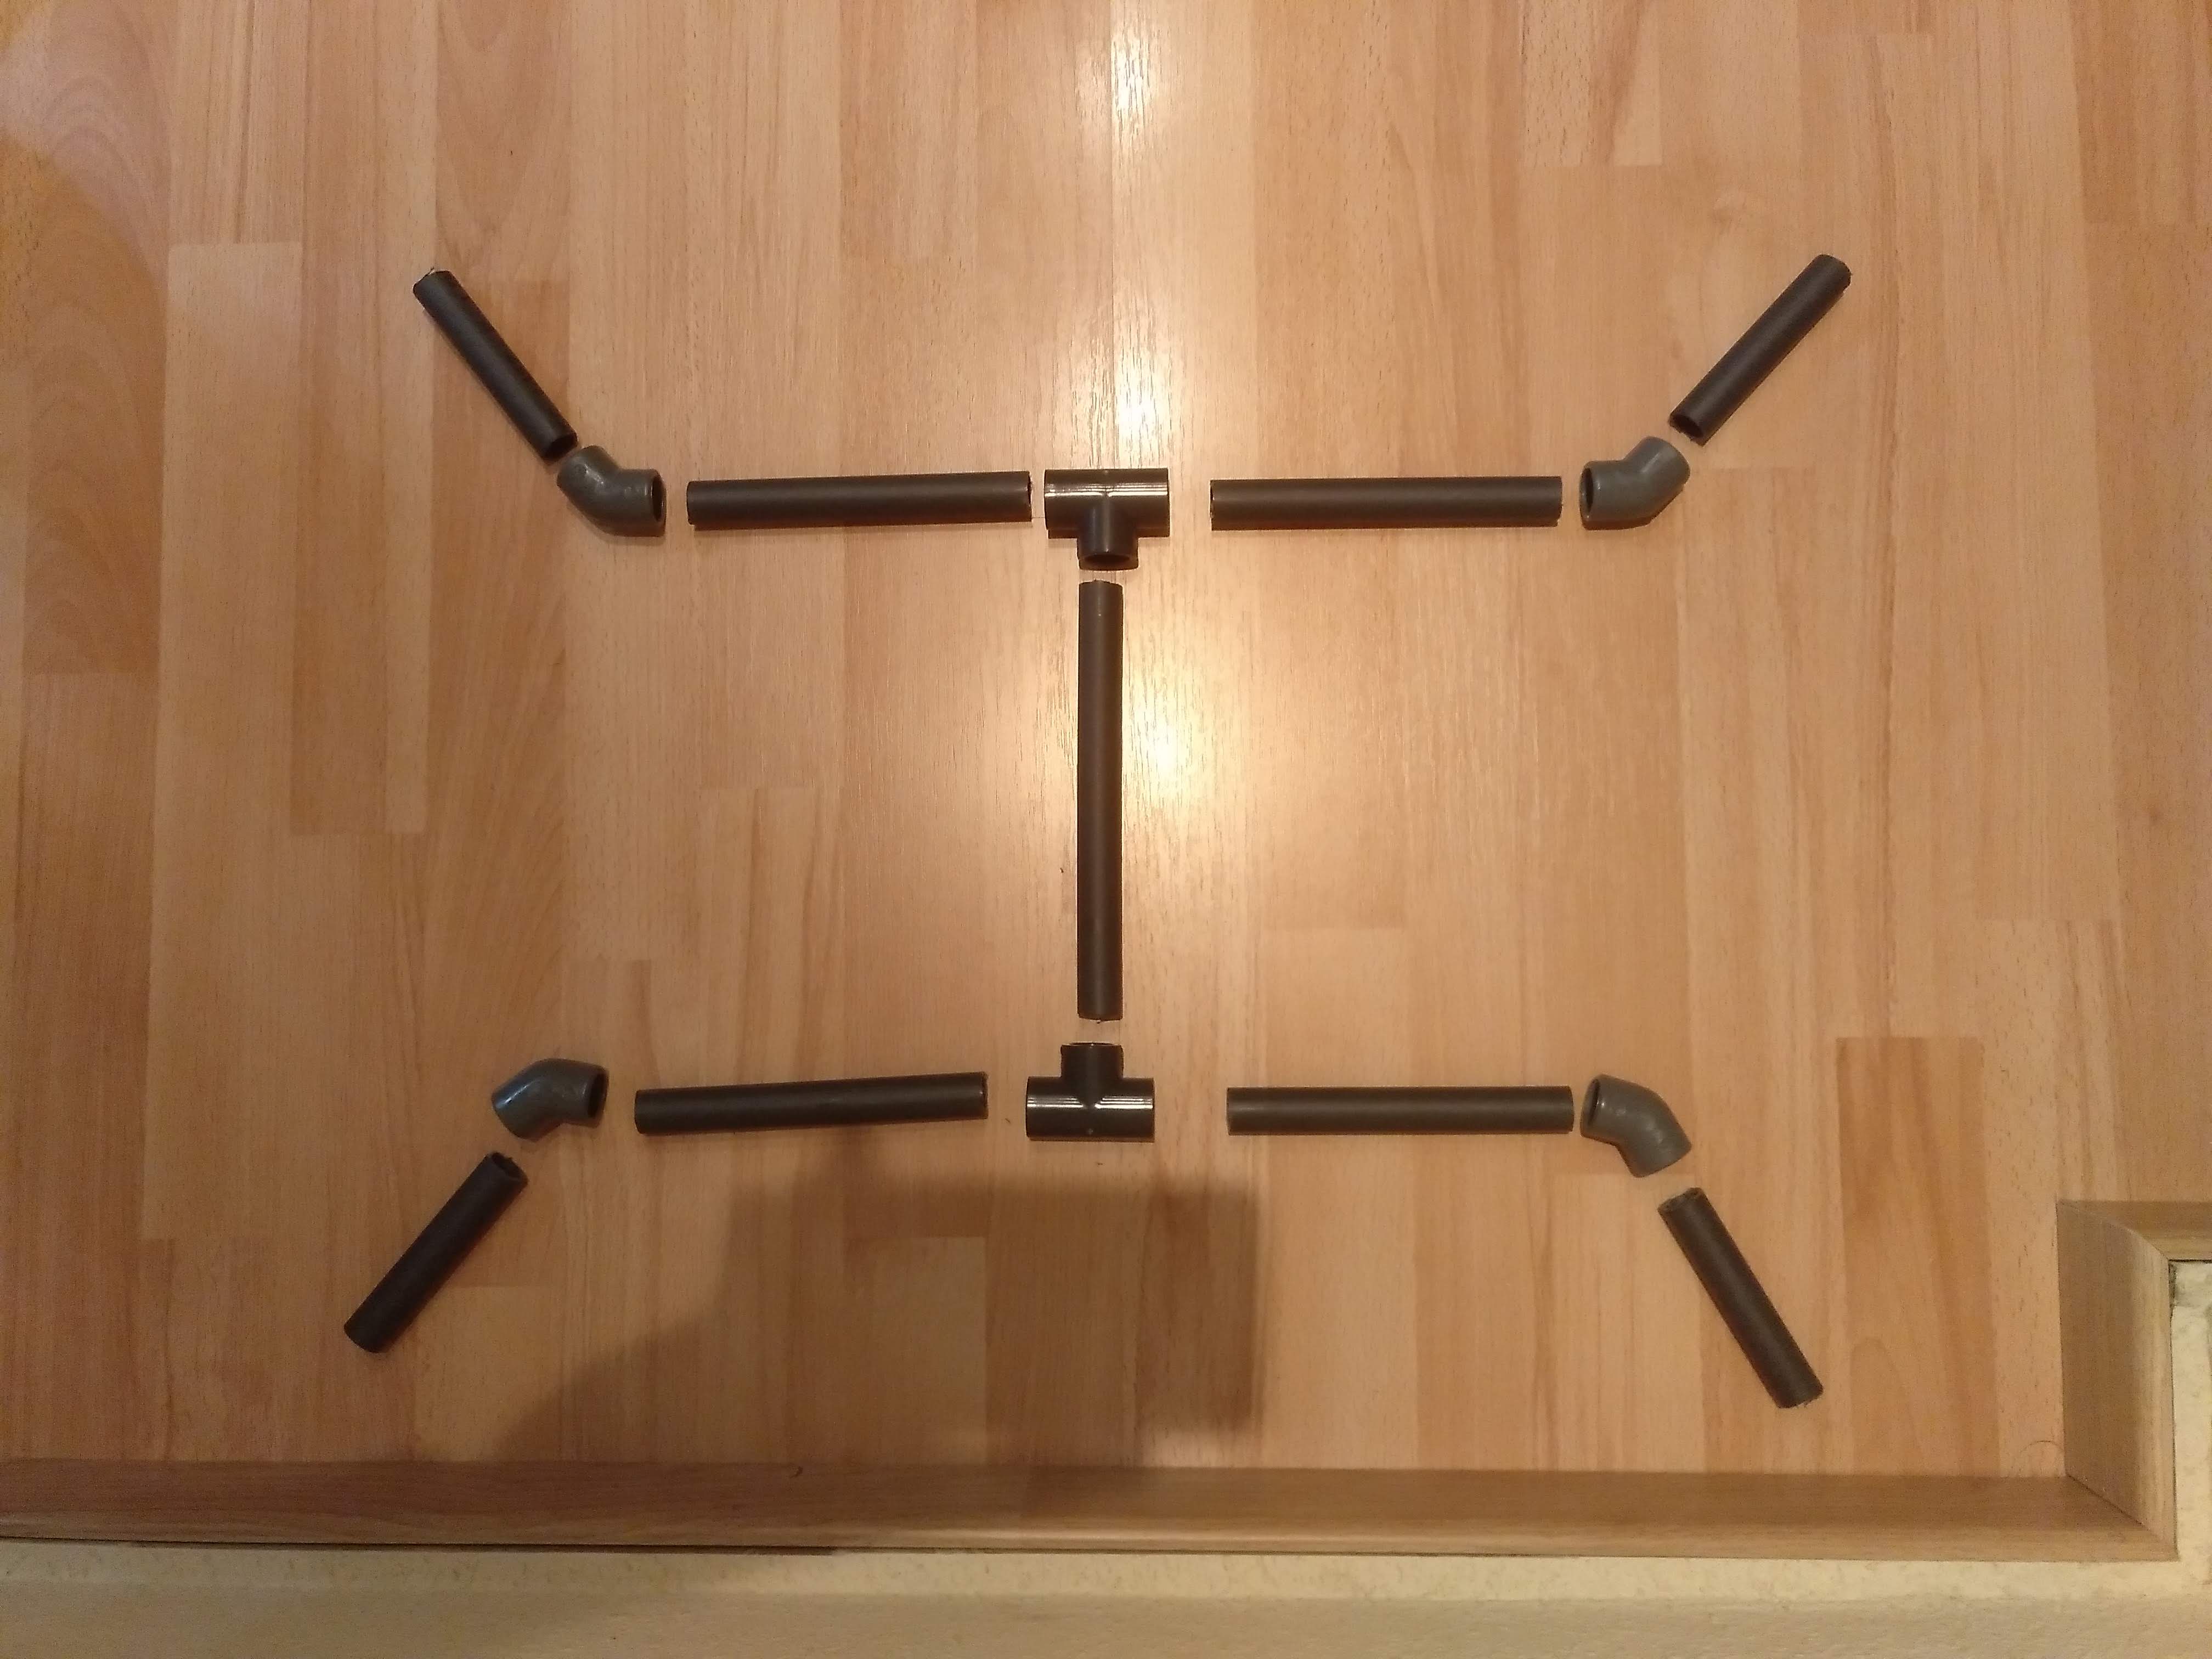
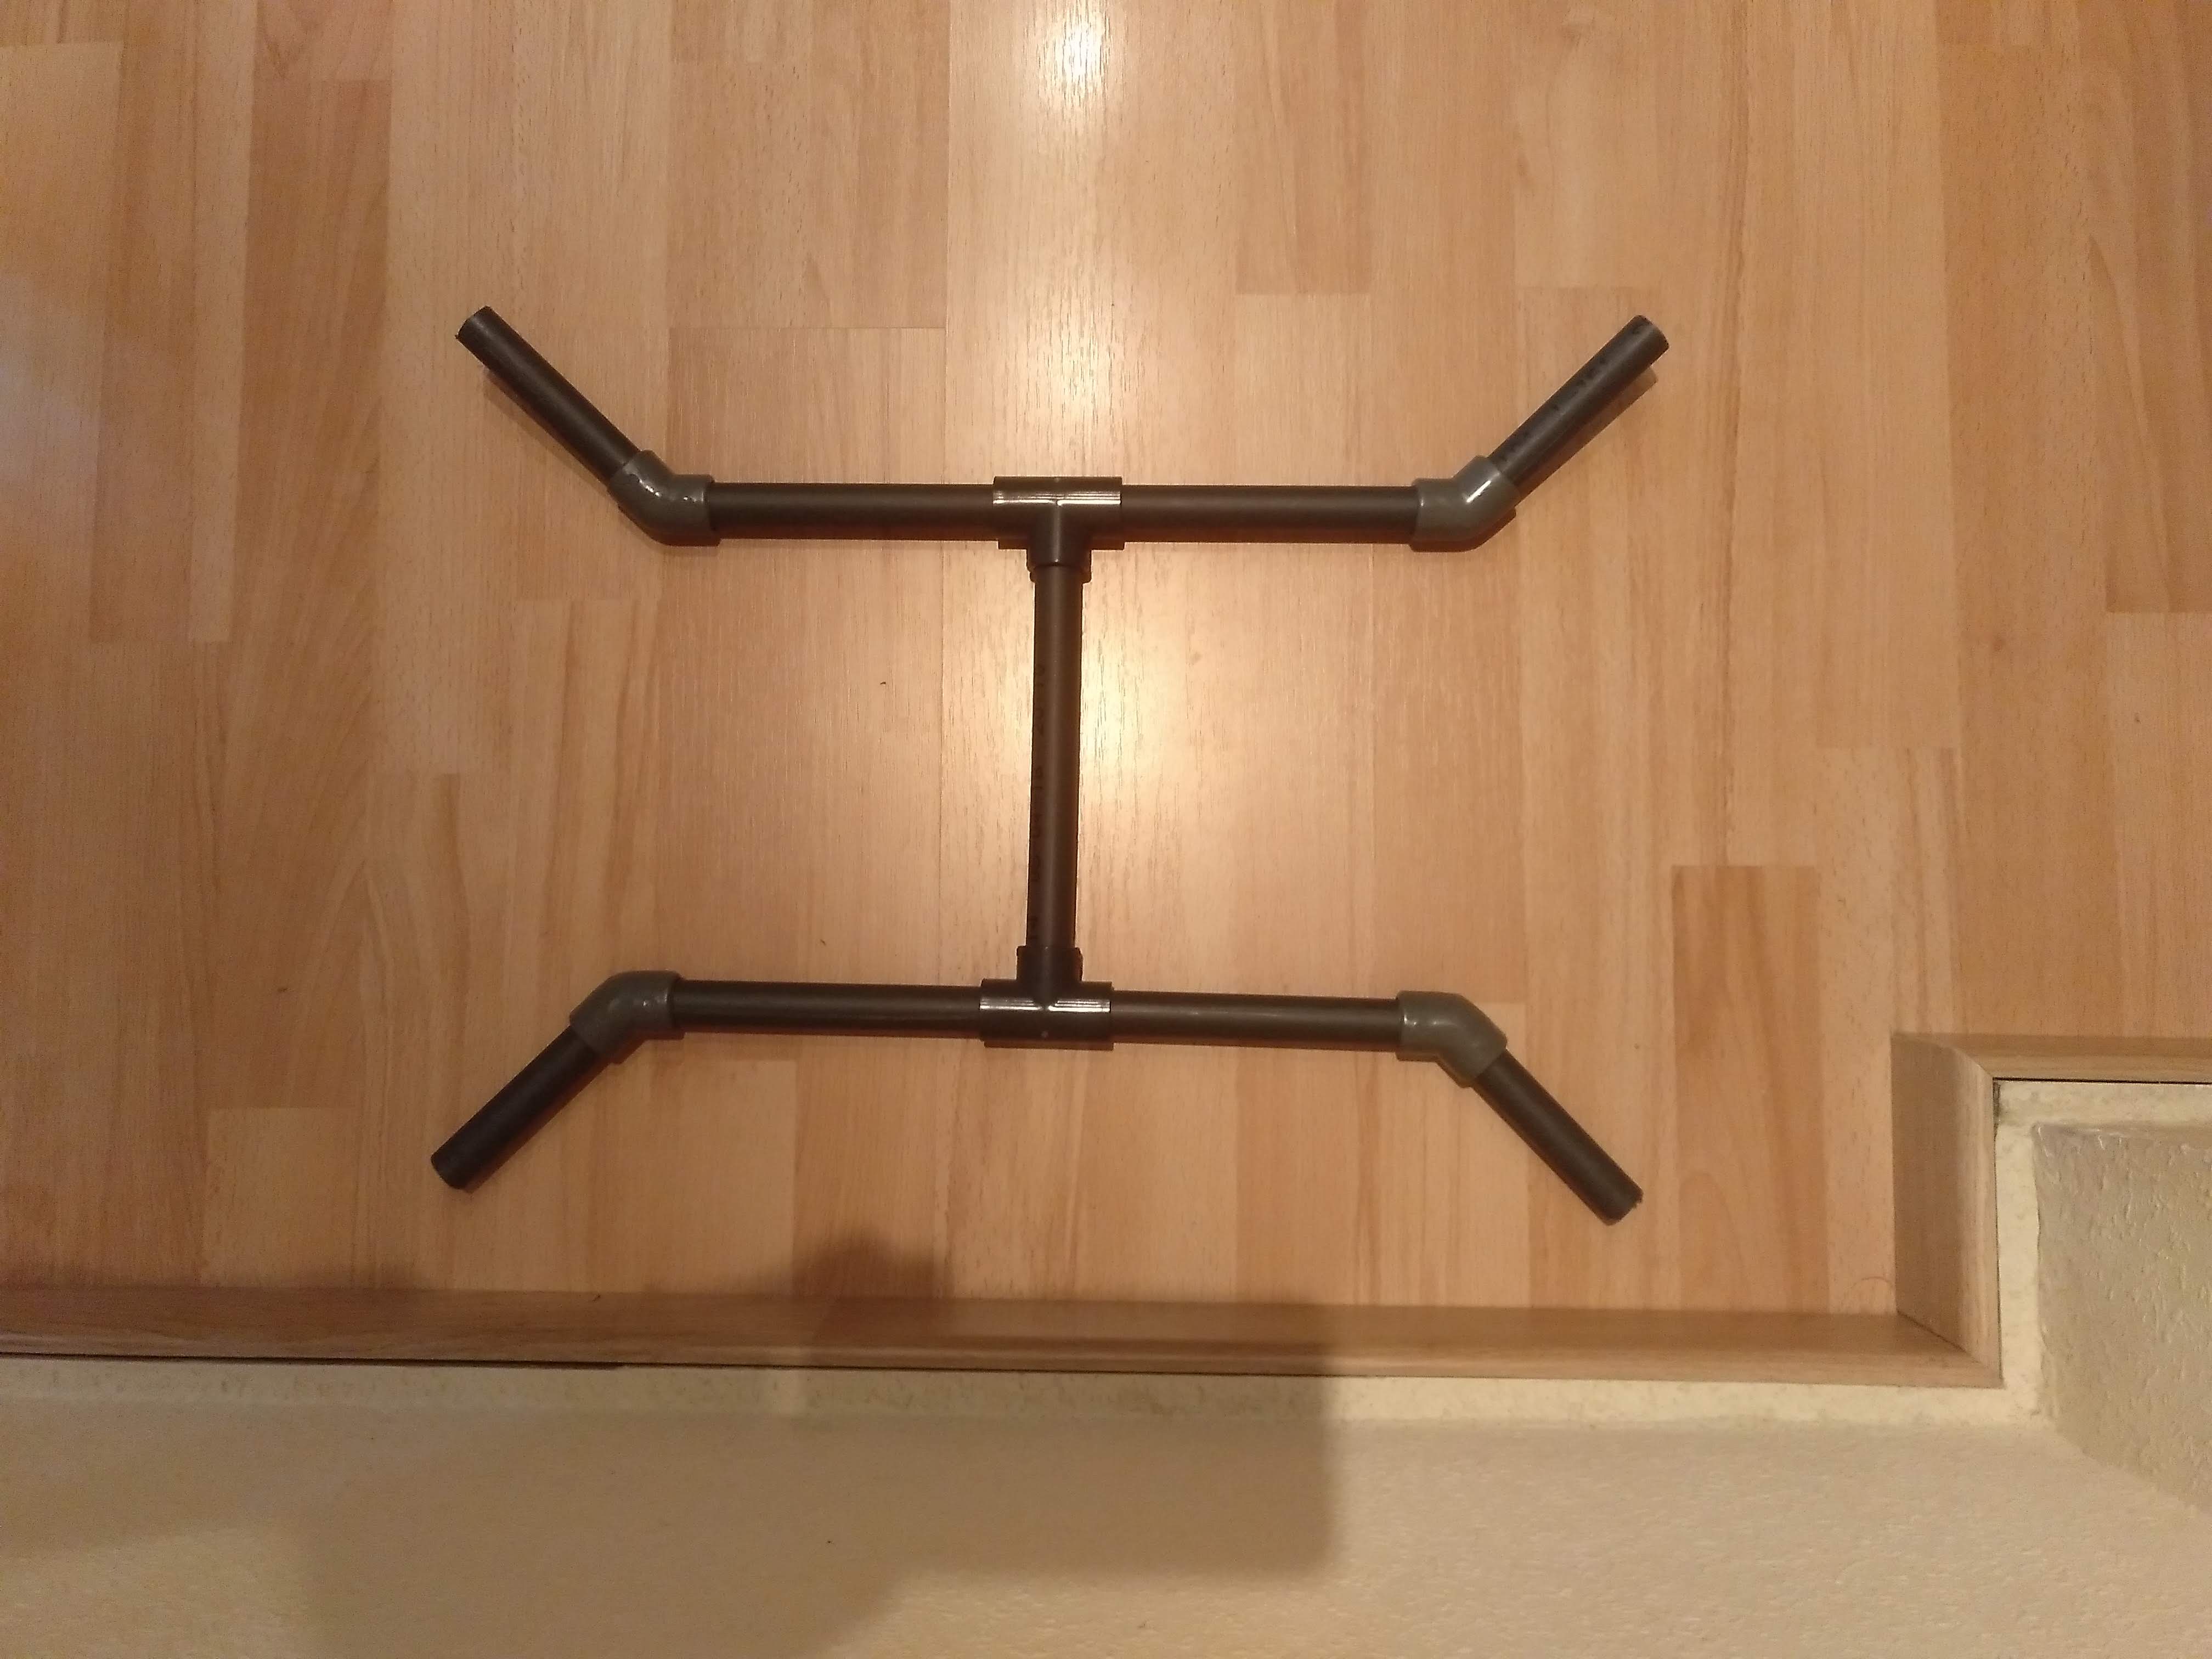
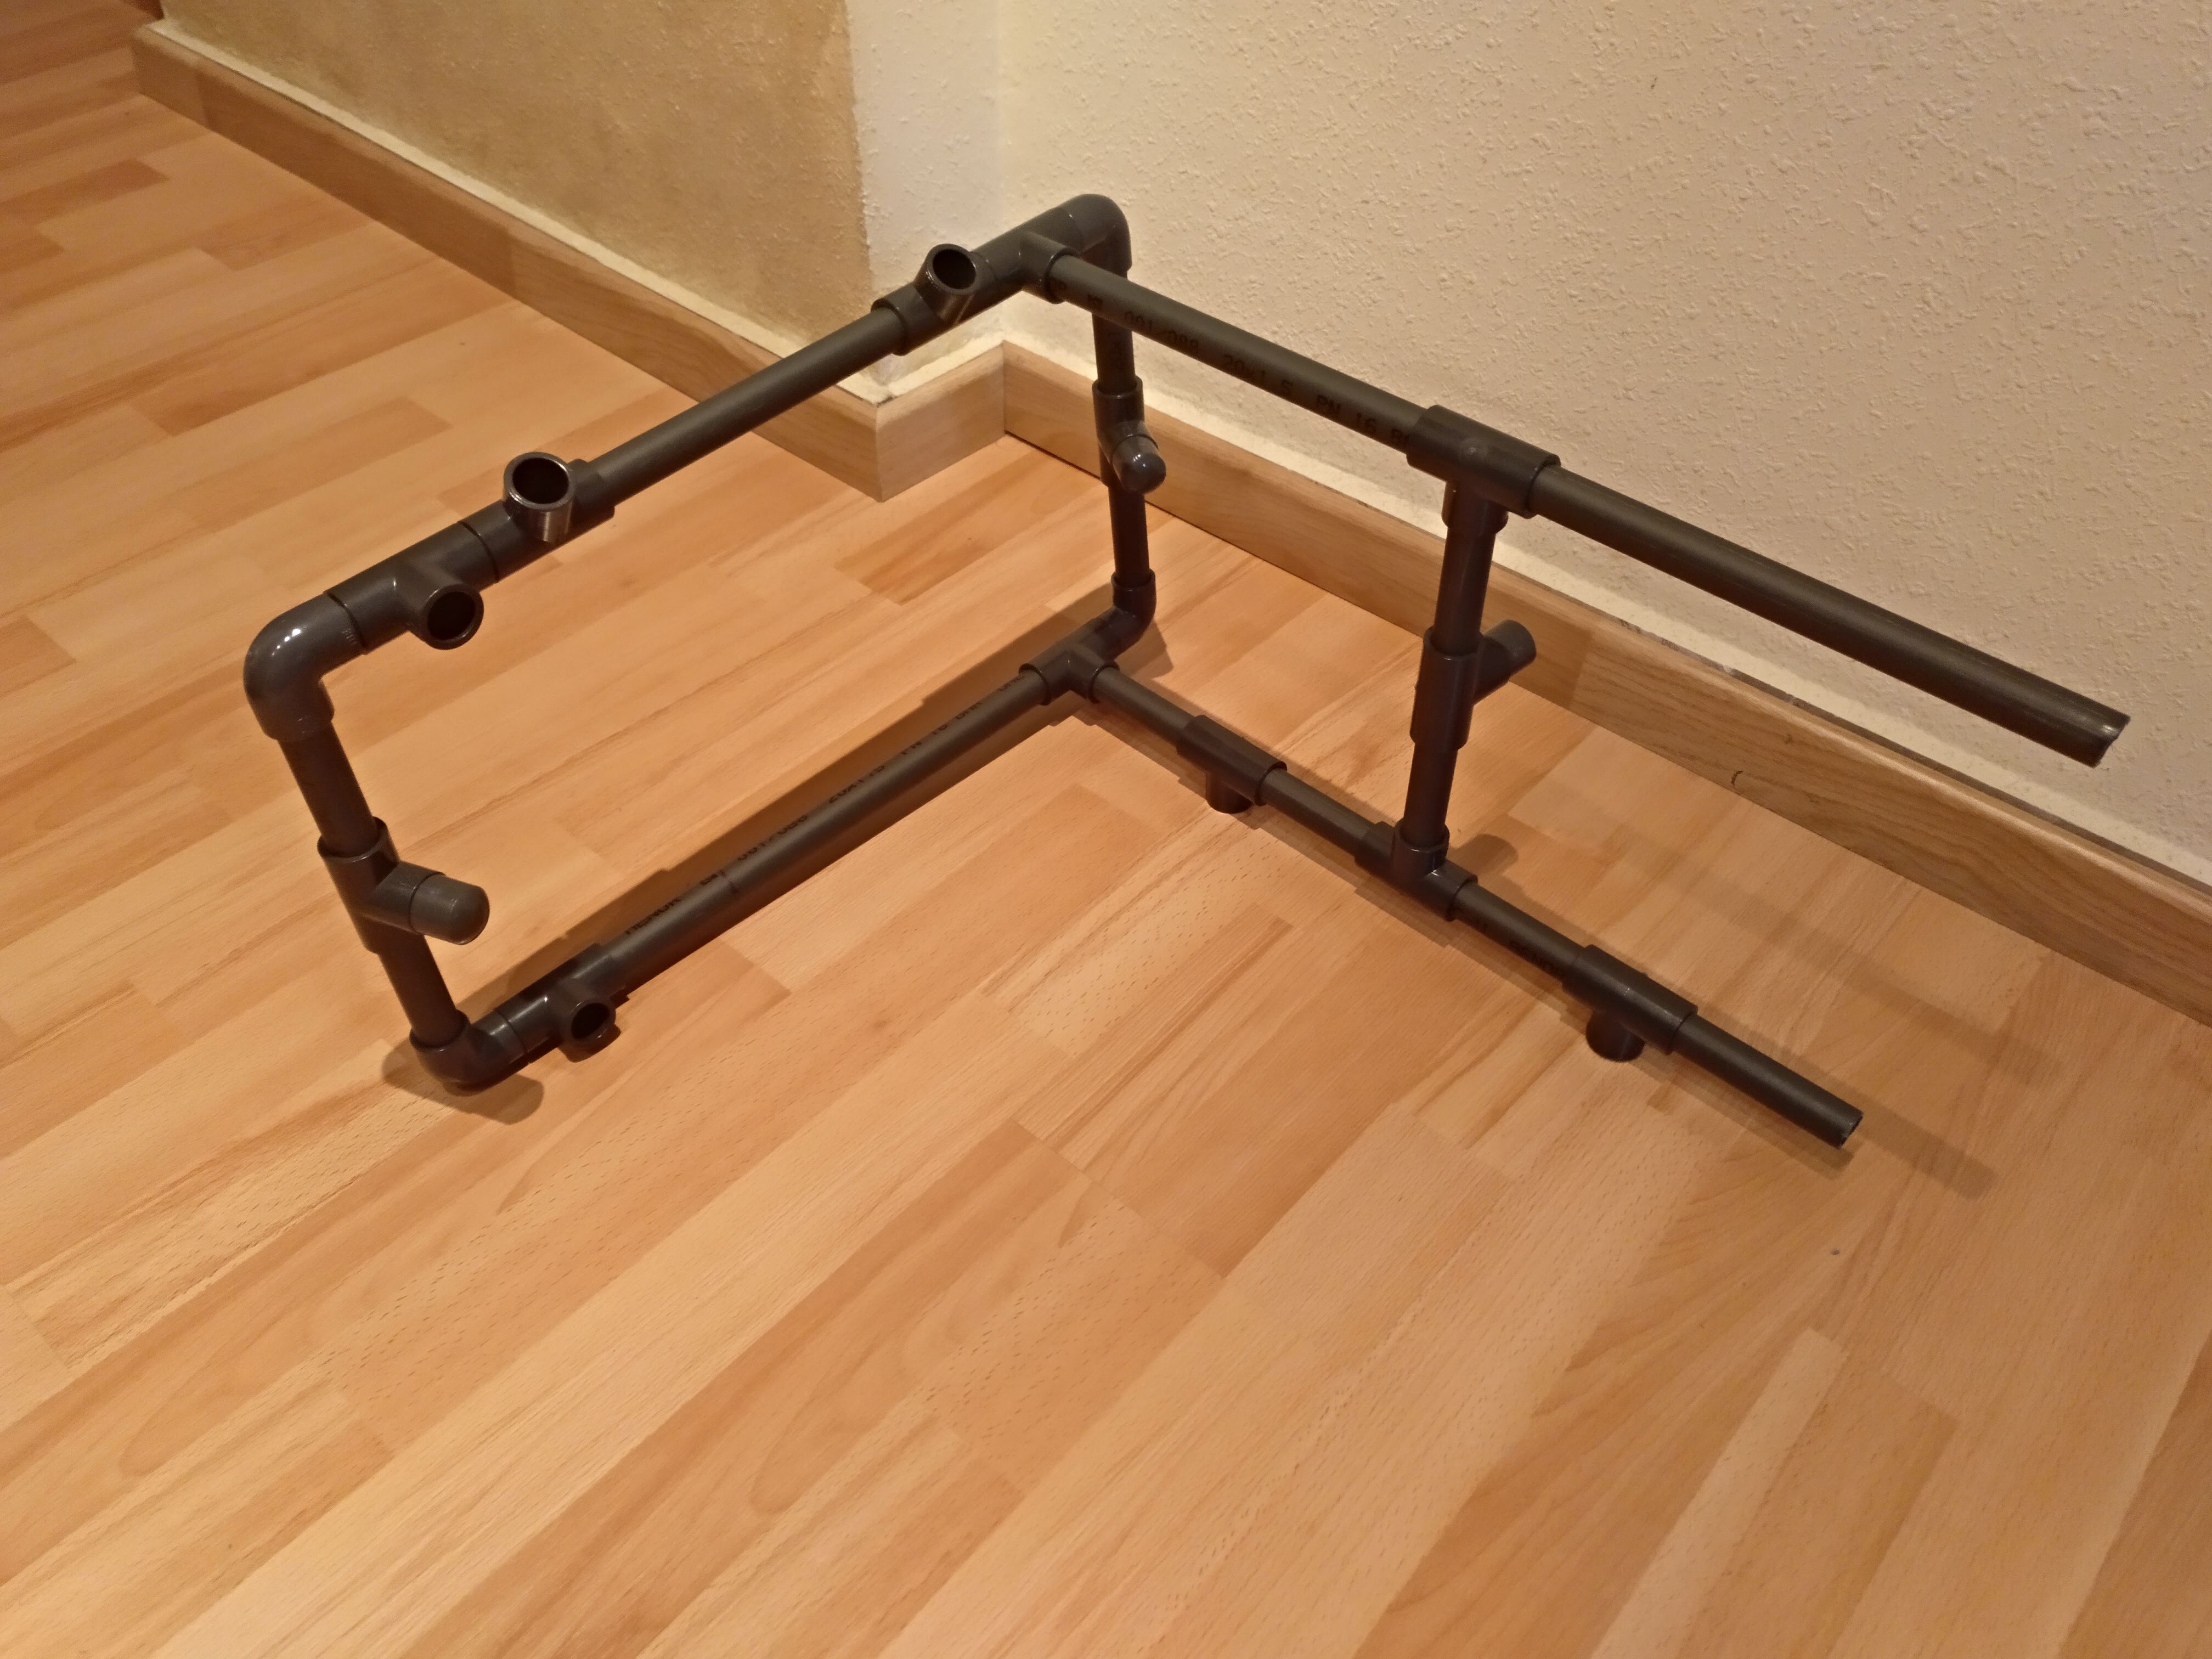
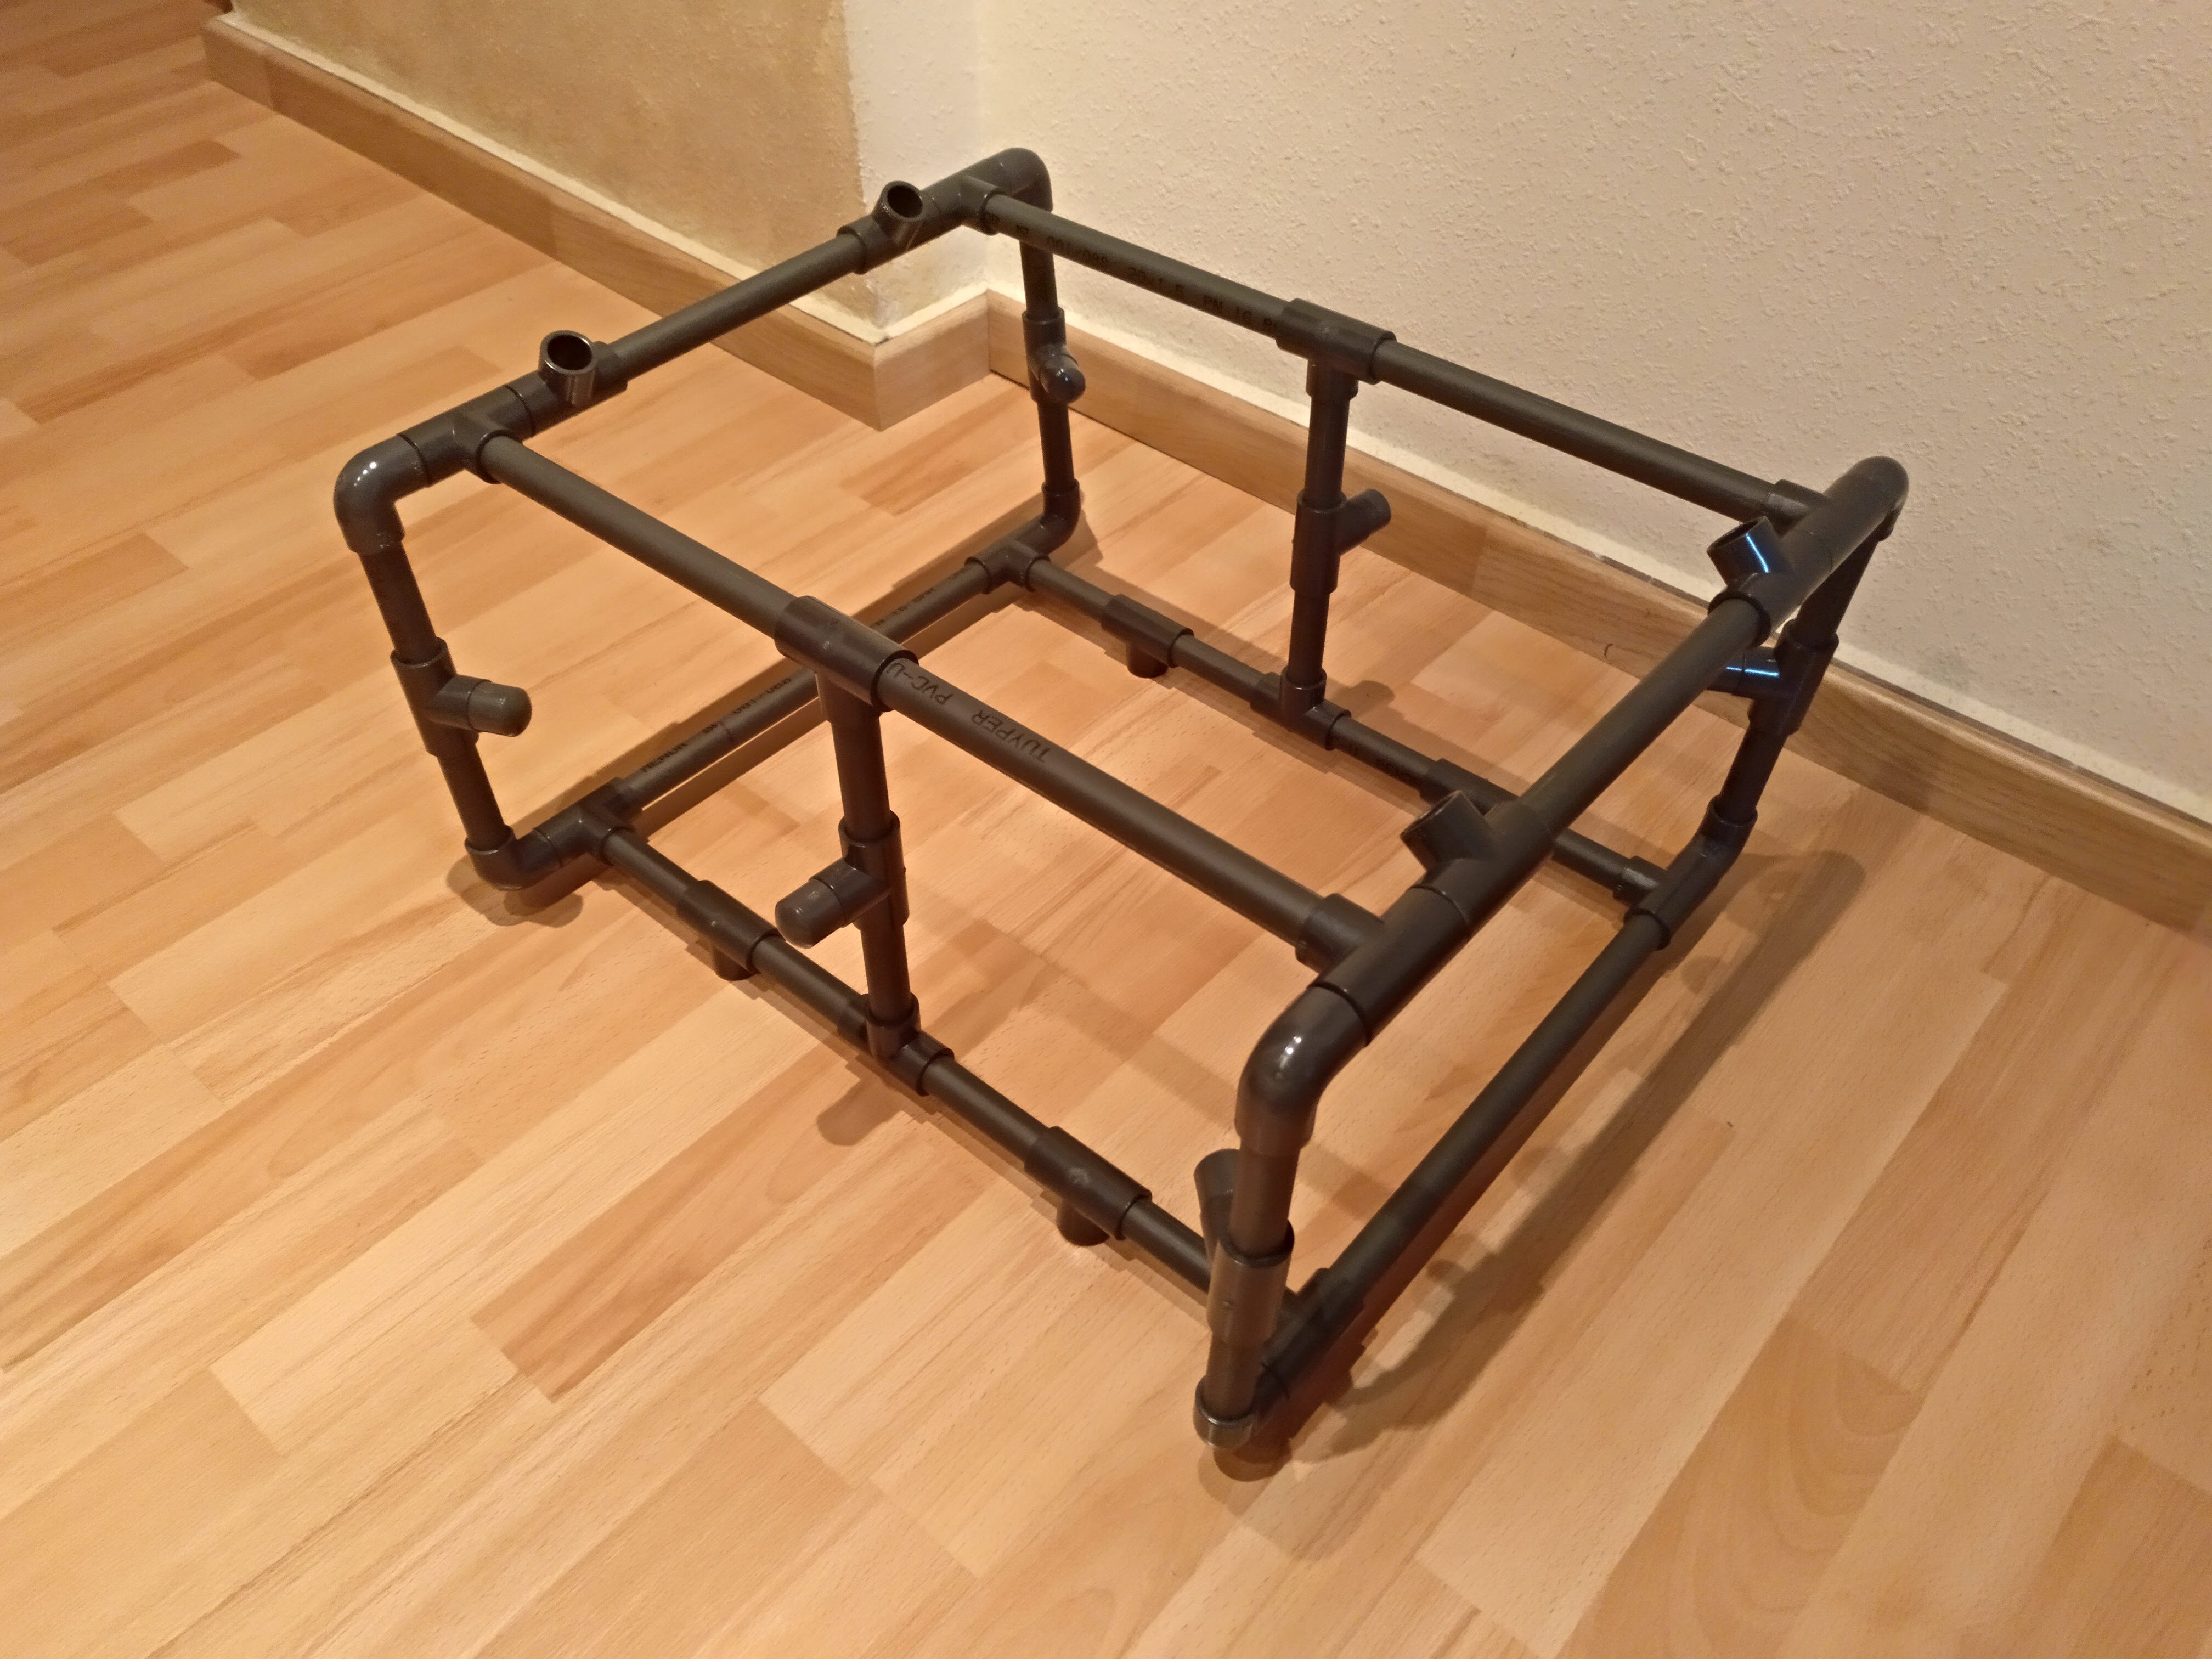
I started building the frame, and here you have a step-by-step how to make it:
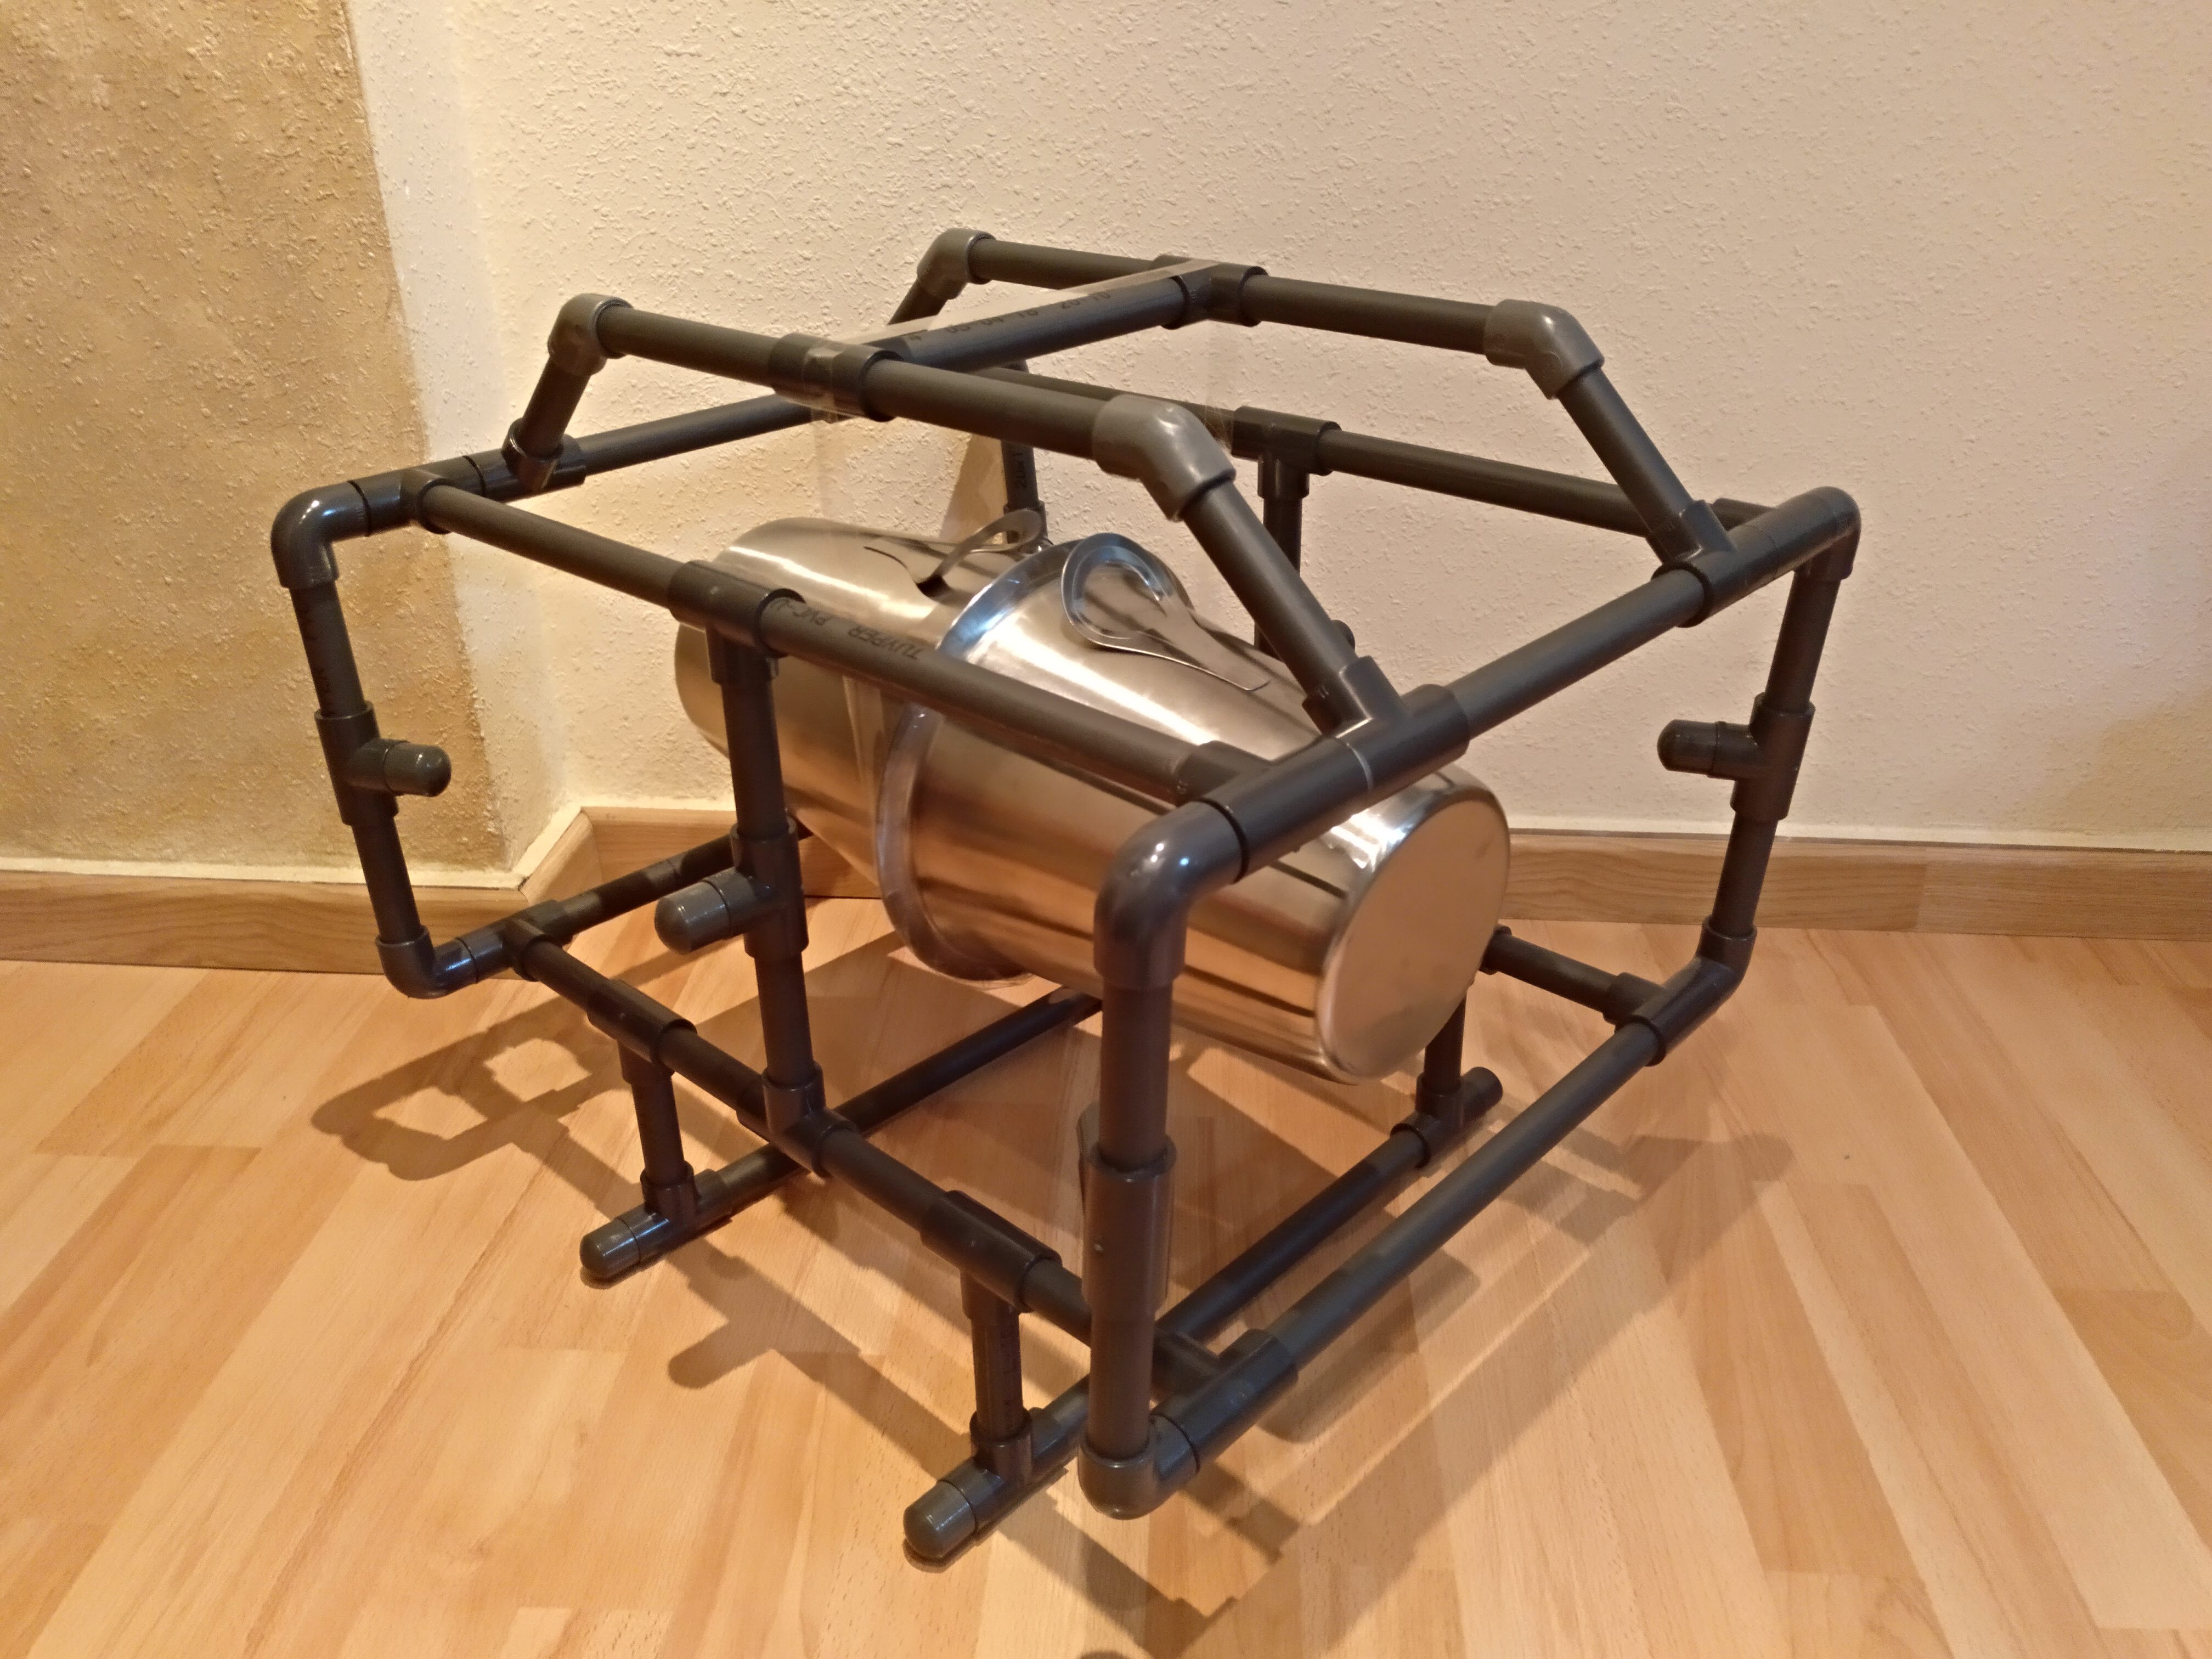
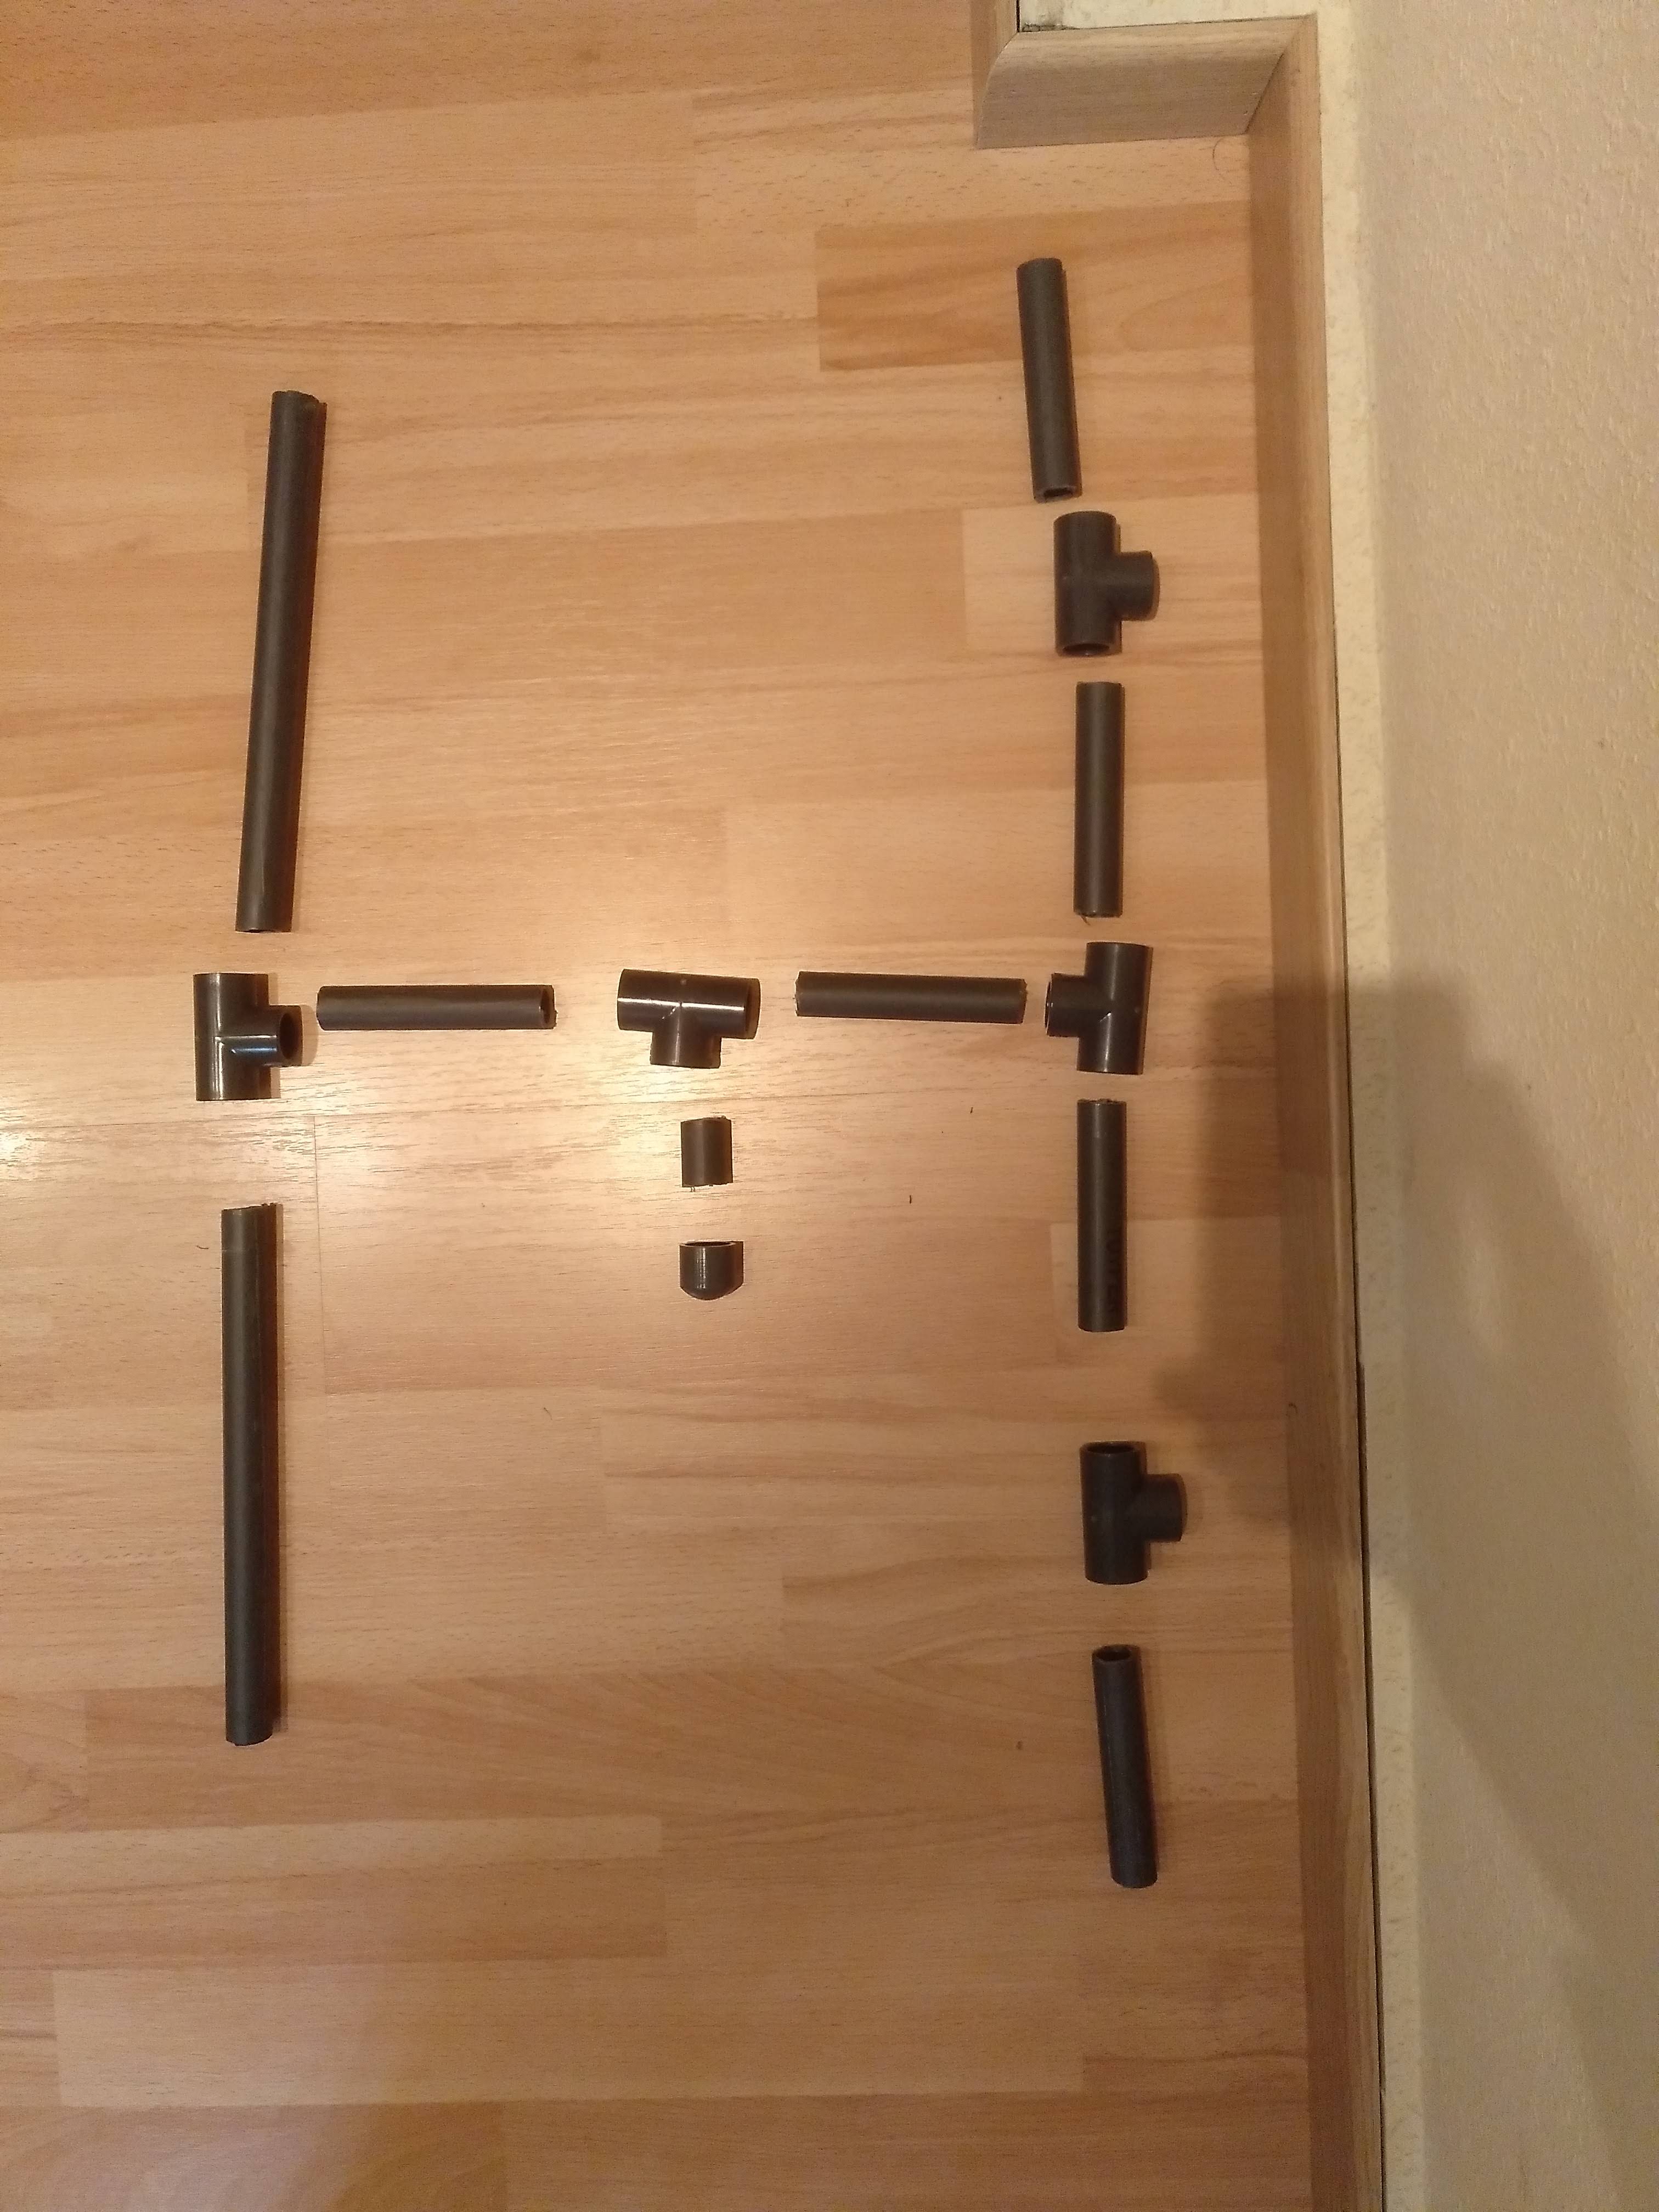
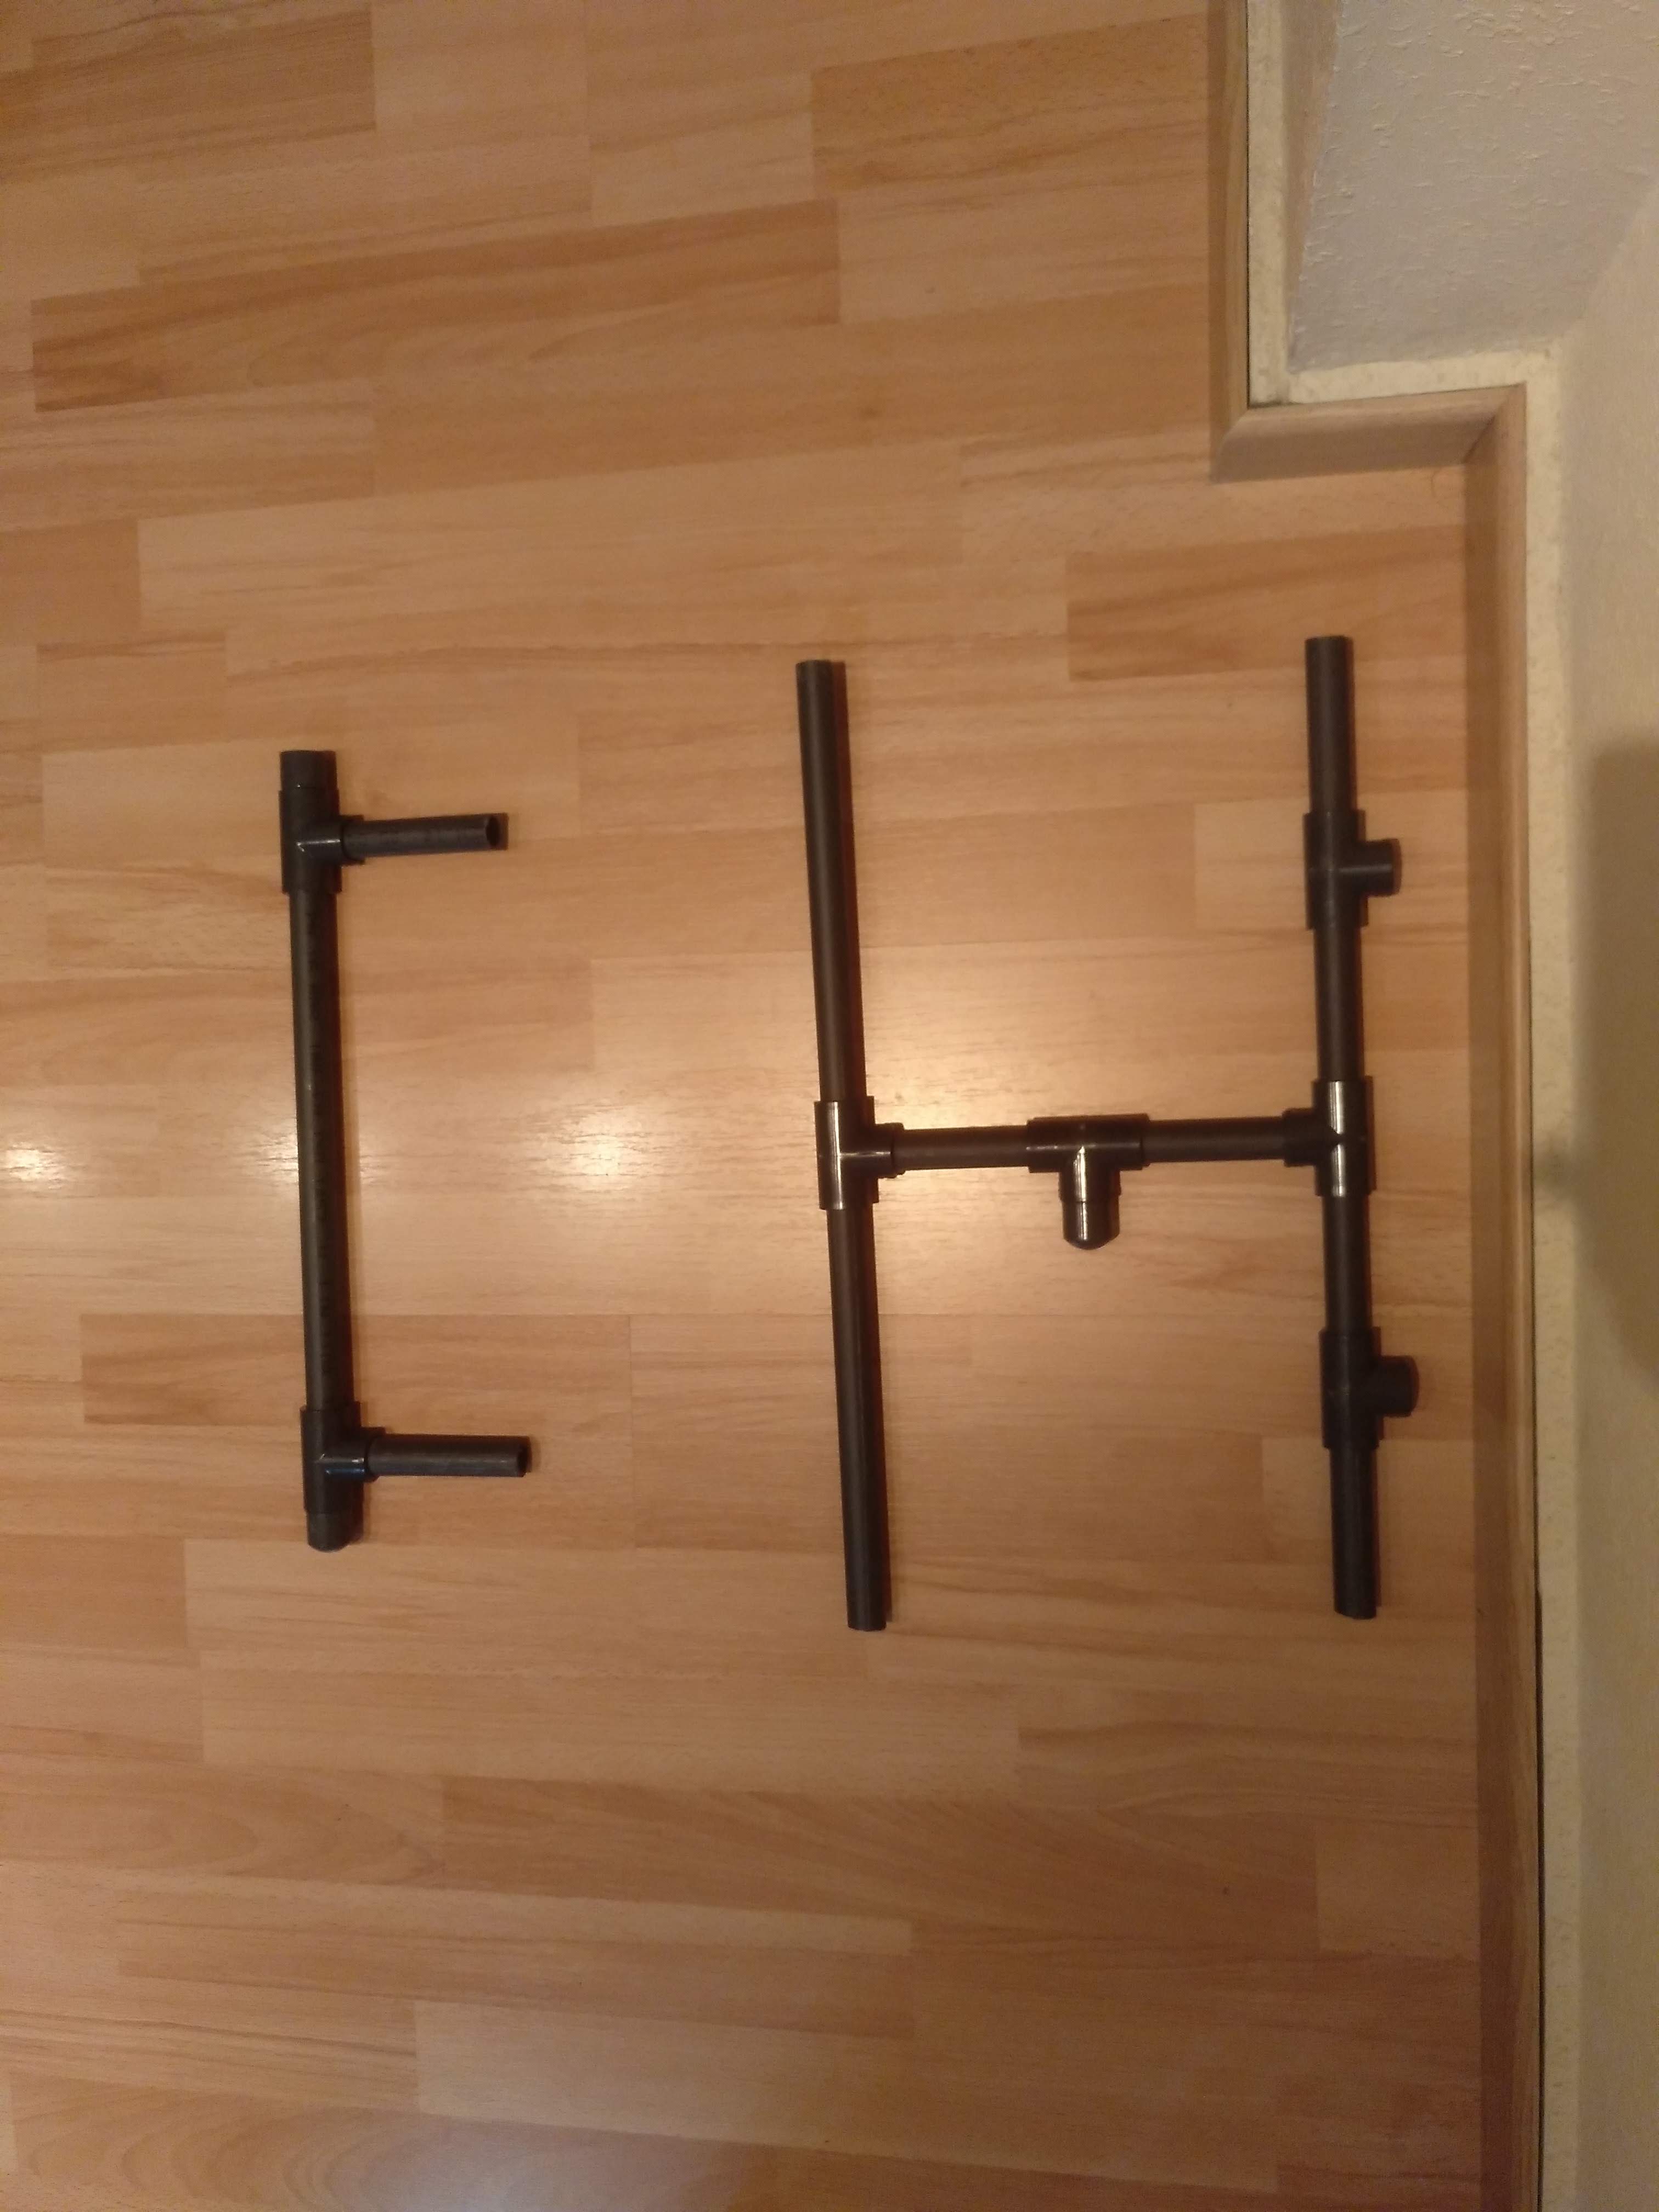
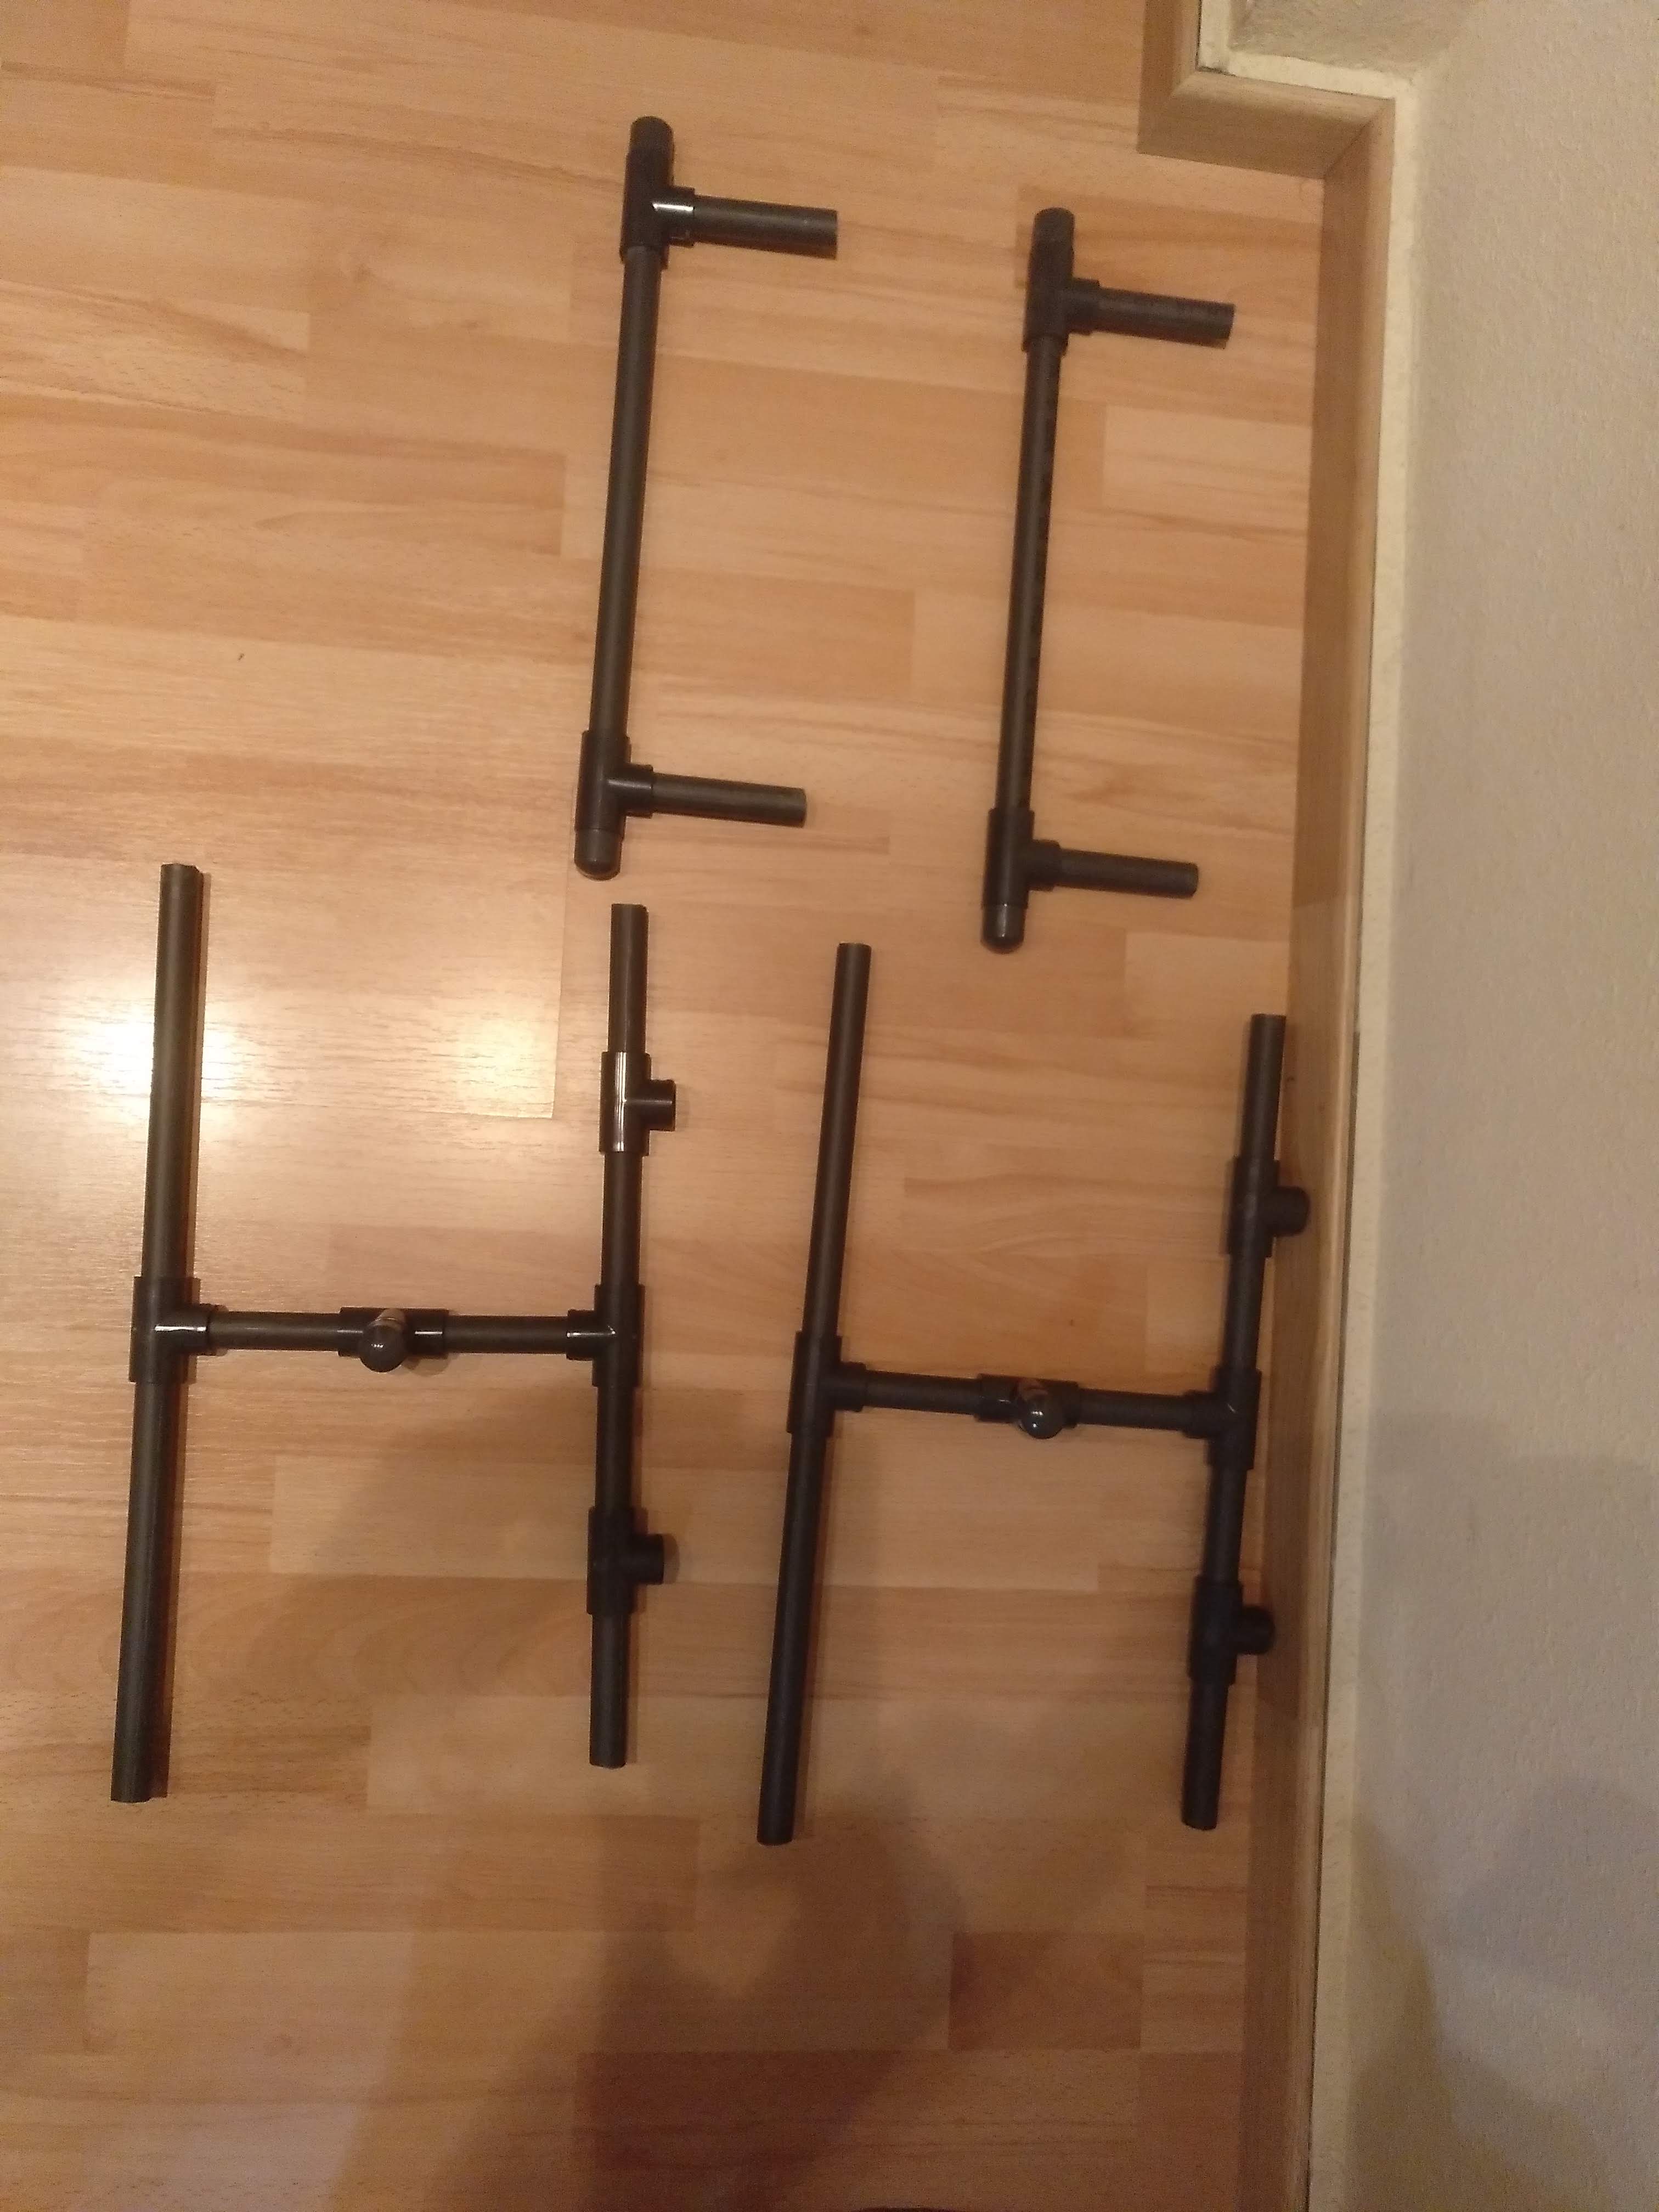
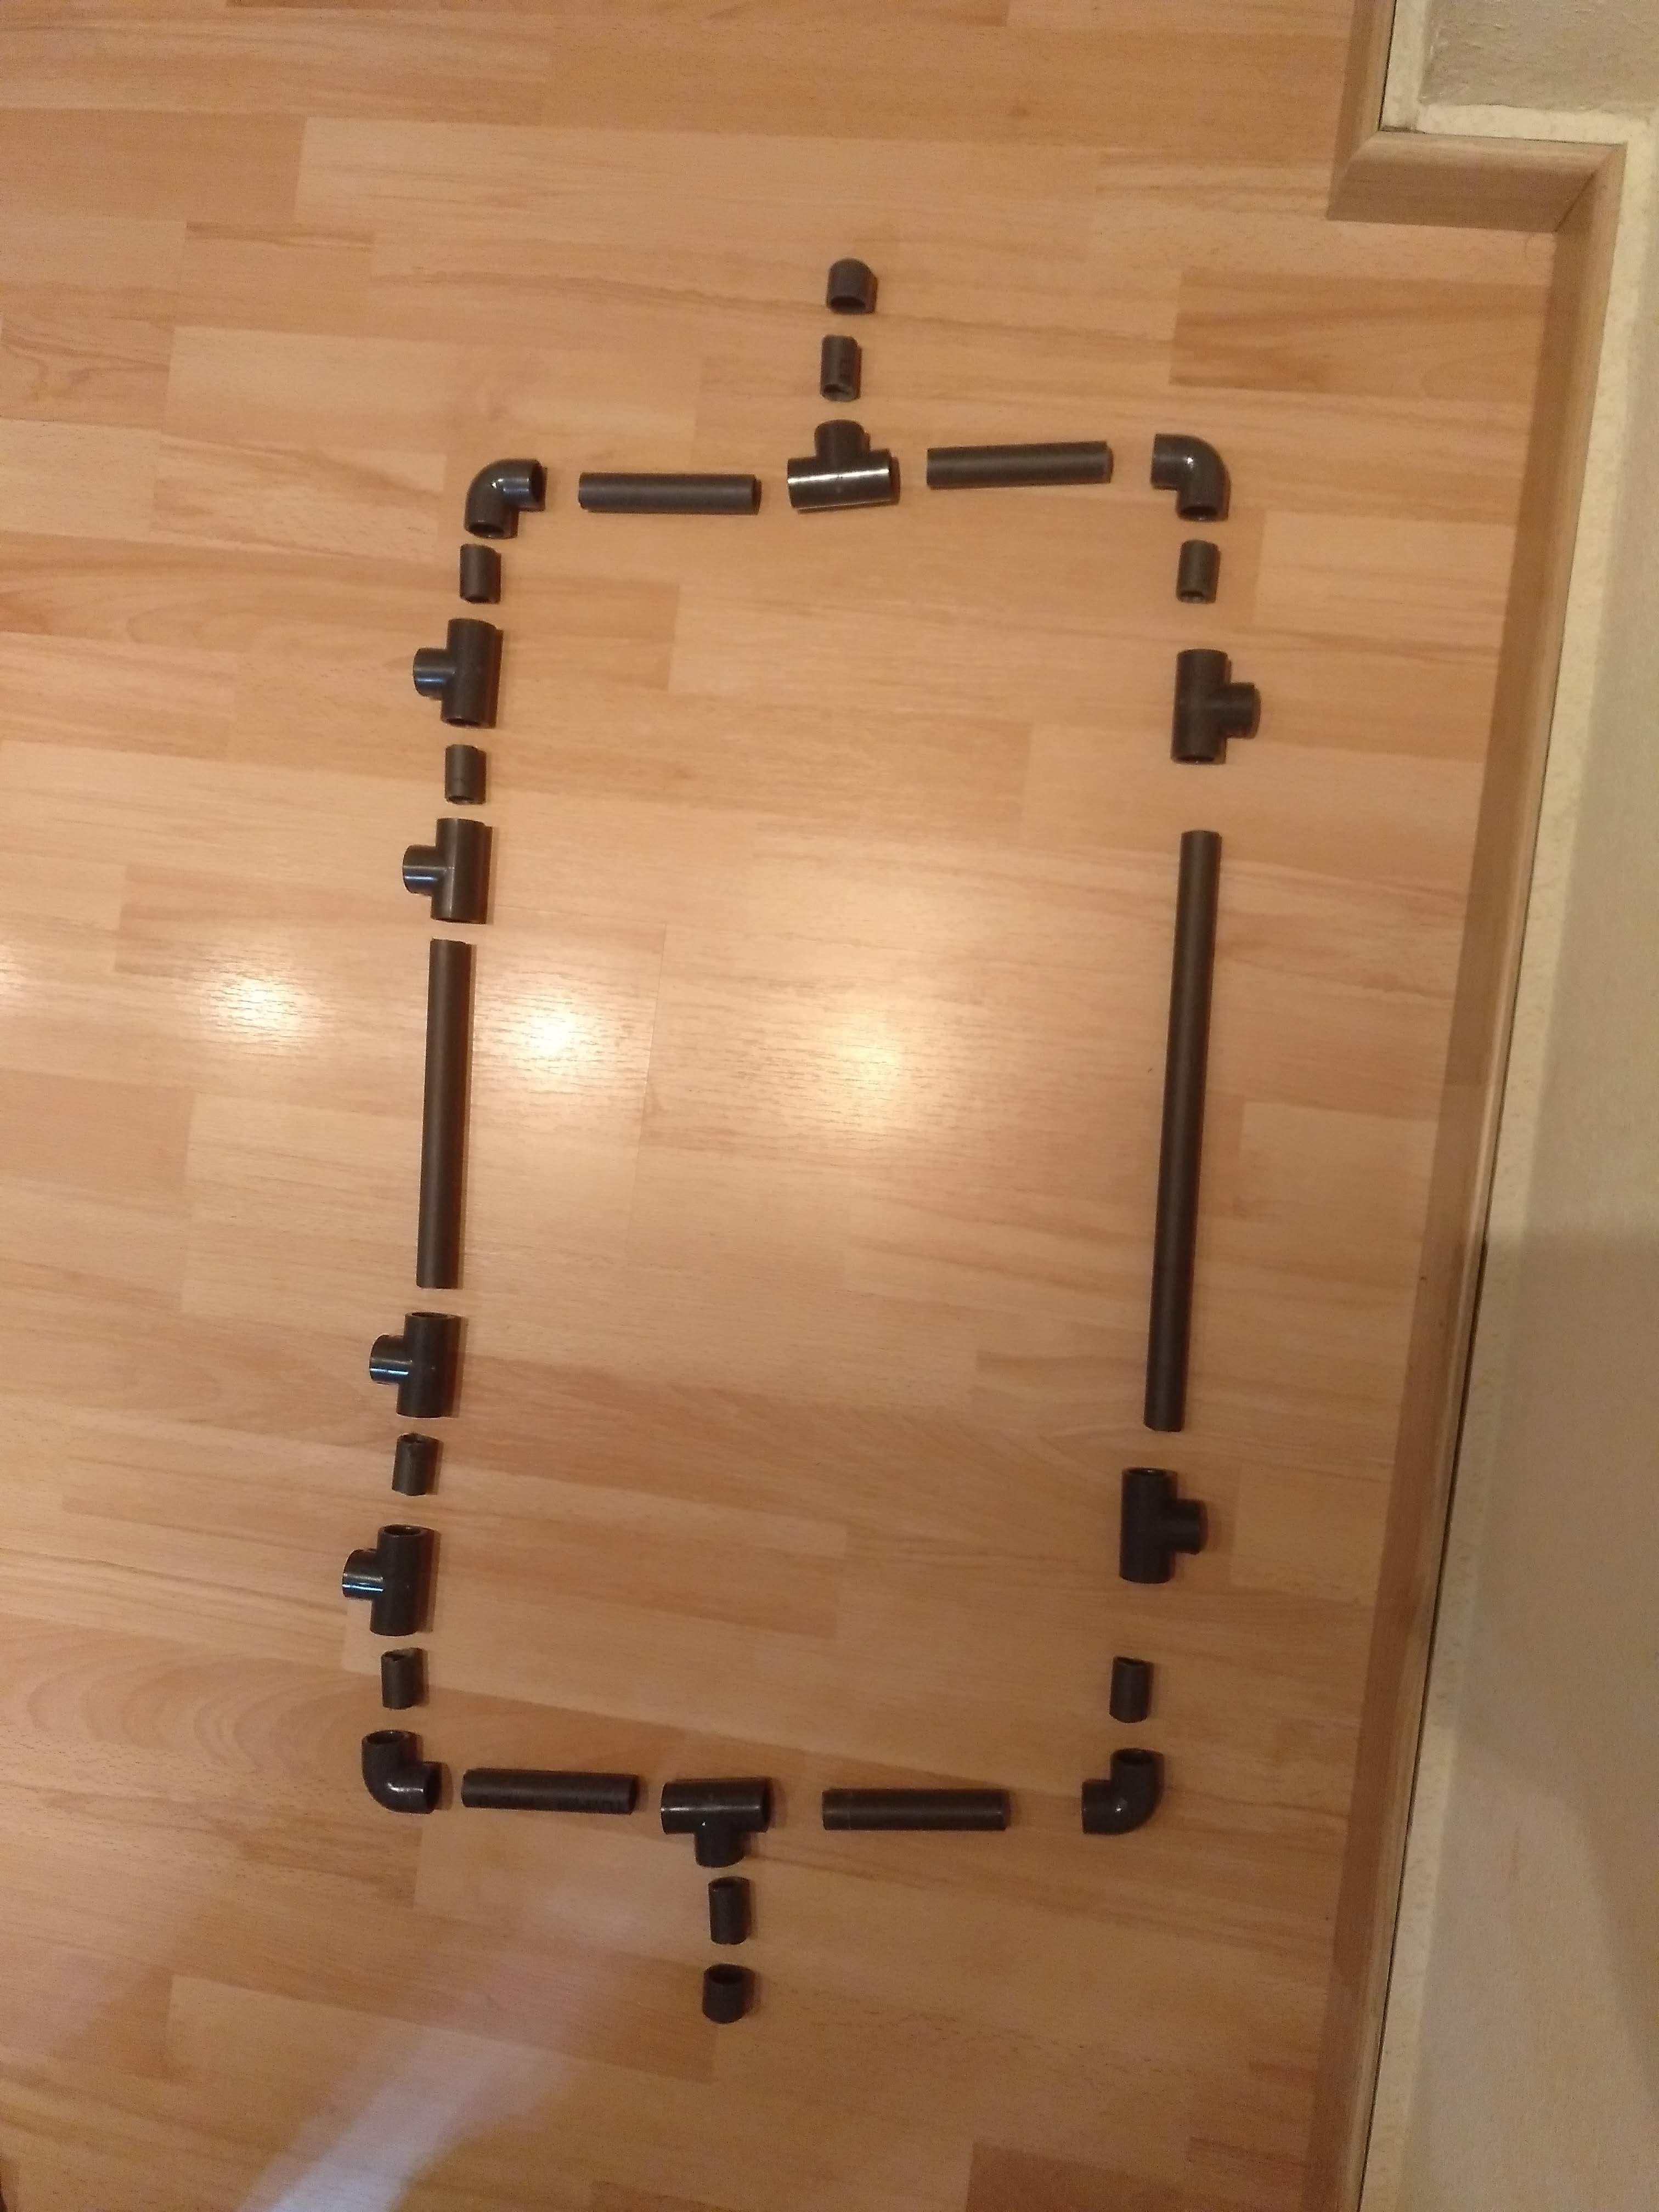
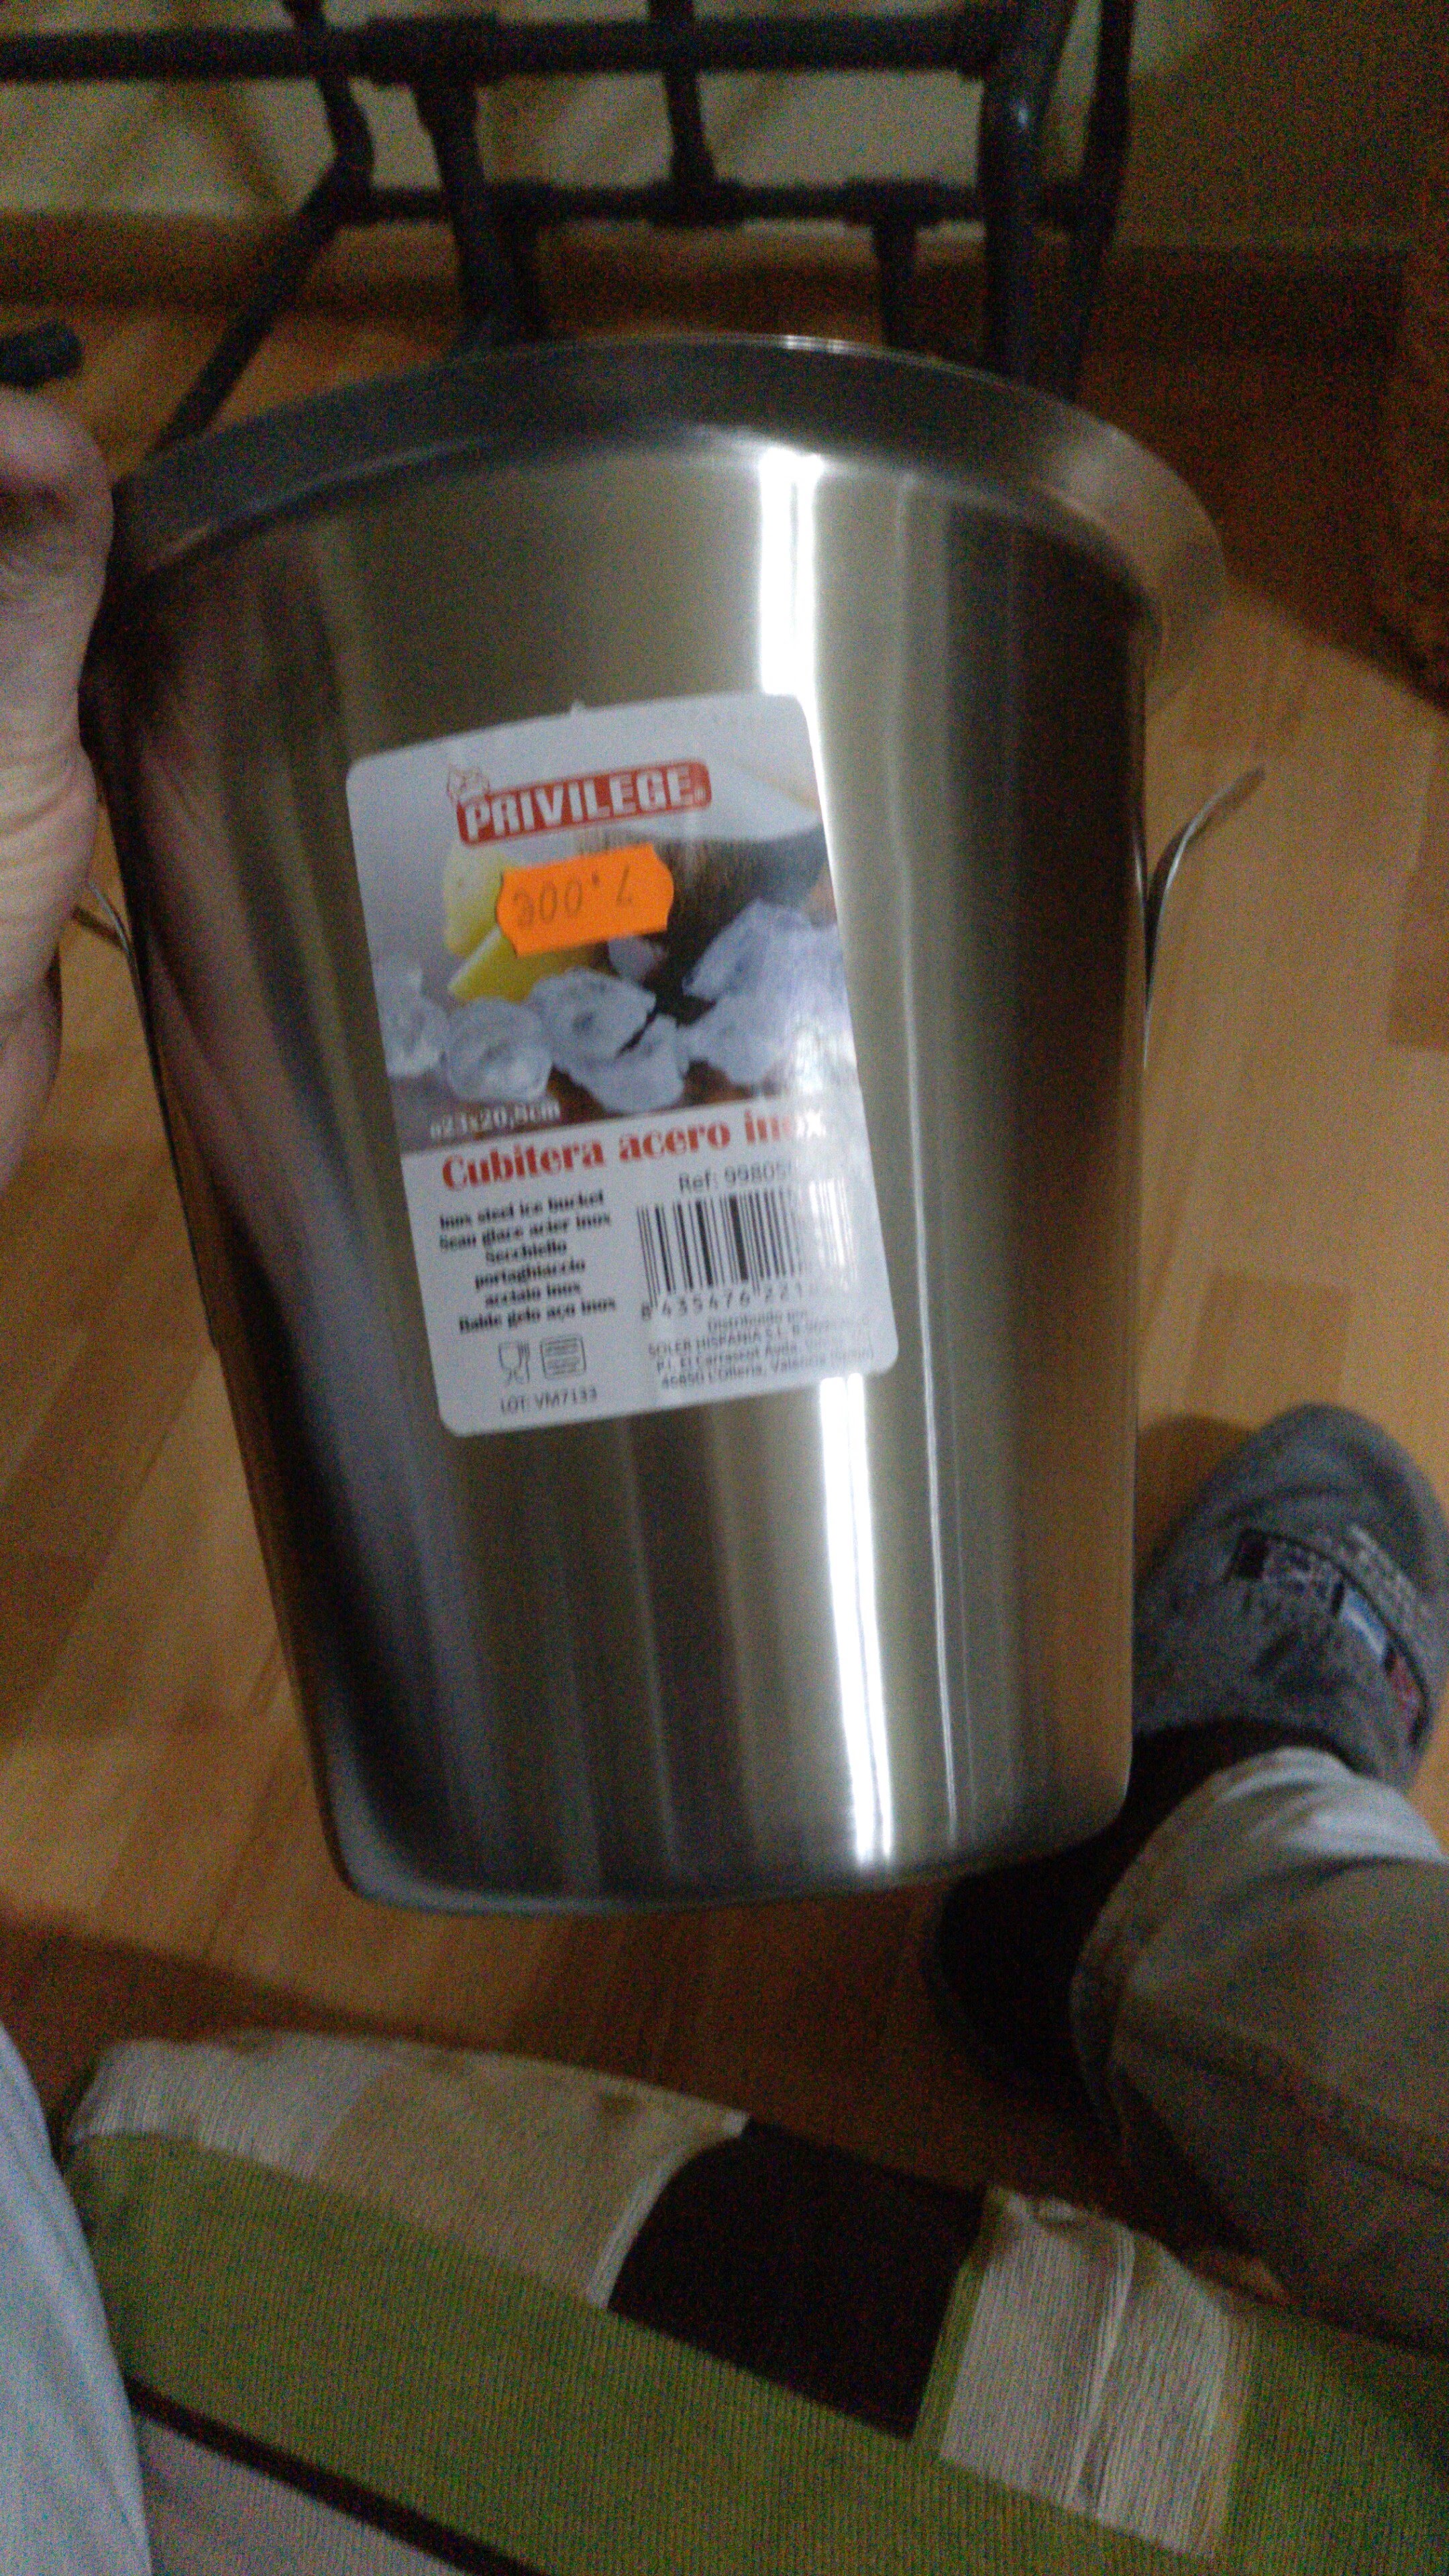
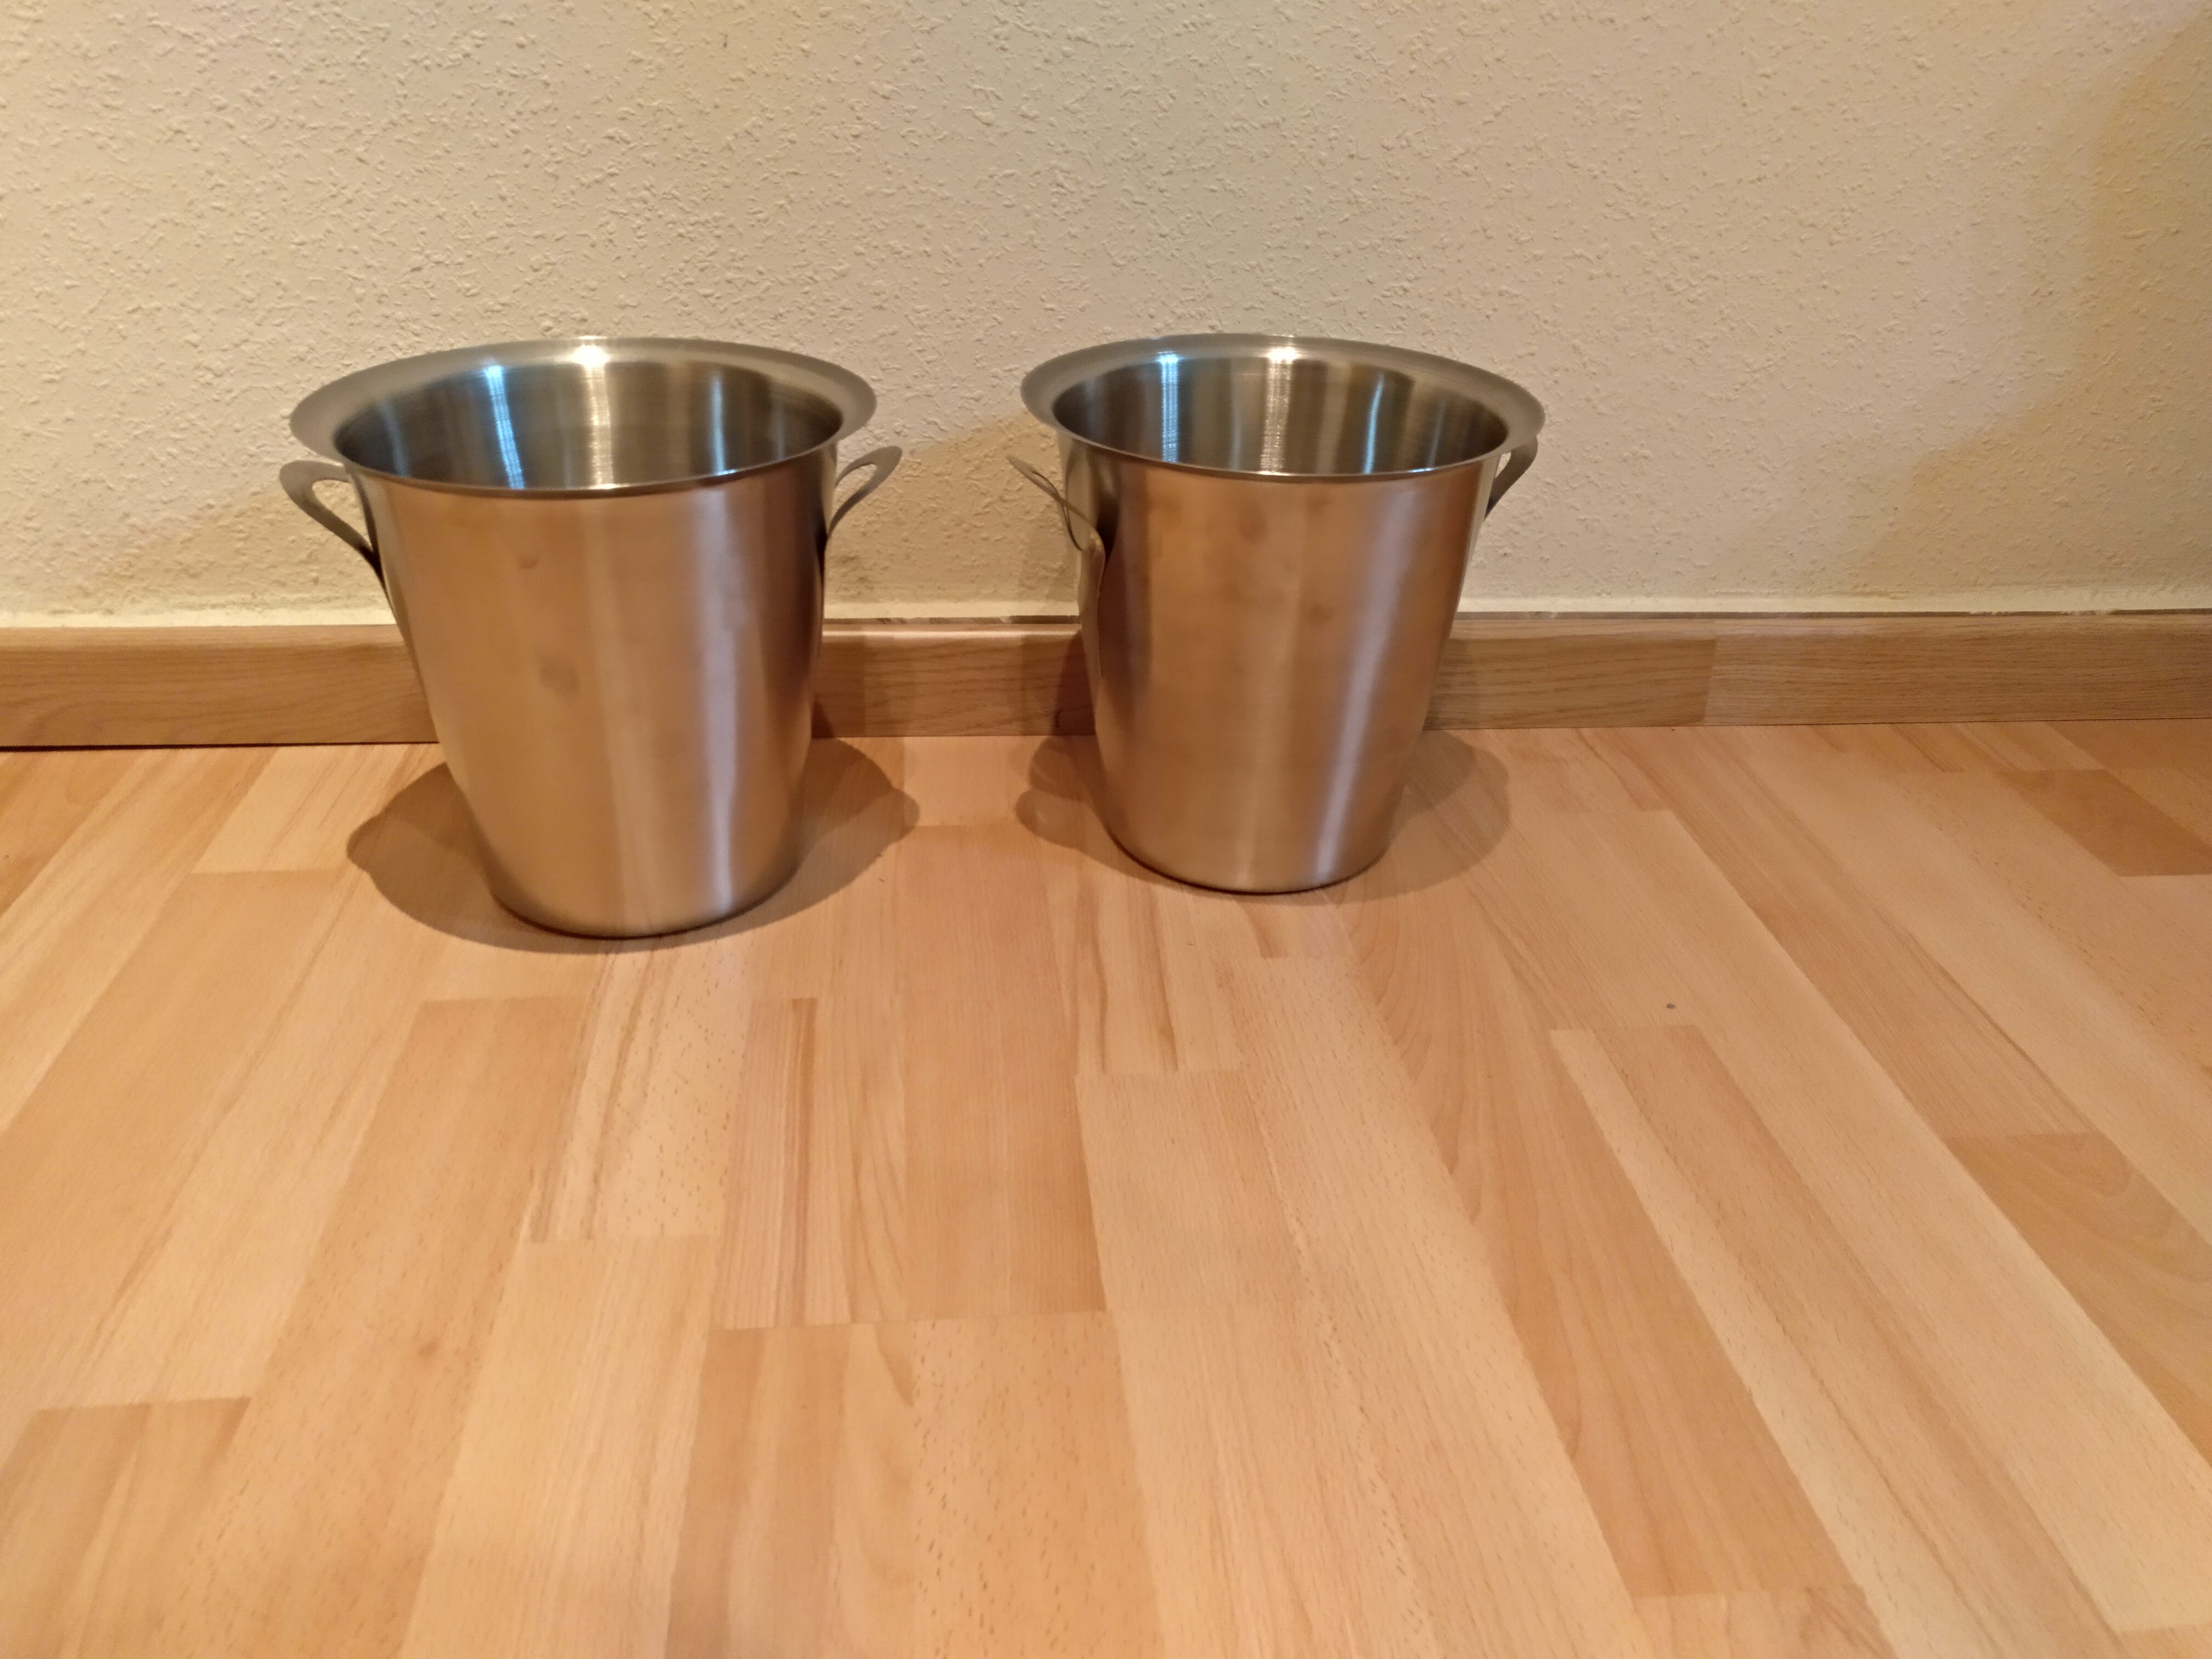
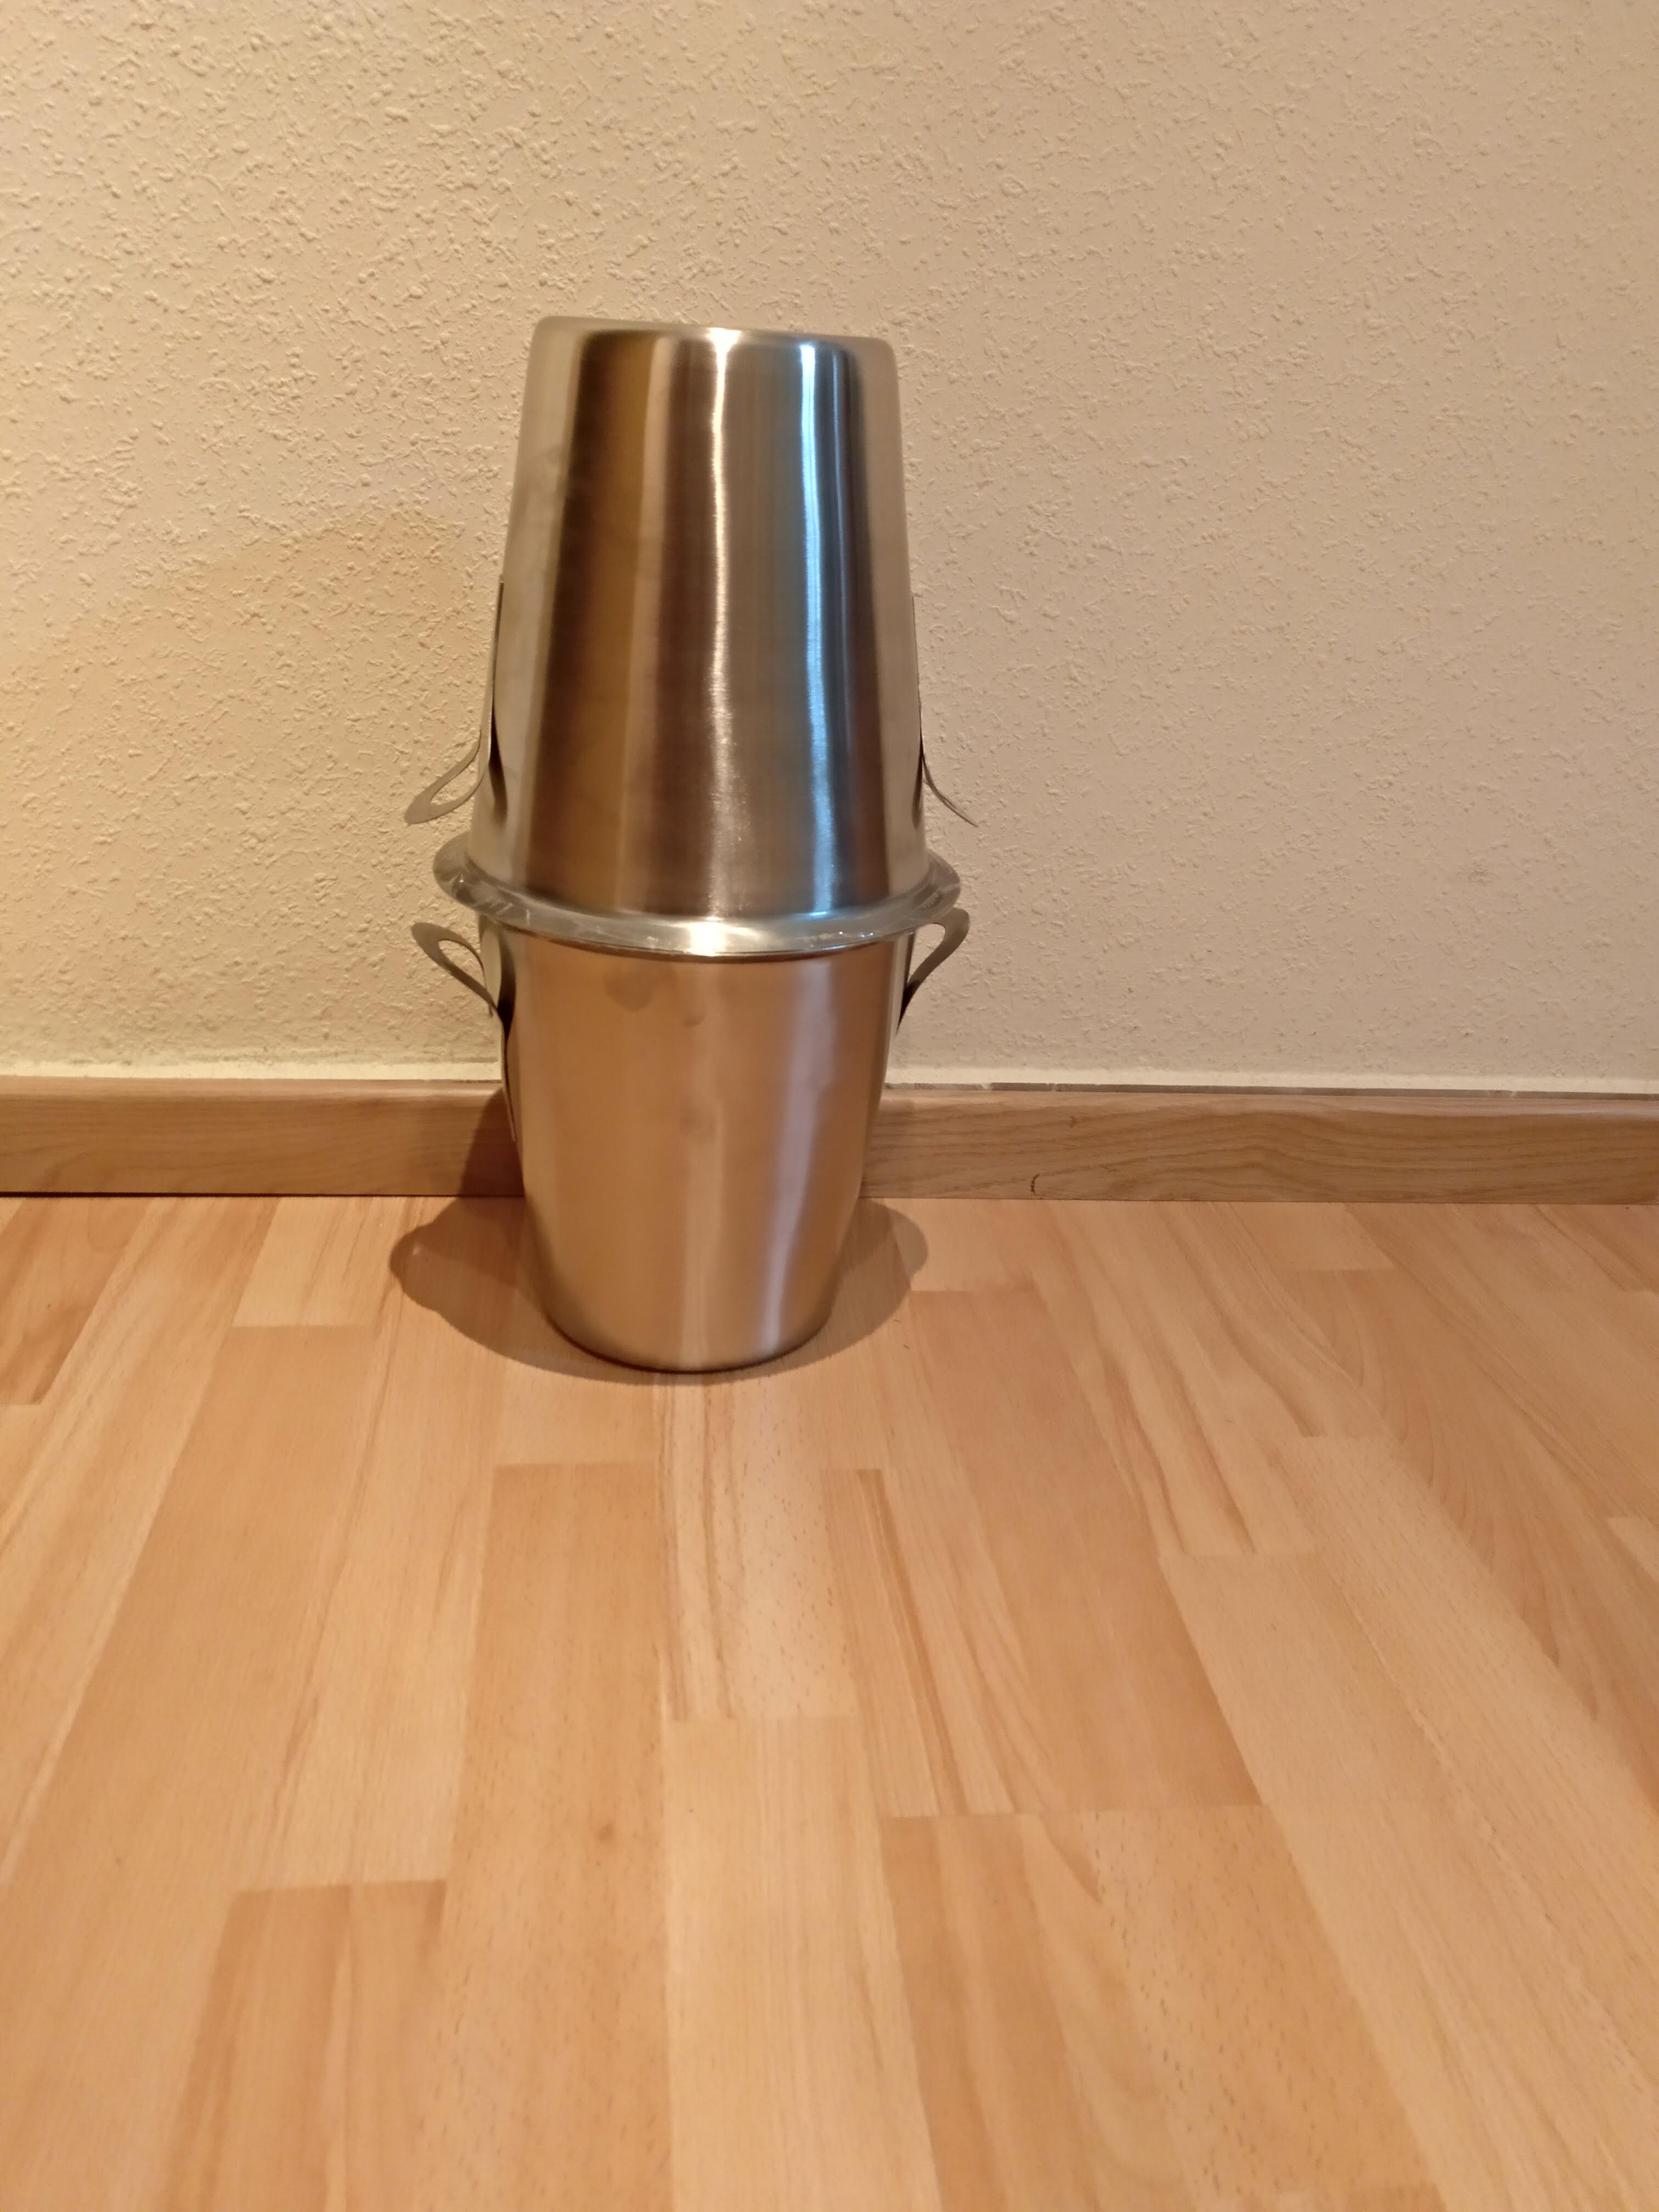
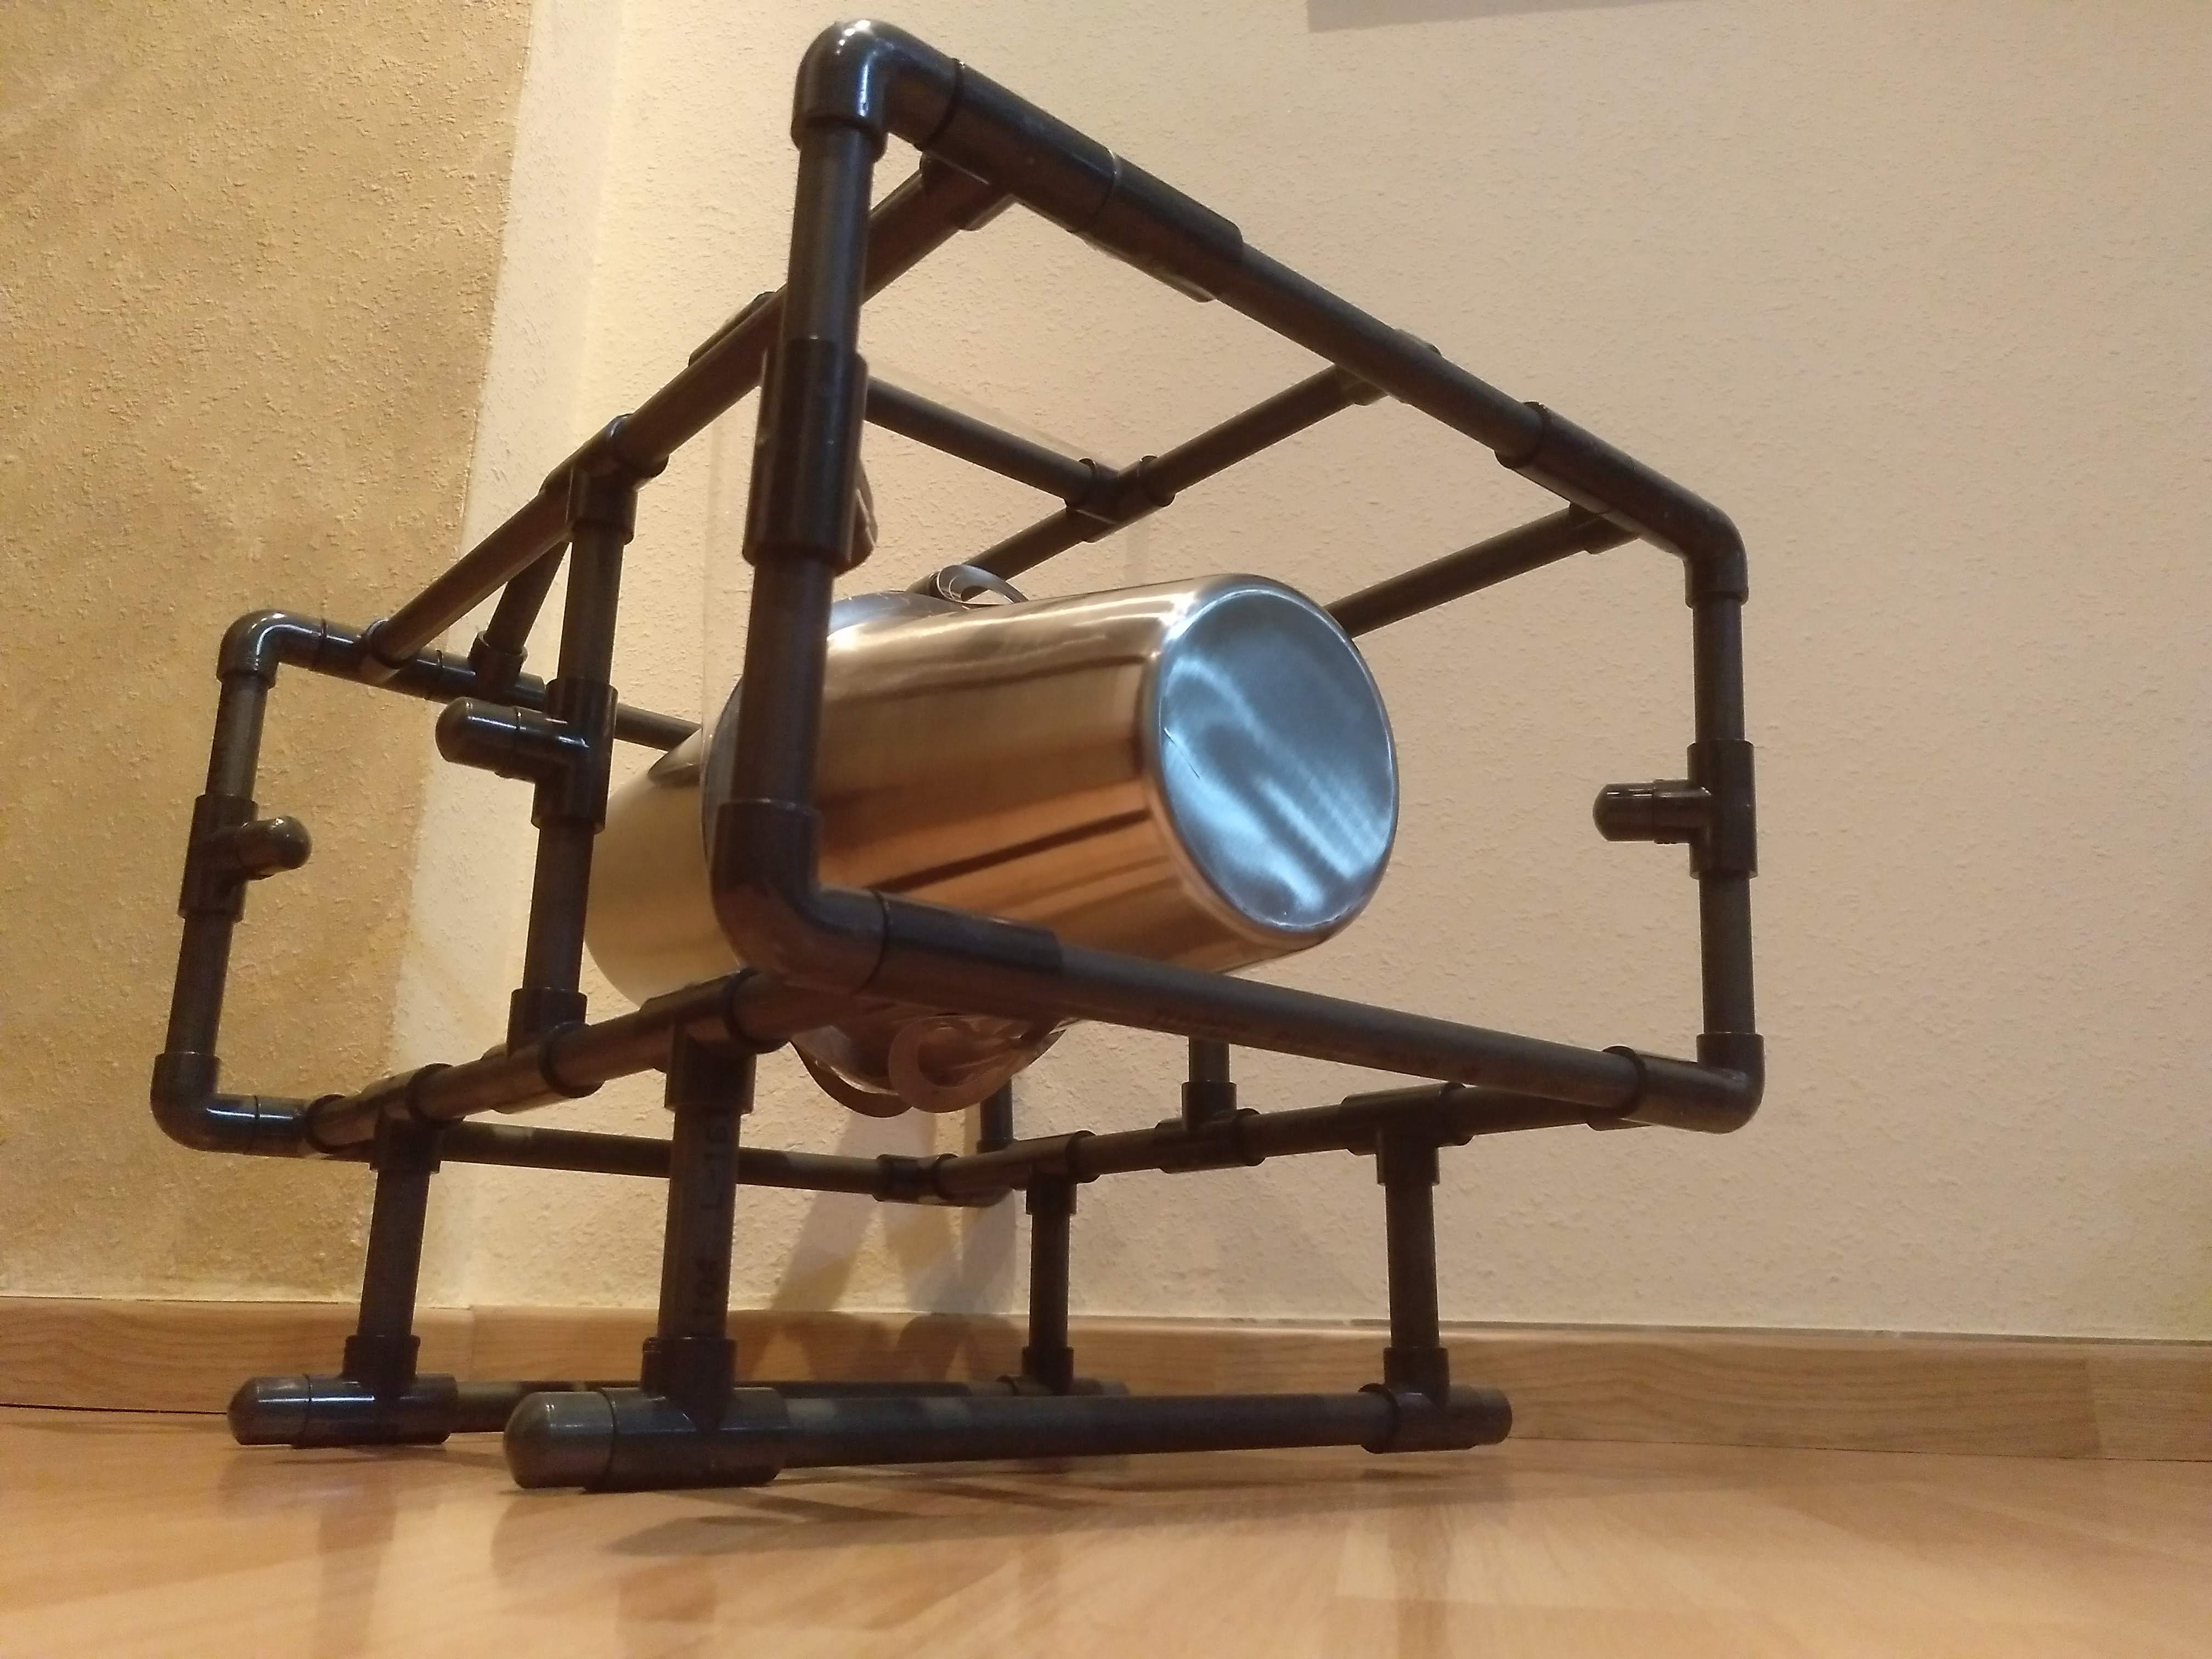
Parts and pieces for Alioli Underwater ROV Frame v2How will it lookLegs split into partsThe sides split into partsLeg and sideLegs and sidesBack split on partBack joinedBackTop split on partsTop joinedTopTop, front and backBack and sideBack and sidesFront, back and sides togetherBase with one legBase with two legsAll togetherAll togetherIce bucketTwo ice bucketsIce buckets togetherIce buckets togetherHow will it look when everything is connectedIt should look something like thisFinal Result of Alioli Underwater ROV
Next steps
After building the frame, the following steps are to drill holes in the pipes so water can go through and put the structure together using screws. Then paint it with a preparatory coat and paint it yellow so it will start looking like a real submarine.
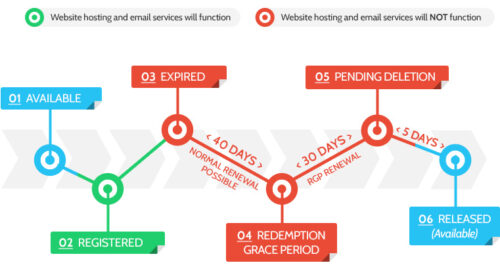
En este artículo hablamos del ciclo de vida de un dominio. El nombre de dominio está registrado o renovado. Los nombres de dominio pueden estar registrados o renovados por un período de 1-10 años de tal manera que no atraviesen el período máximo permitido desde la fecha de registro o renovación. El nombre de dominio caduca, comienzo del […]
During our operations, very often, we use a Waterlinked Underwater GPS. This helps us to keep track in 3D of our movements and link video recording’s timing and telemetry to specific places. These experiments were done together with Andalú Sea. Some examples of these 3D tracks are: Thanks to this technology, we can position the […]