This time I have decided to write this article in English because I have been able to get a lot of information. Thanks to that, most of the information I found to help me with this project was in English.
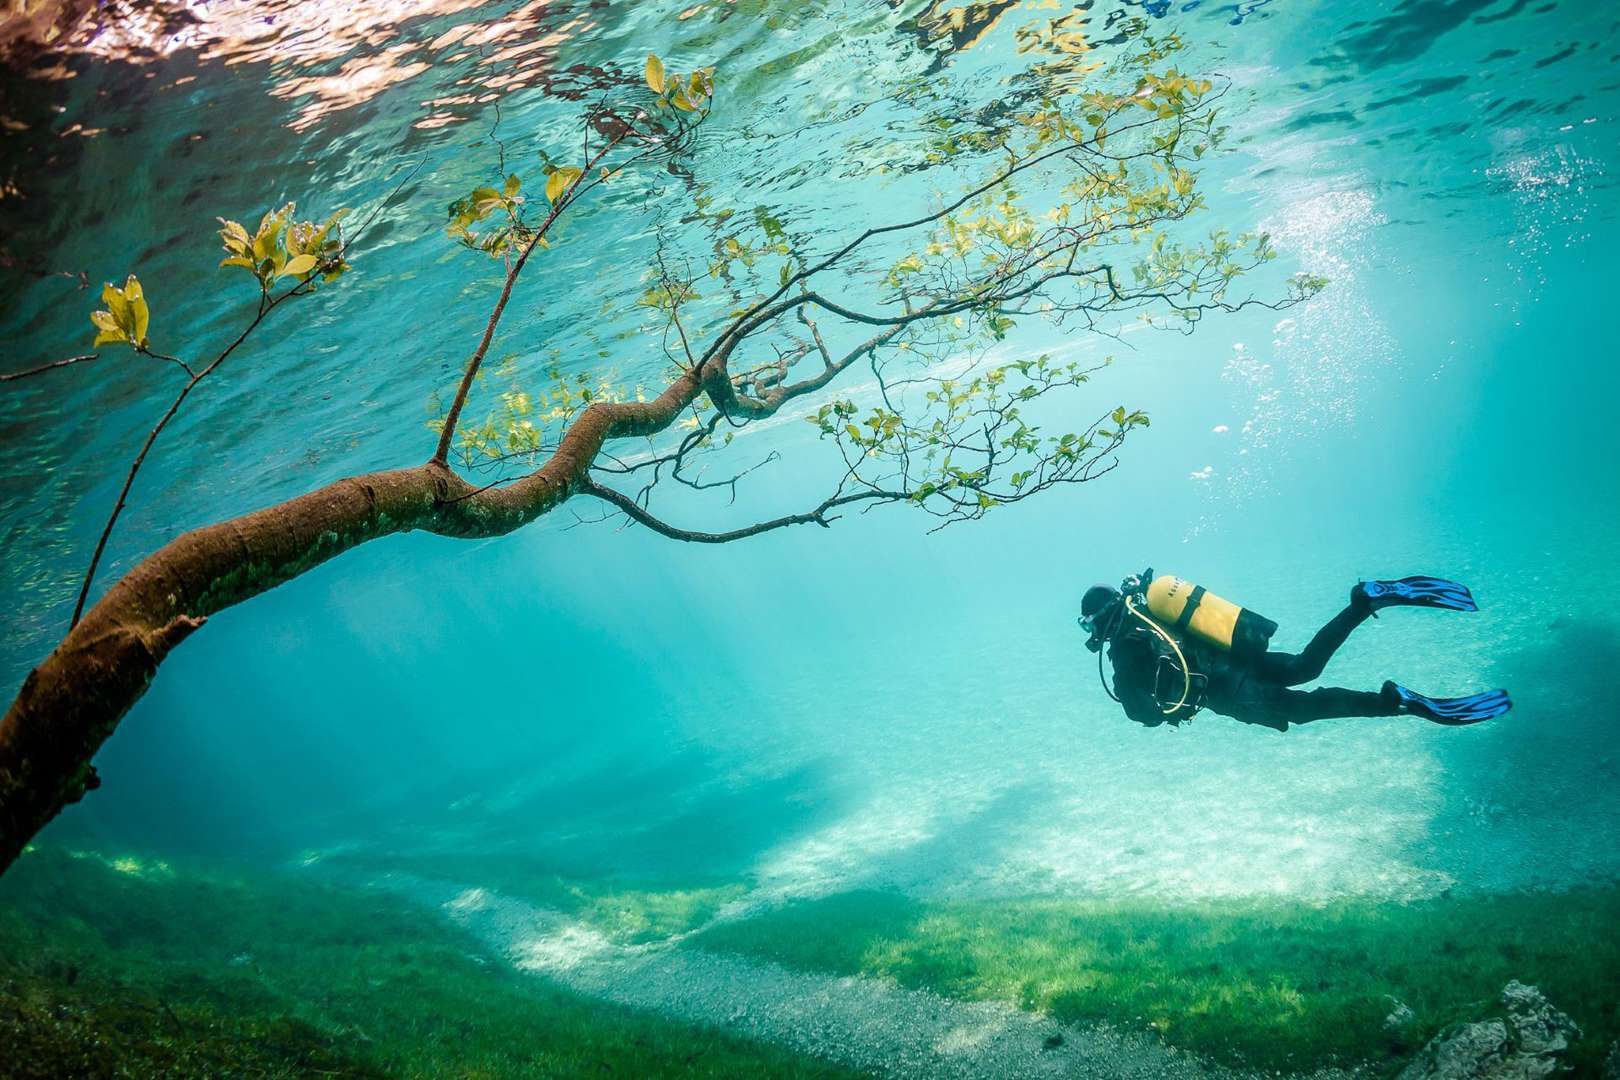
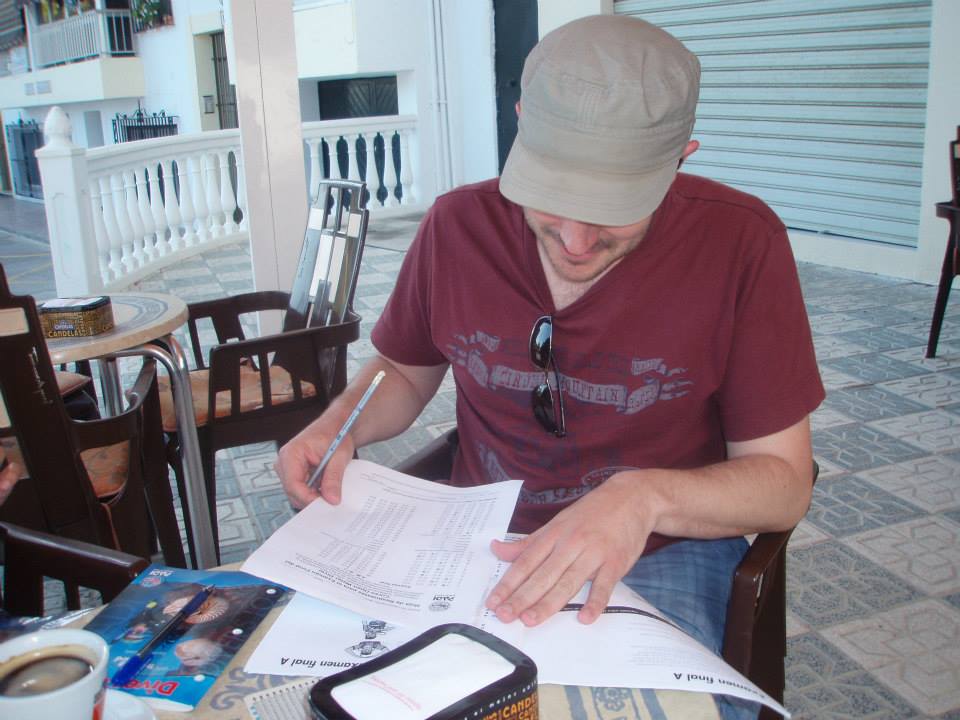
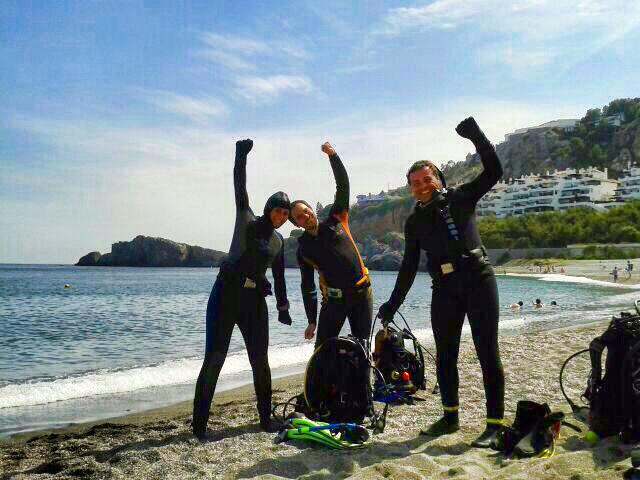
A long time ago, I tried scuba diving, and after some time, I decided to do a course to get my PADI certificate.
PADI scuba diving examMy first dive in a swimming poolMy first dive in the sea
From that moment, I started dreaming about getting 3D previsualization of the underwater areas where I was doing scuba diving. So I told myself that I would get an Underwater ROV done for this purpose someday.
I don’t know if we are in the right moment of that “thought future”, but there is never a wrong moment to start doing something different, something new, something that teaches you, something unimaginable. So, some weeks ago, I decided to continue this project. I will be publishing my immediate improvements in several posts.
The process of building something is just a step-after-step process. First, point to some near and easy target and go for it, then find another checkpoint that improves the first one and then go for it until your small thing is getting more extensive and reliable.
Basic information
The first step for me was to get enough information about whatever it will be my Underwater ROV (named “Alioli” because of my kid’s name Alan & Oli, in Spanish “&” is read as “e”, so it sounds and said in English as “Al-e-Oli”…but also Alioli is a famous sauce in Spain made of “mayonnaise with garlic”).
During the process, I got these tips:
Glue: use epoxy in most places.
Movement: use bilge pumps. One of the essential features of an ROV is movement. Most people use marine bilge pumps as a means of thrust. Bilge pumps have many advantages: they are meant to be submerged, powerful, and easy to add to an existing ROV. Most use them in their current configuration, but I used propellers to increase thrust. I followed the instructions at Homebuilt ROVs. In the How to sections, he has instructions on converting a bilge pump to a propellered bilge pump. I decided to go on with 1100 GPH (approx 3785 litres/hour), exactly this one from Amazon. You can buy propellers in several places: TowerHobbies & Amazon.
Arduino: I am a full-stack computer engineer, so learning Arduino was for me a new hobby, a new toy, and a joy…yes Arduino will be my basic control system (movement and sensors), and Raspberry Pi will be used for vision control, recording, wifi transmission, basic intelligence and so on.
Self-positioning: I got these links I may use or not:
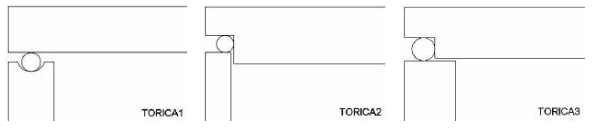
You should know that there are 3 kinds of connections for the O-ring:
The O-ring (“Junta Tórica” in Spanish) should work like the first image “TORICA1”, being the O-ring a little bigger than the distance between the wall and the cover. In this way, the o-ring will not deform more than it should, and deformation will end. Then the cover will hit the wall when it is closed strongly.
As you can see in the image “TORICA2”, when the cover is closed very strongly the O-ring will deform as it would be a flat join.
The way is done in “TORICA3” is also right, but it is more difficult to cut the cover, so I will go for the way it is done in “TORICA1”.
It is very important that O-rings won’t move. They should be clean when installed. You can put a little silicone grease so they won’t overdry and slide properly when closed. They should get to their right place and position comfortably and softly.
A little grease means it should be shiny but don’t put too much because it will affect the isolation, get grains of sand or hair stuck too easily, and this will bring problems when they are supposed to work underwater.
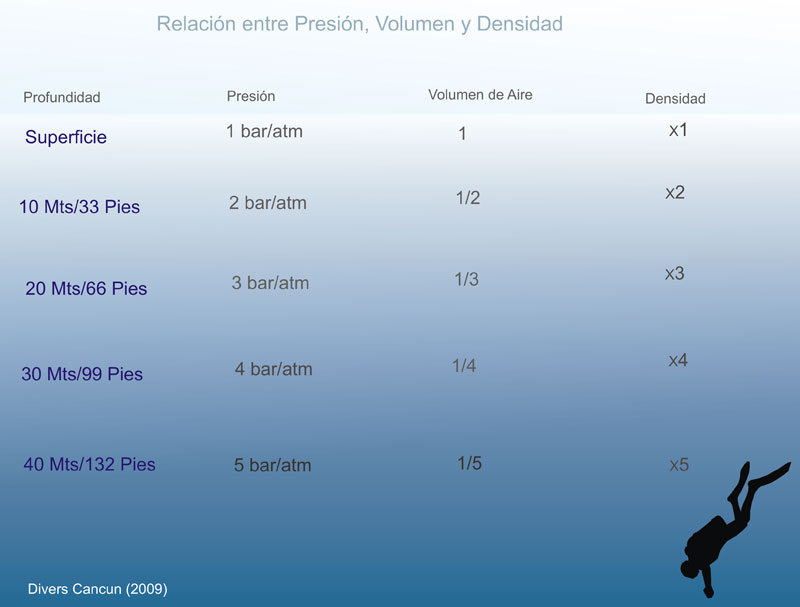
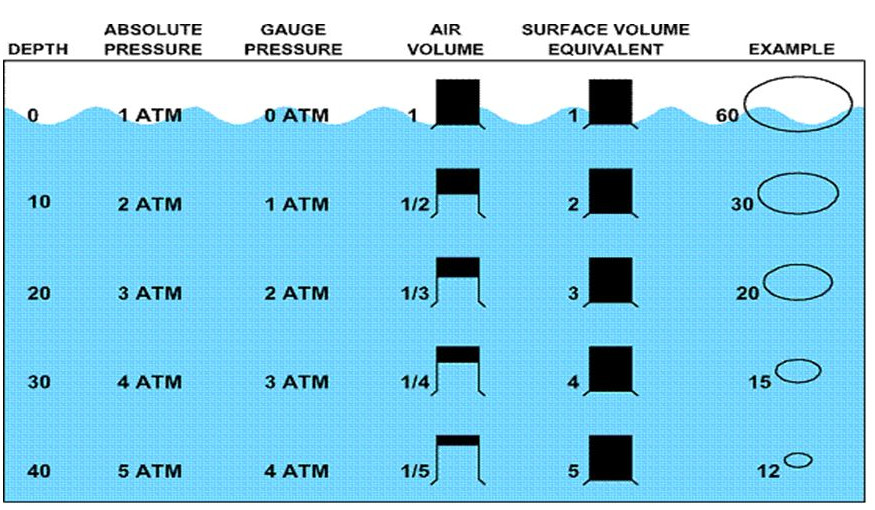
About pressure
This is the basic information you should know about pressure underwater:
Muy buen trabajo Juanmi, sigo tus publicaciones desde que empezaste con el ROV, tambien estoy haciendo uno pero no lo tengo tan adelantado, he estado un tiempo atascado con el programa, ahora ya me funciona casi como yo quiero.
Un saludo
In my last post, “Underwater Alioli ROV“, I shared all the information I got from the Internet to build my Underwater ROV. In this post, I will explain how I made the frame. The main thing the ROV needs to become real is a frame, something to rest on. After checking several designs from different […]
In my last post, “How I designed the frame for my Underwater ROV“, I gave all details about the design I used for the frame for Alioli Underwater ROV. In this post, I show what I did to build my submarine frame. To get everything together, I put screws in all junctions, as shown in […]


Nice Job, good luck with your “alioli”
Awesome project Juanmi!
Muy buen trabajo Juanmi, sigo tus publicaciones desde que empezaste con el ROV, tambien estoy haciendo uno pero no lo tengo tan adelantado, he estado un tiempo atascado con el programa, ahora ya me funciona casi como yo quiero.
Un saludo