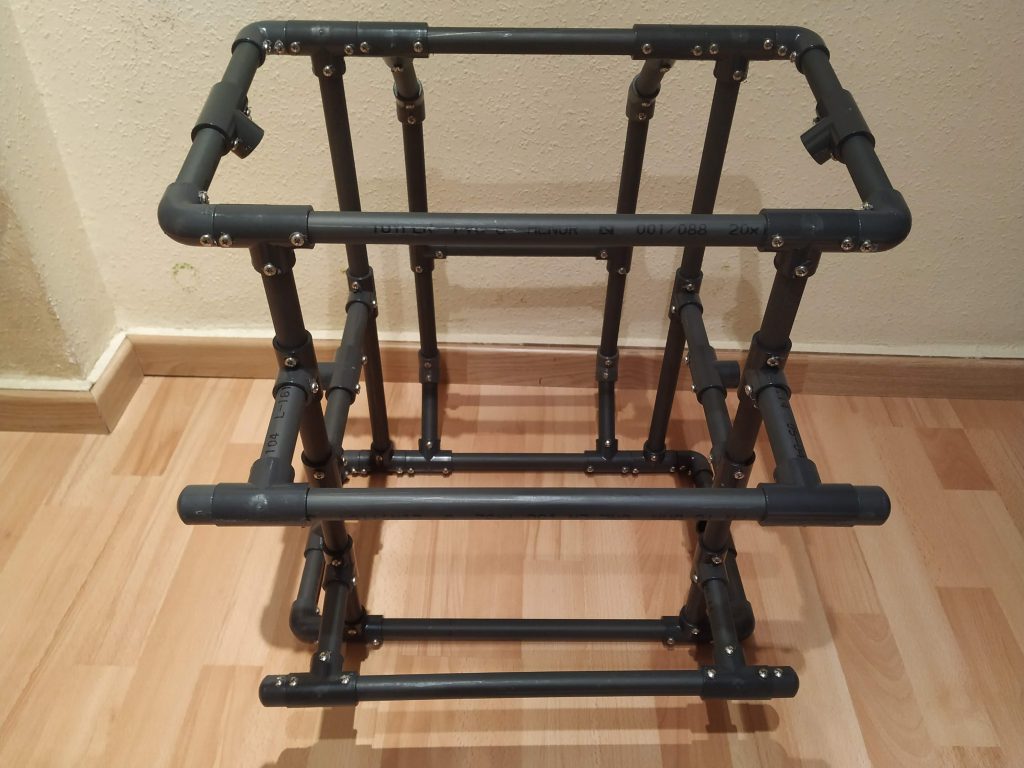
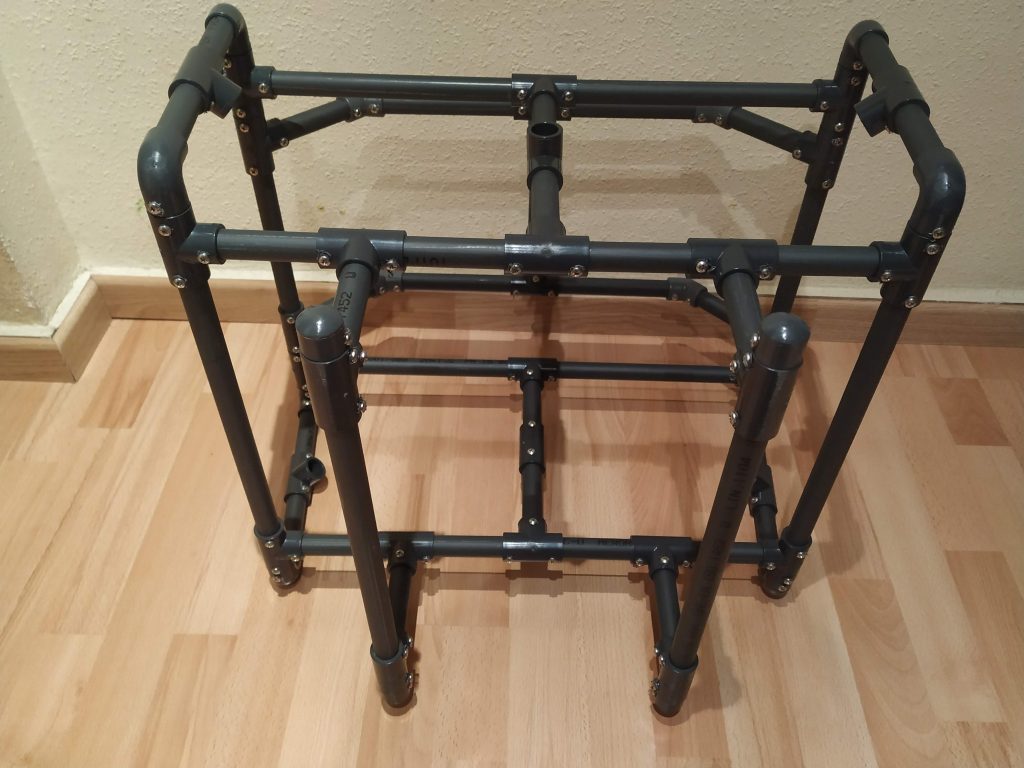
In my last post, “How I designed the frame for my Underwater ROV“, I gave all details about the design I used for the frame for Alioli Underwater ROV. In this post, I show what I did to build my submarine frame.
To get everything together, I put screws in all junctions, as shown in the photo:
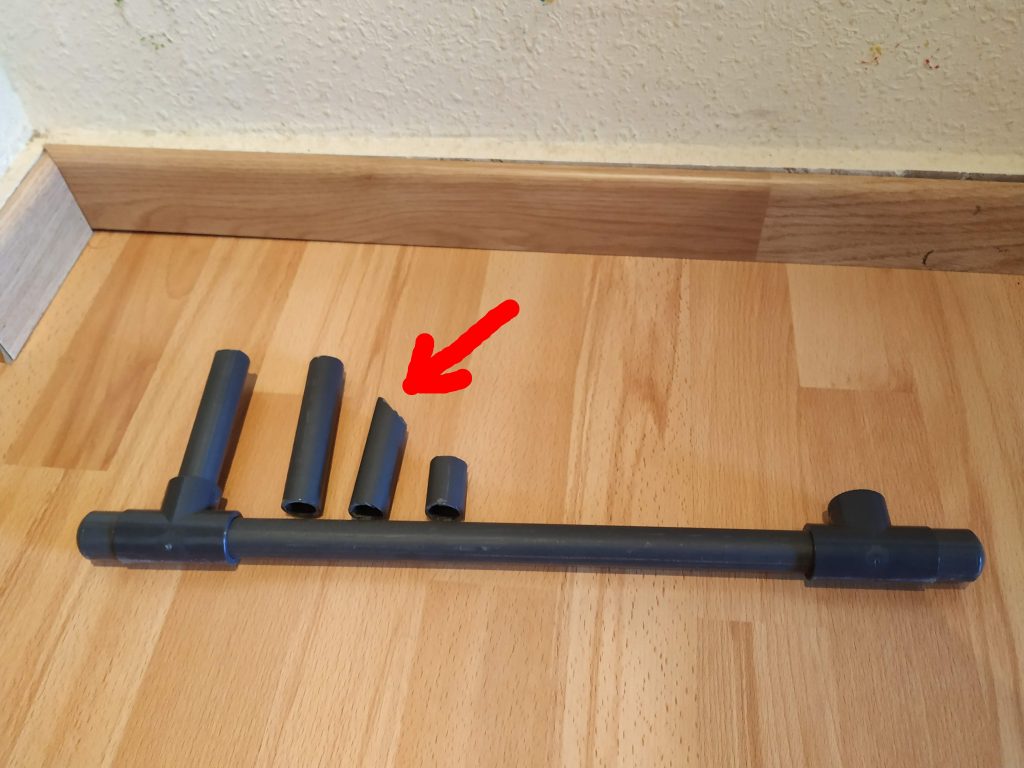
To hold the water pumps, I needed to cut six pieces of pipe. These pieces ended with a 45º cut, as shown in the image (the 45º will make it easy to set the water pump so it will not rotate while working). The specific piece is pointed by the red arrow (other parts of the rob are left as a reference):
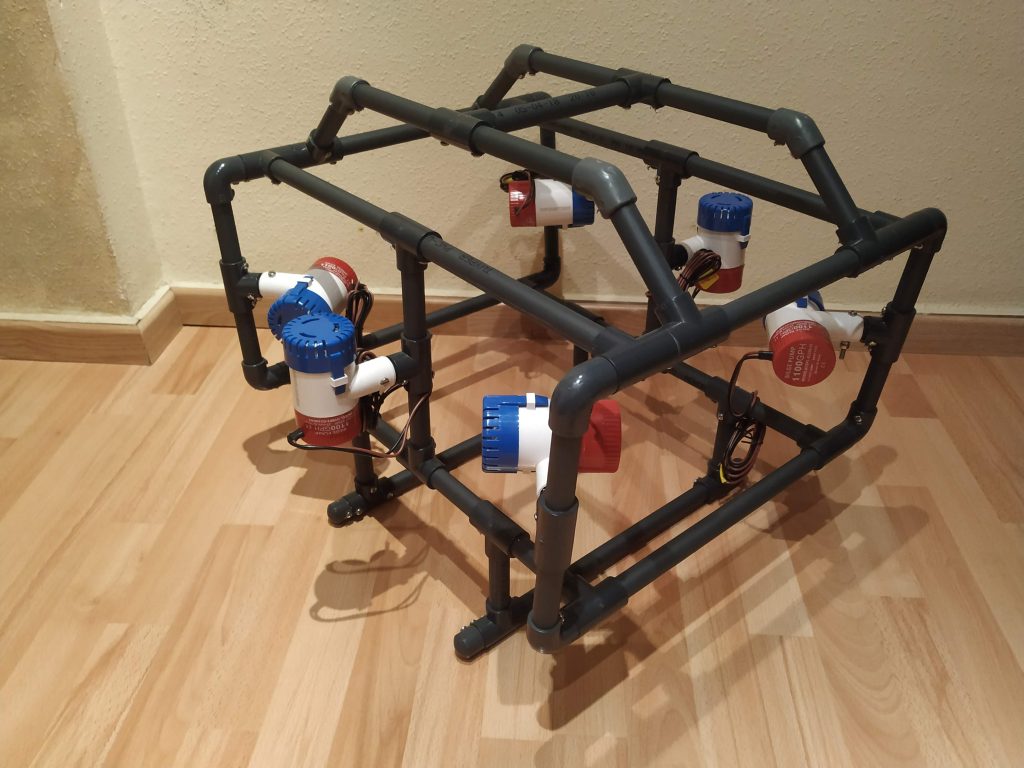
After getting all these pieces, I connected them where they belonged and added the water pumps attached to them. You must rotate each piece to ensure the water pump points where we expect it to. I numbered all water pumps and drilled holes in their junctions with the structure to add screws later to hold them all together:
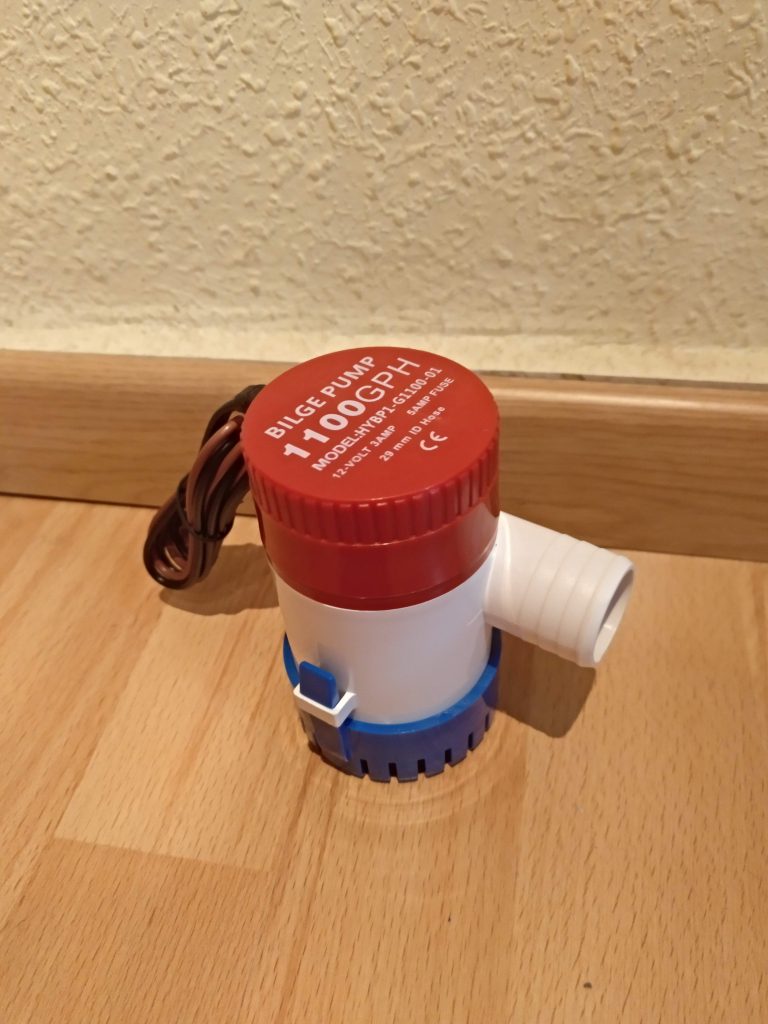
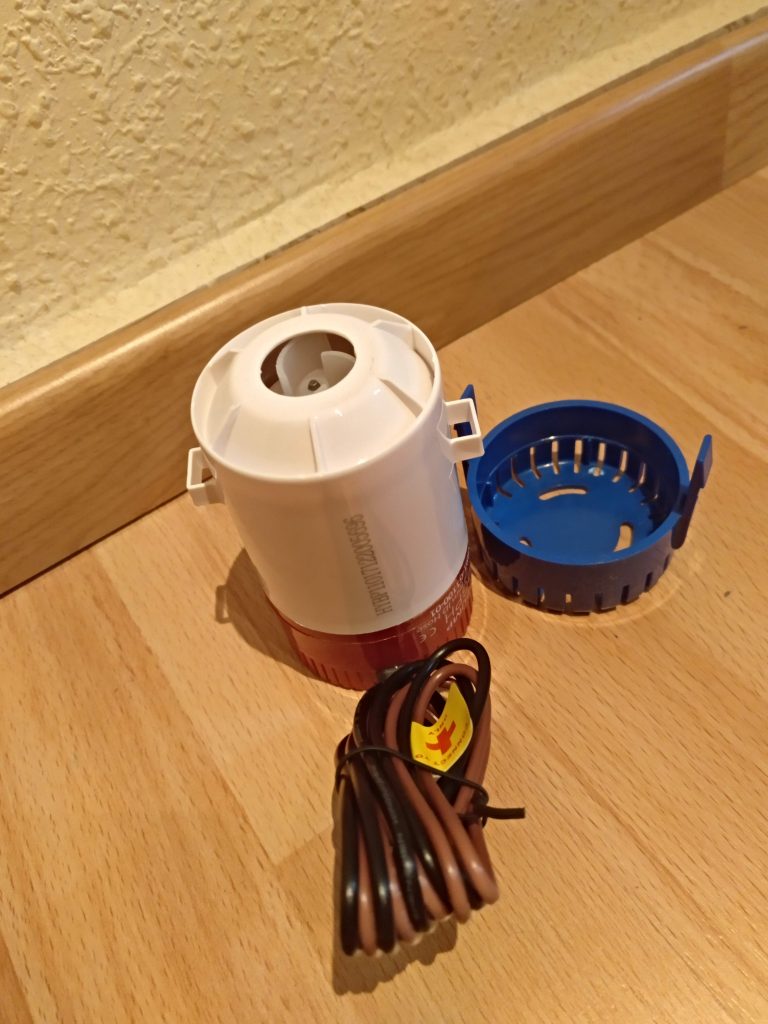
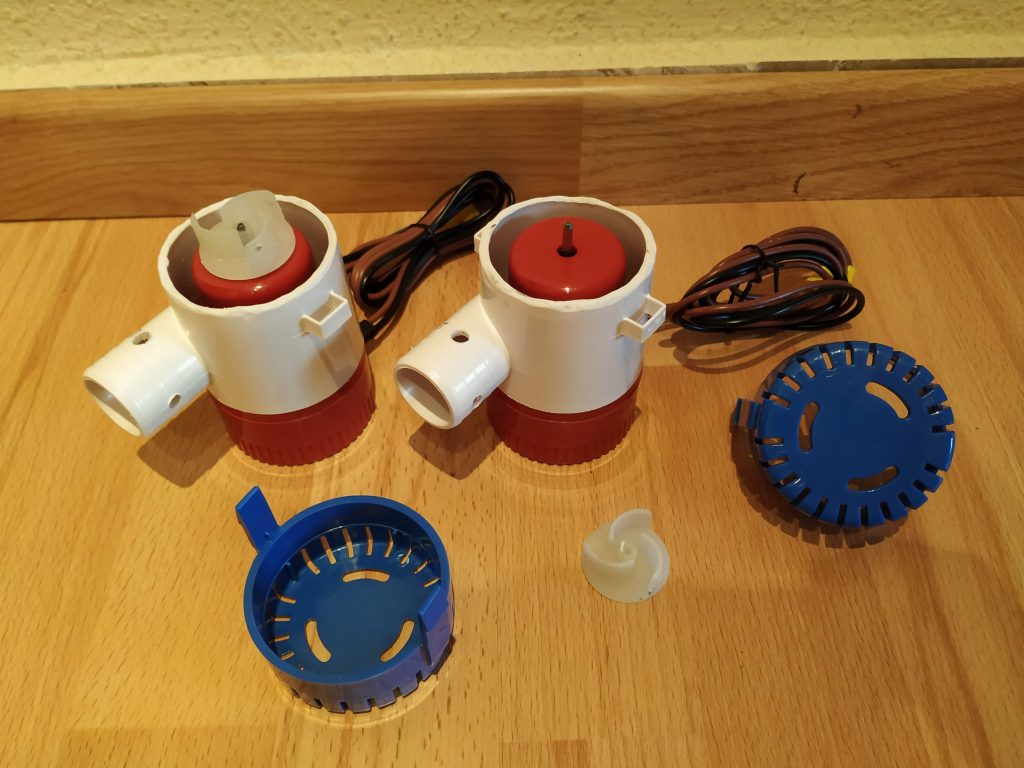
For each water pump, I removed the cover (the blue one) and cut the white cup and removed the propeller with a screwdriver, getting it ready to connect the new specific propeller I bought from Amazon:
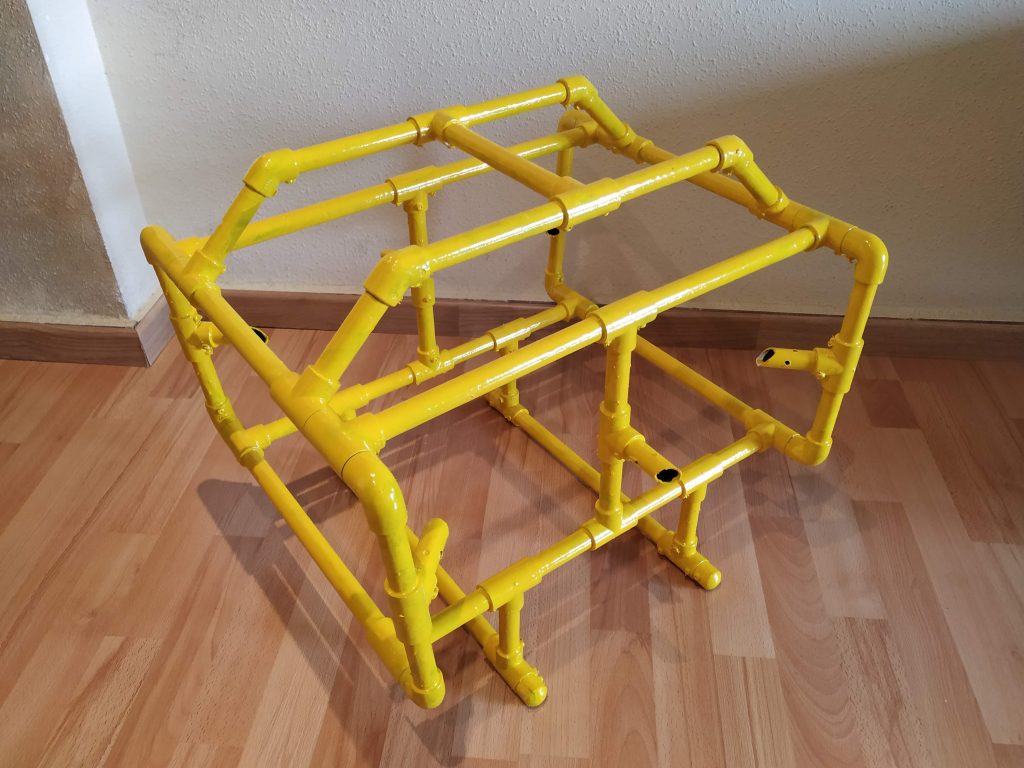
Before securing the water pumps again to the structure, I decided to paint it with primer paint and then with yellow colour:
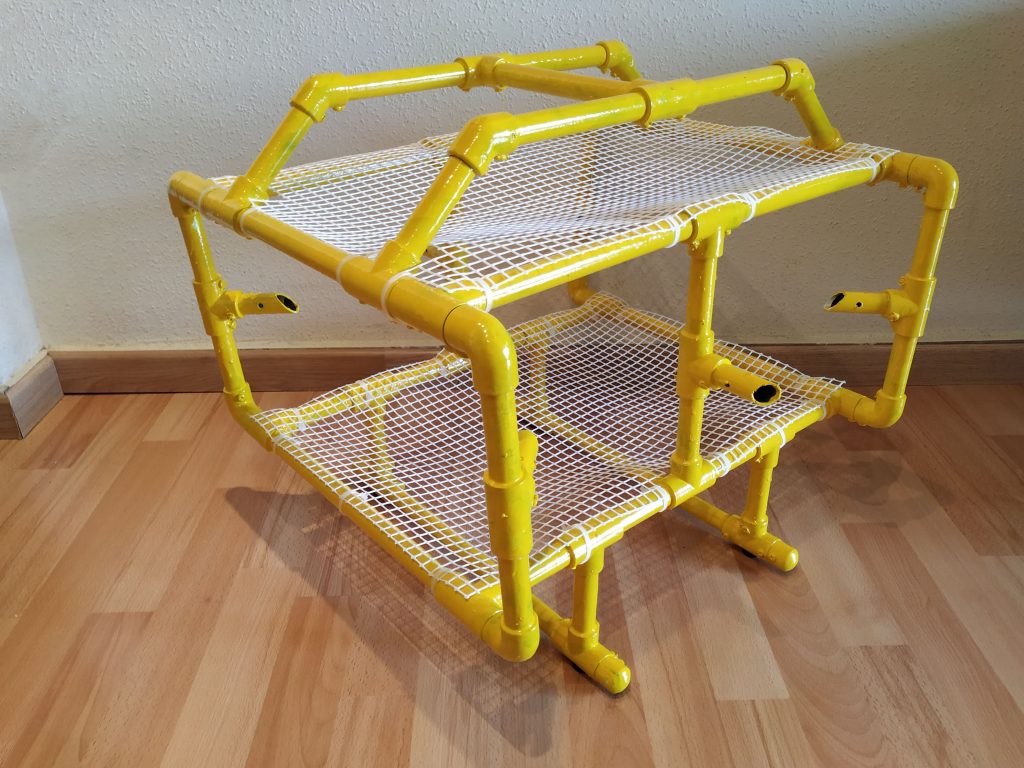
I added the net and joined it to the frame with plastic flanges:
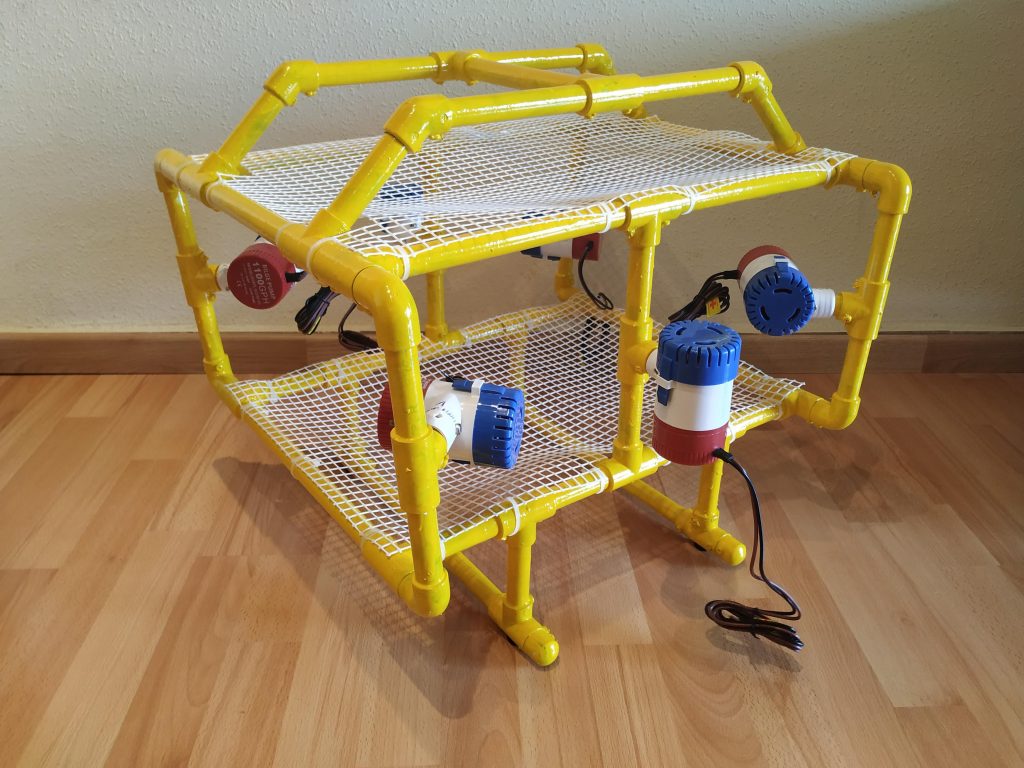
I connected back again the water pumps to the structure (I put back the blue cover on them until I get the propellers):
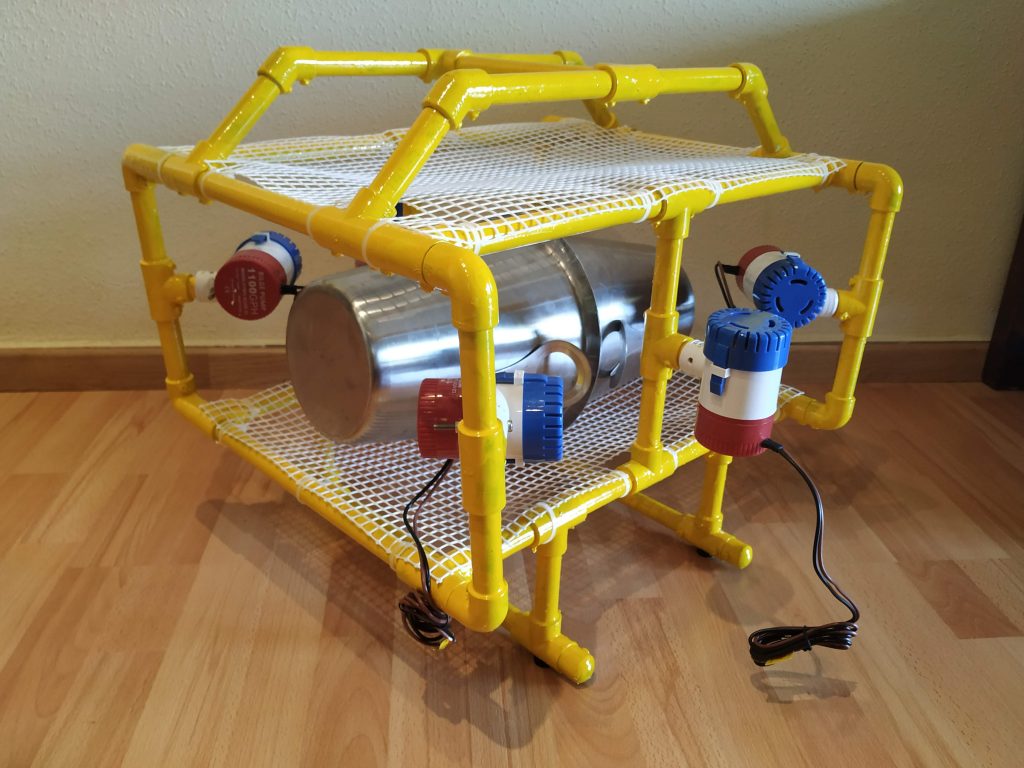
And here is the final result with the capsule inside:
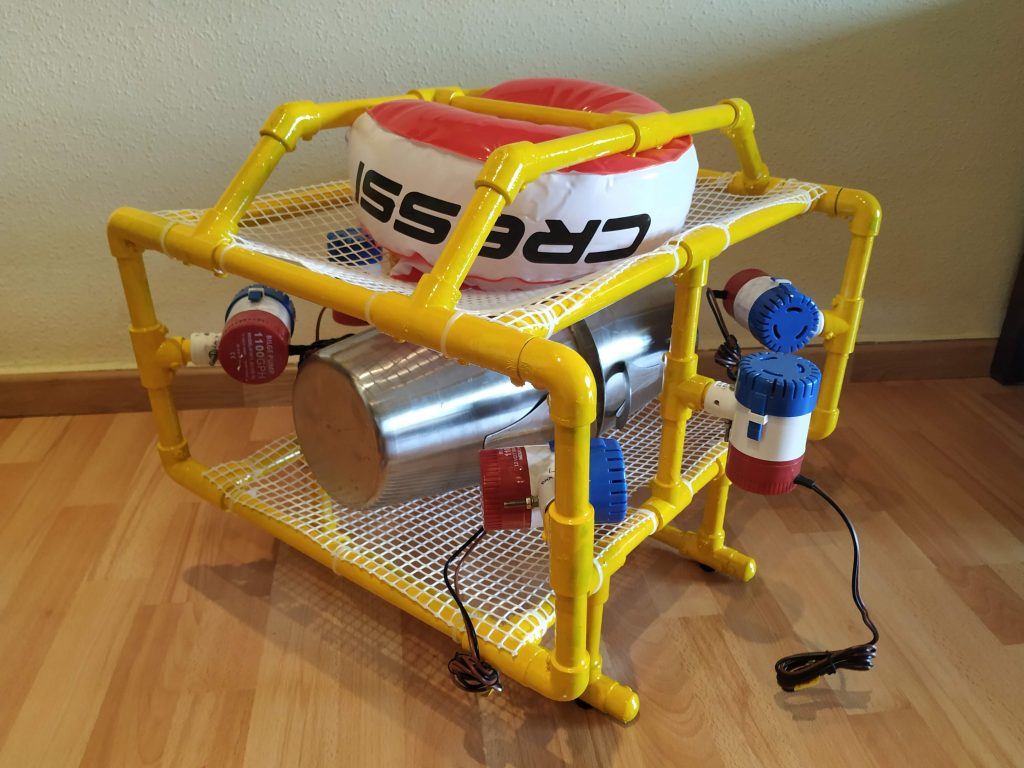
And I decided to test also the float that I will use for the automatic buoyancy system I invented. All together looks like this:
Alioli ROV Submarine Frame
Alioli ROV Submarine Frame
Next steps
After getting ready for the submarine frame, I drilled holes in the pipes so water could go through. Now we are prepared to set the capsule (which I have to solder -iron soldering- and prepare for underwater insulation). I also have to start testing sensors and finish writing the control system.
I have experimented very much with photogrammetry and got exciting results. This article talks about this experience. These experiments were done together with Andalú Sea and my friend Juan Soler. During underwater operations, we always record videos of the whole process just in case of problems and for documentation purposes. We checked a sewage outfall […]
In the last few days, I have been looking for a 3D Printer to bring some of my inventions to life. After reading and comparing, I went for an Anycubic Kobra 2 Neo. It is a great 3D Printer; until today, it has done everything I need to print smoothly. I have built some technical […]