In my last post, “Finishing the frame for an Underwater ROV”, I gave all details about the design I used to build the frame for Alioli Underwater ROV. In this post, I will show what hardware I will use and how to use it.
Until now, I have been looking to get together and control all the electronics and remove any questions about the interconnection between all electronic elements.
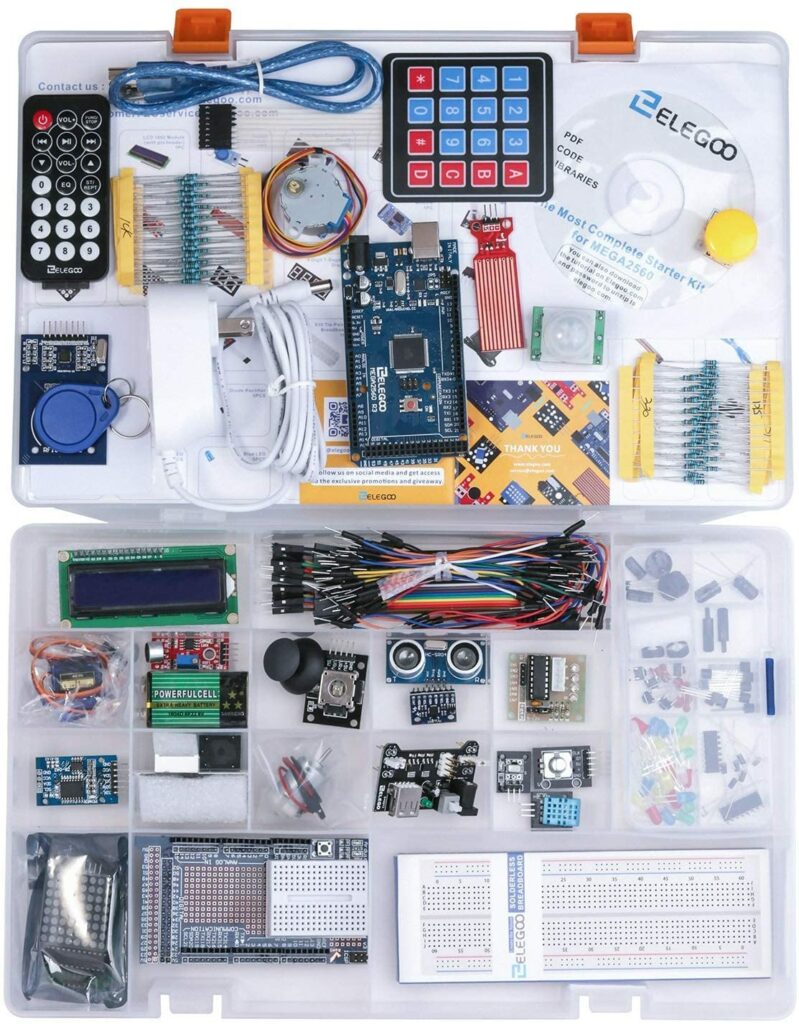
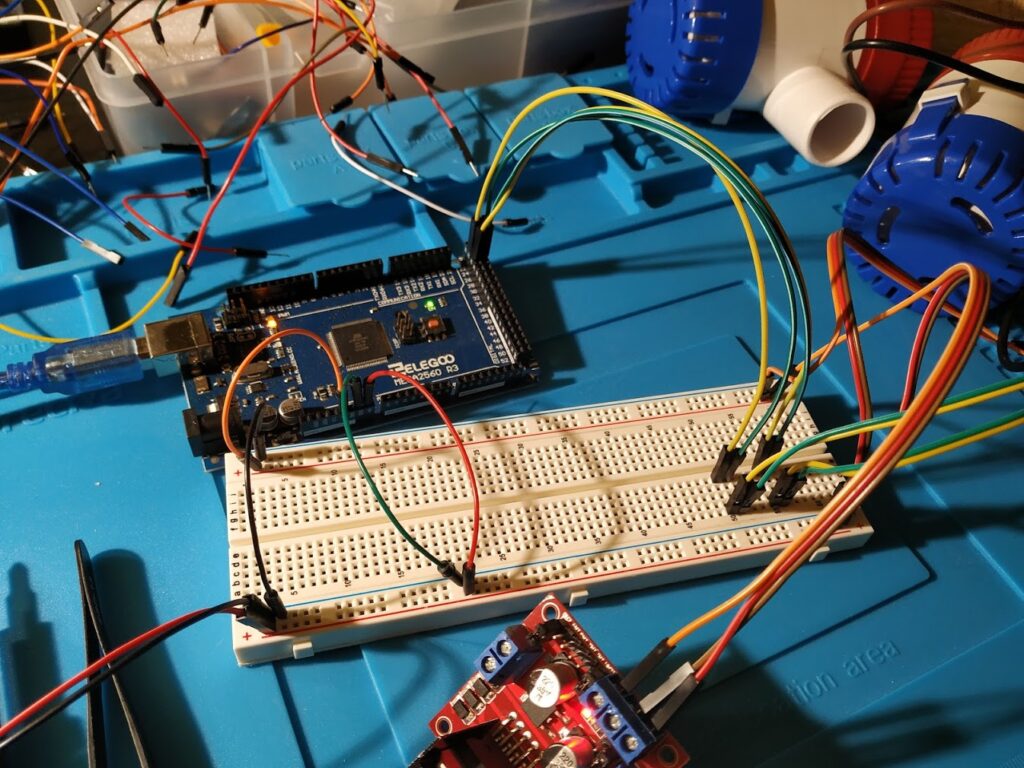
To get my purpose, I have decided to use an Arduino Mega 2560, so I bought an ELEGOO beginners package:
Power
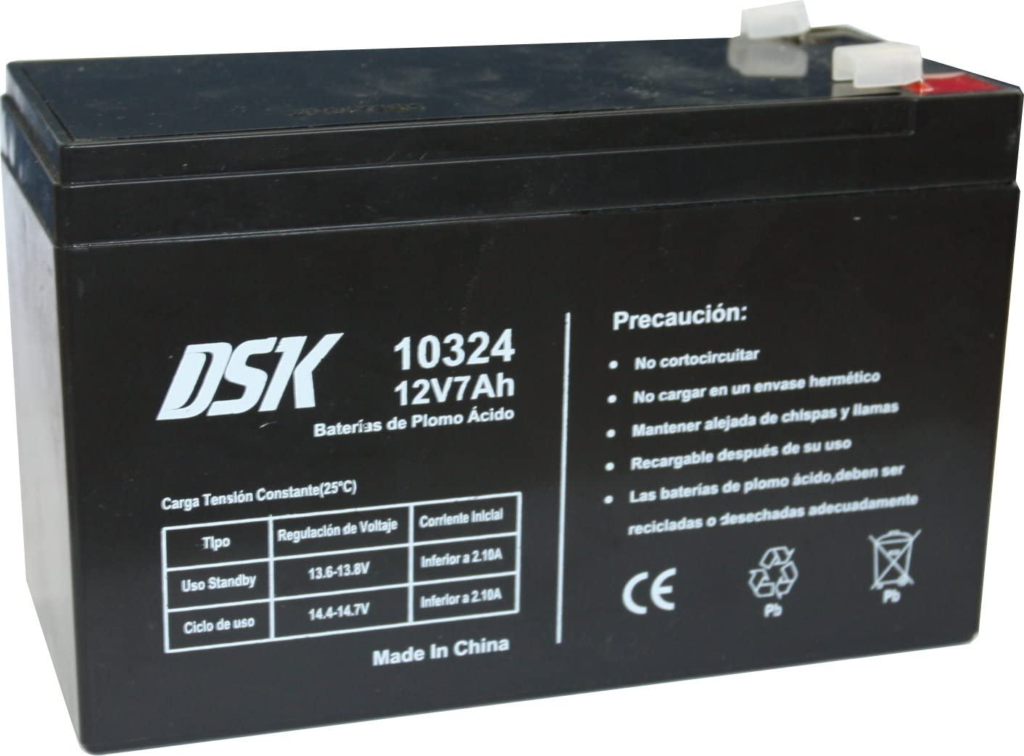
Arduino works at 5V, but since the engines will do it at 12V, I decided to use a 12V 7Ah battery which I believe will be enough for everything I will require inside the ROV.
DSK 10324 – Lead-acid battery 12V 7 Ah
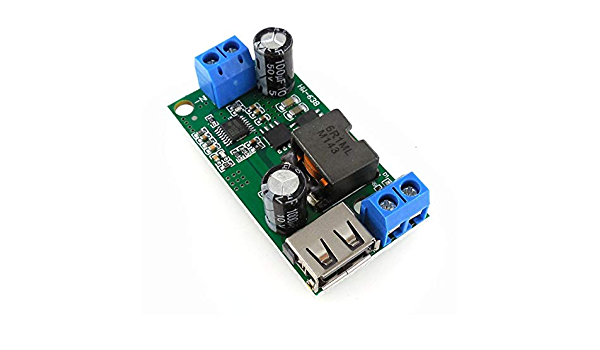
To get 5V stabilized, I have used a voltage converter from 12V to 5V:
HW-638 5V Voltage Stabilizer 9V / 12V / 24V / 36V to 5V Converter
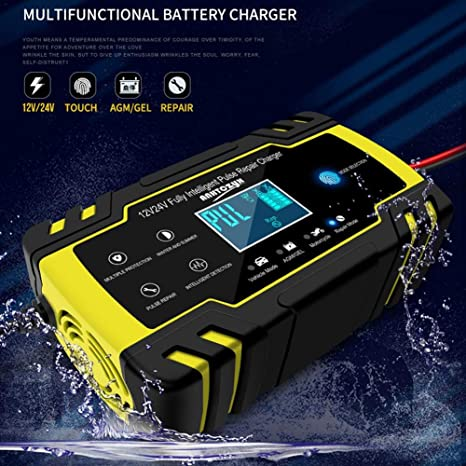
To load the battery, I also got a battery charger:
Clock
What would be a system without a clock? The basic one from Arduino works perfectly, letting us keep track of the time.
Movements
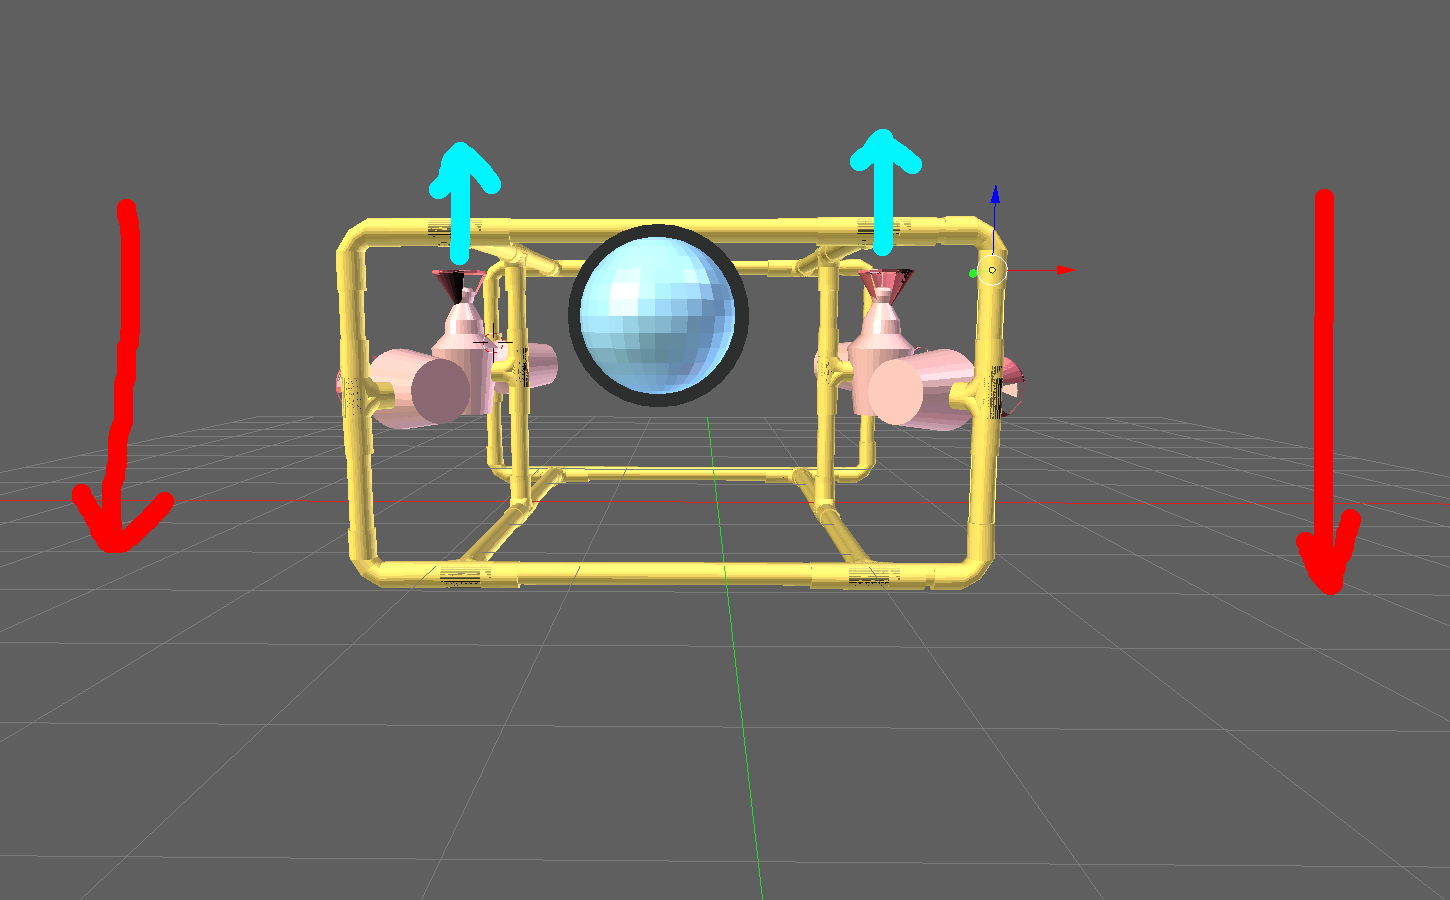
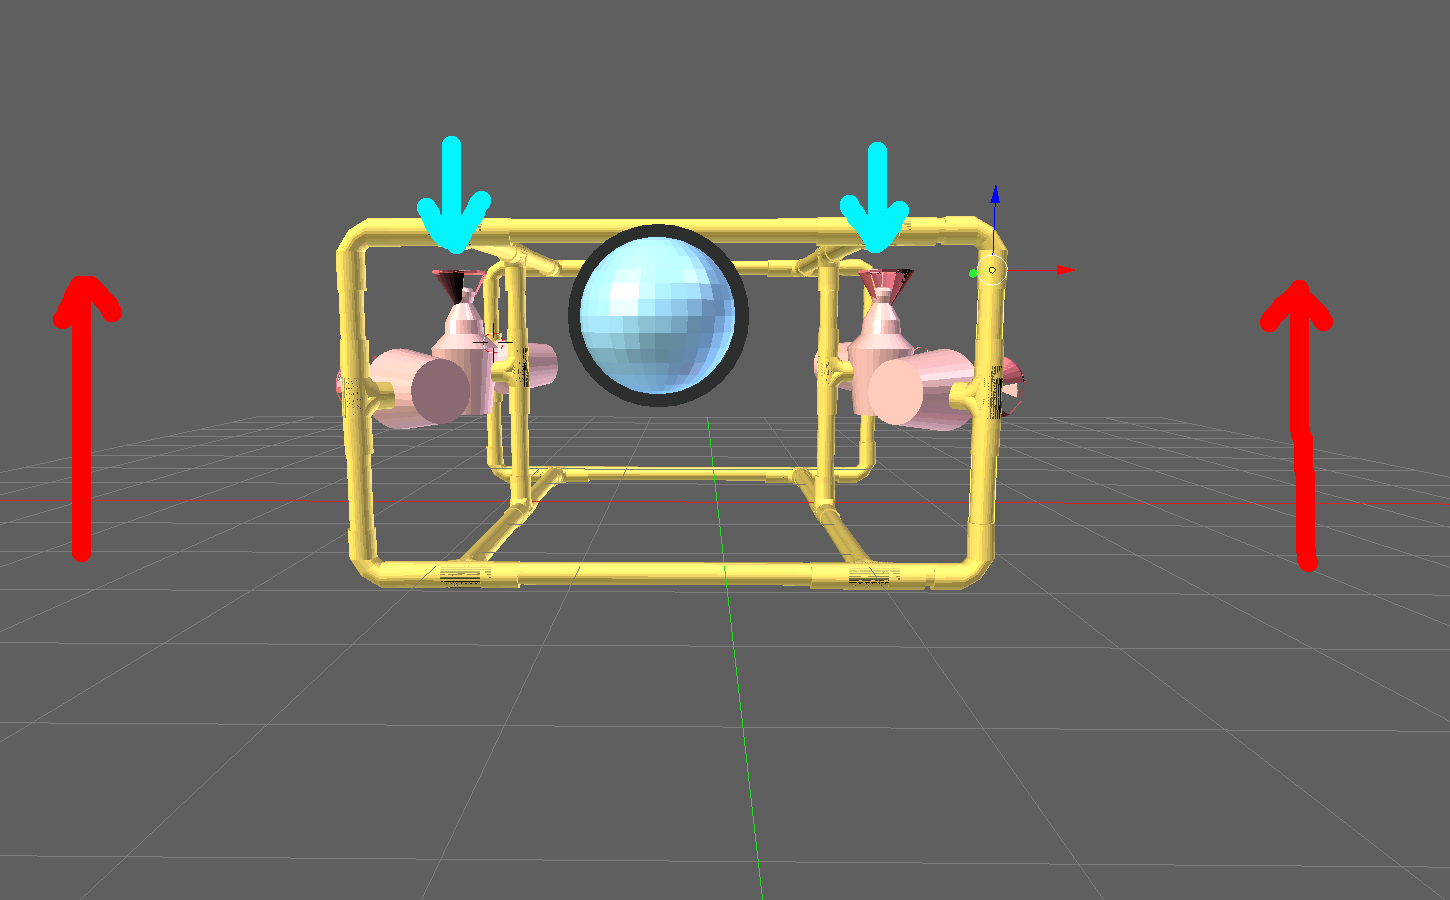
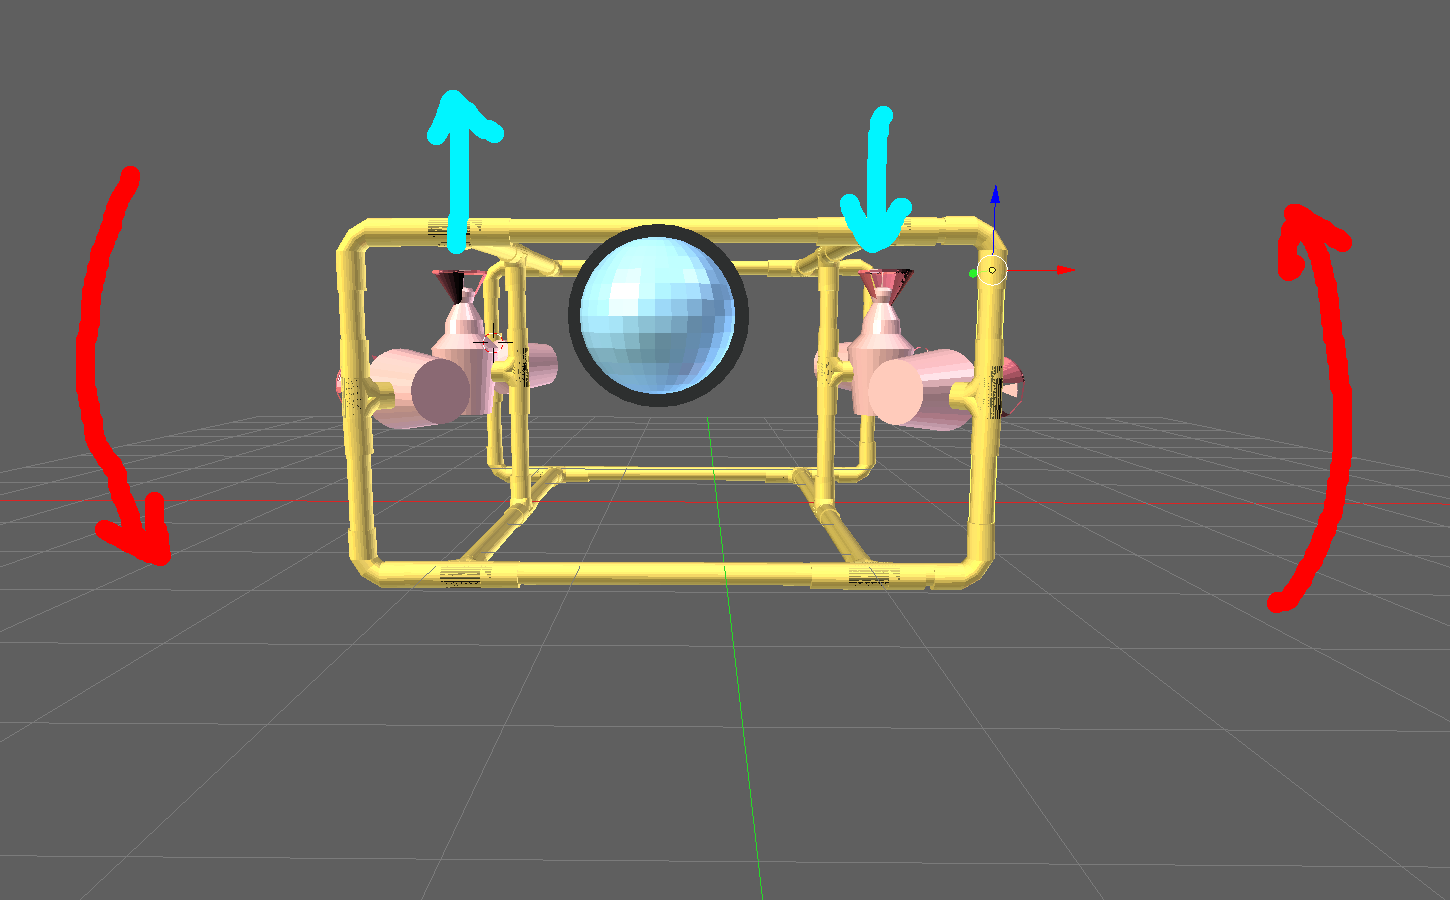
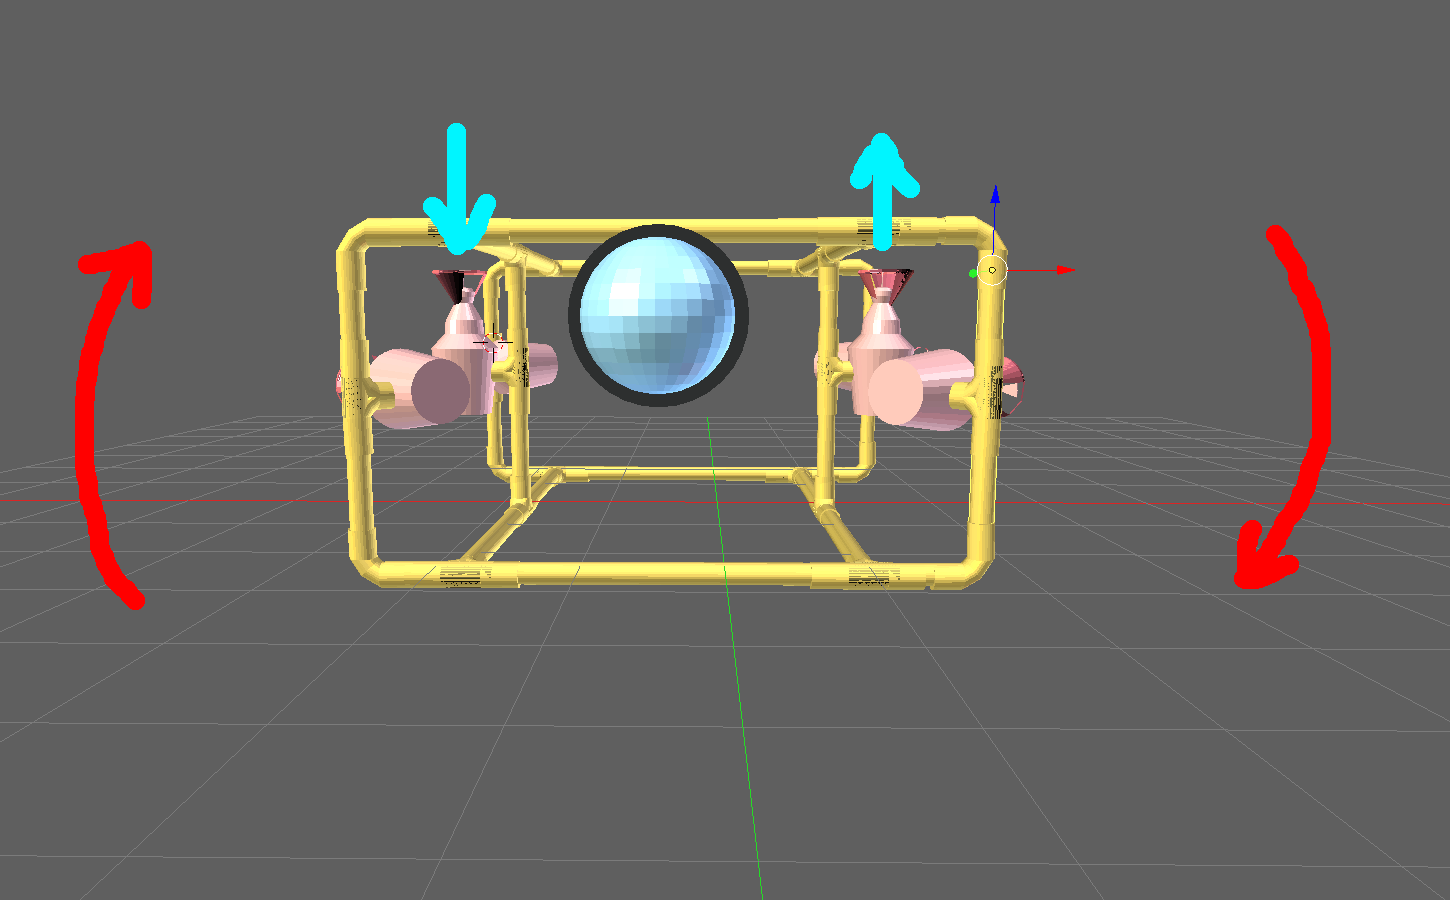
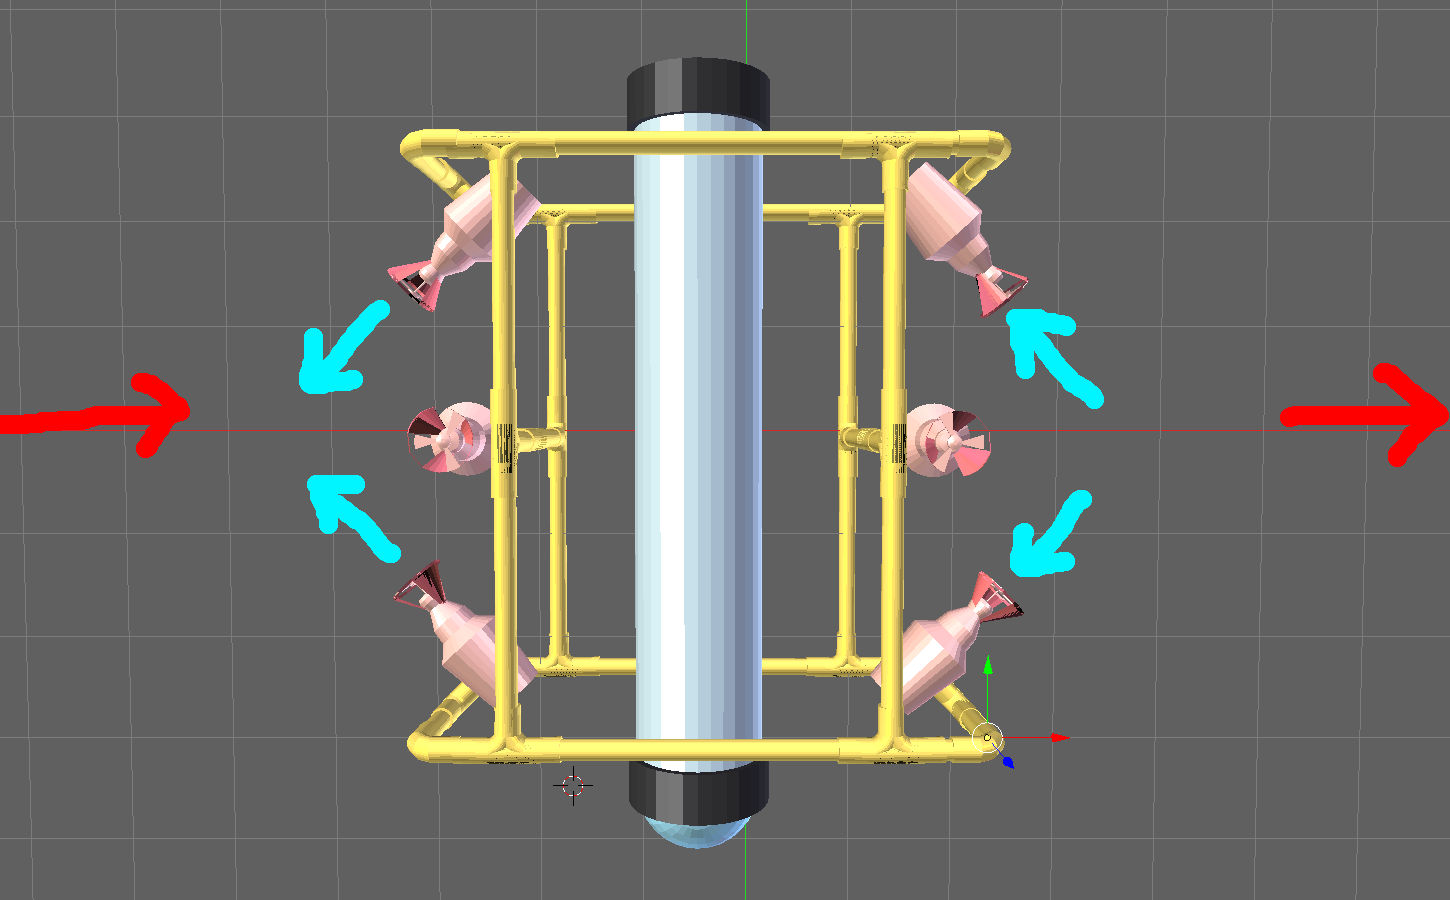
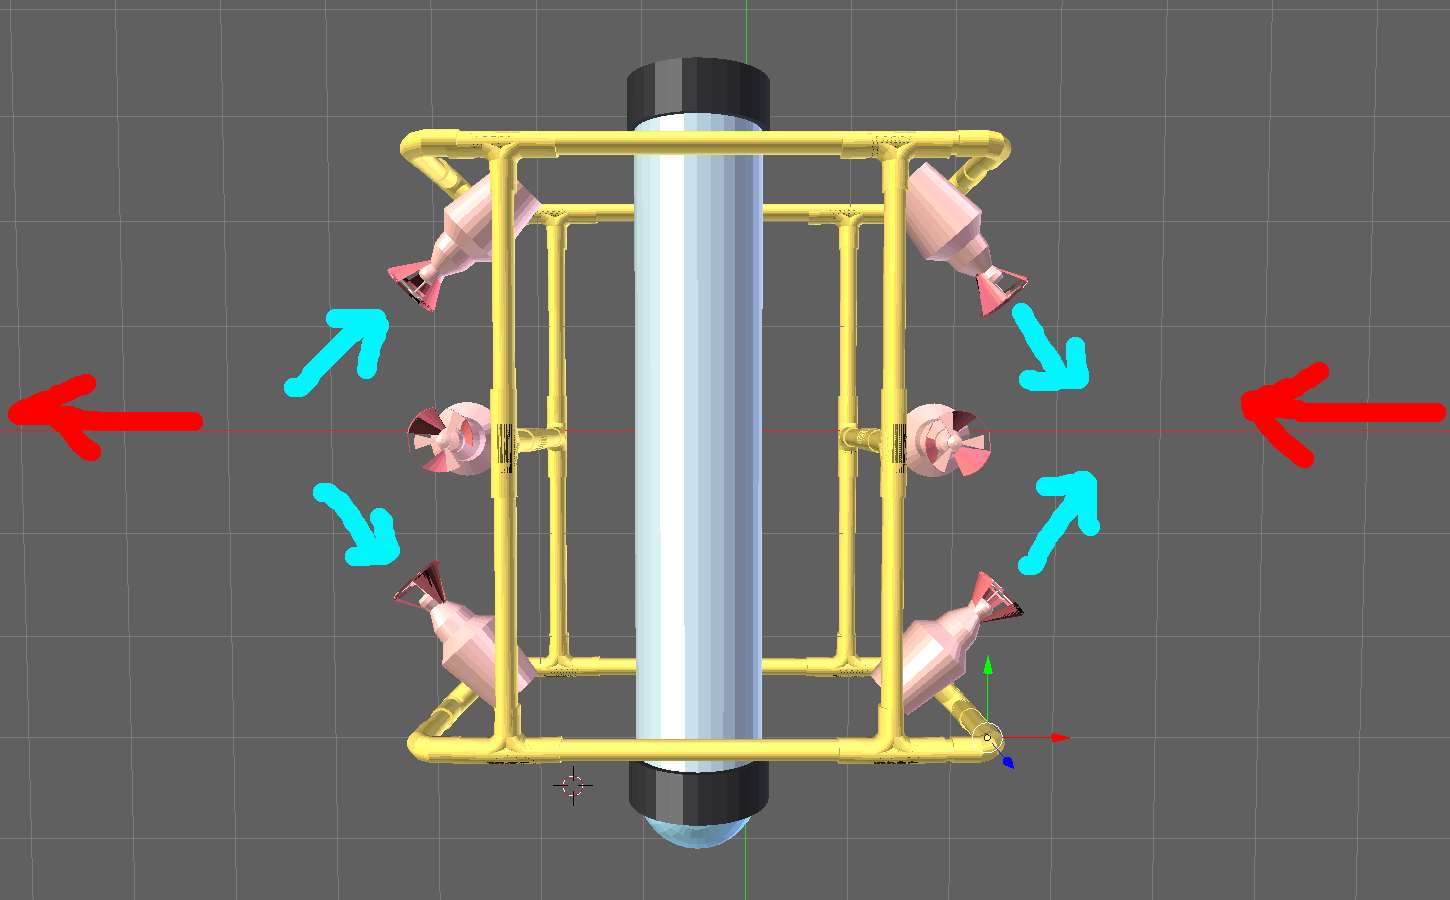
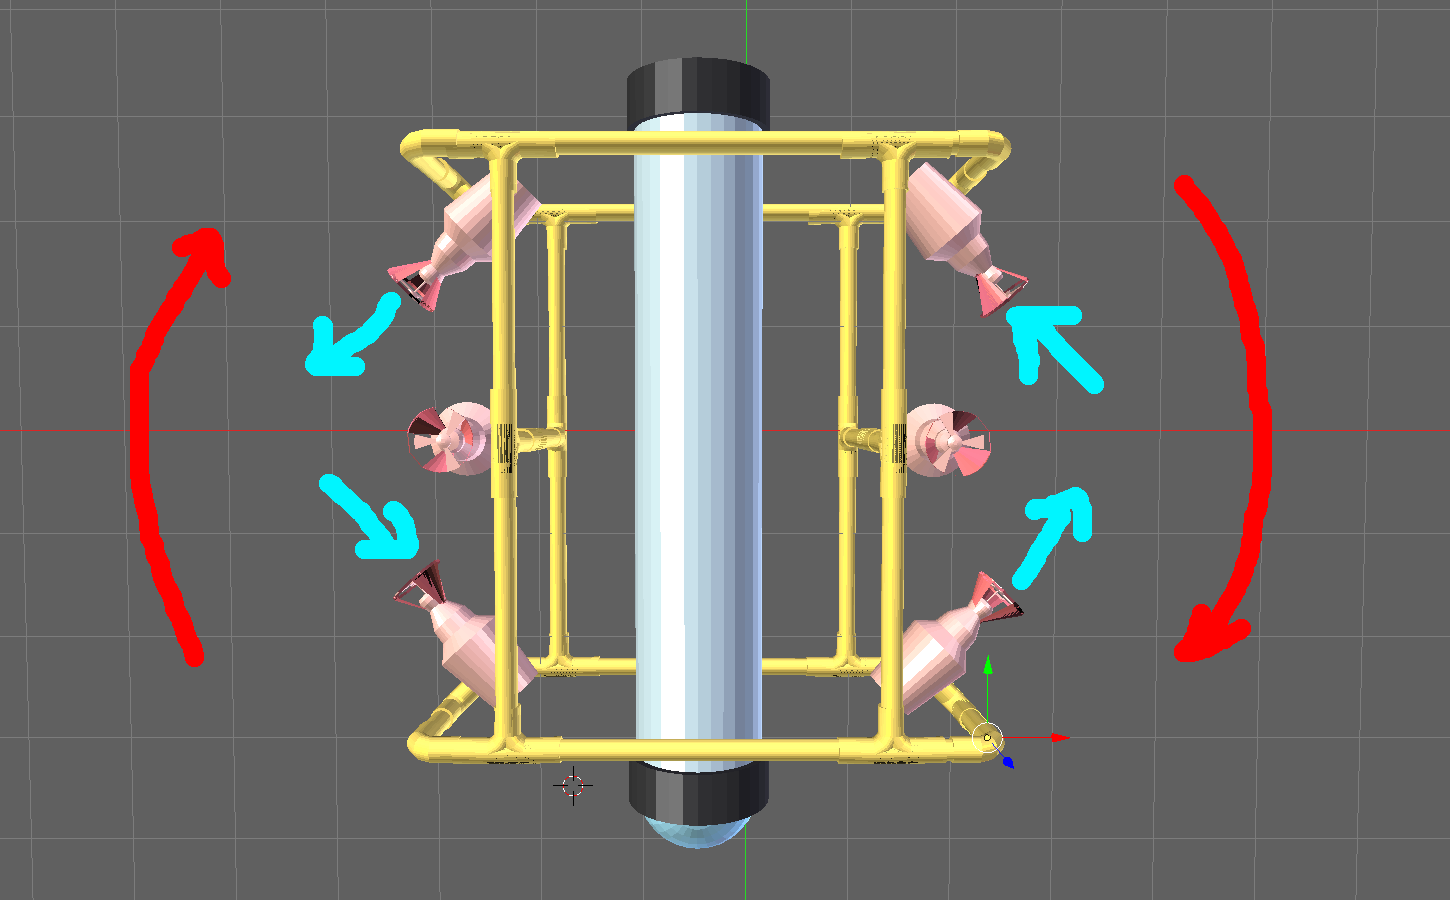
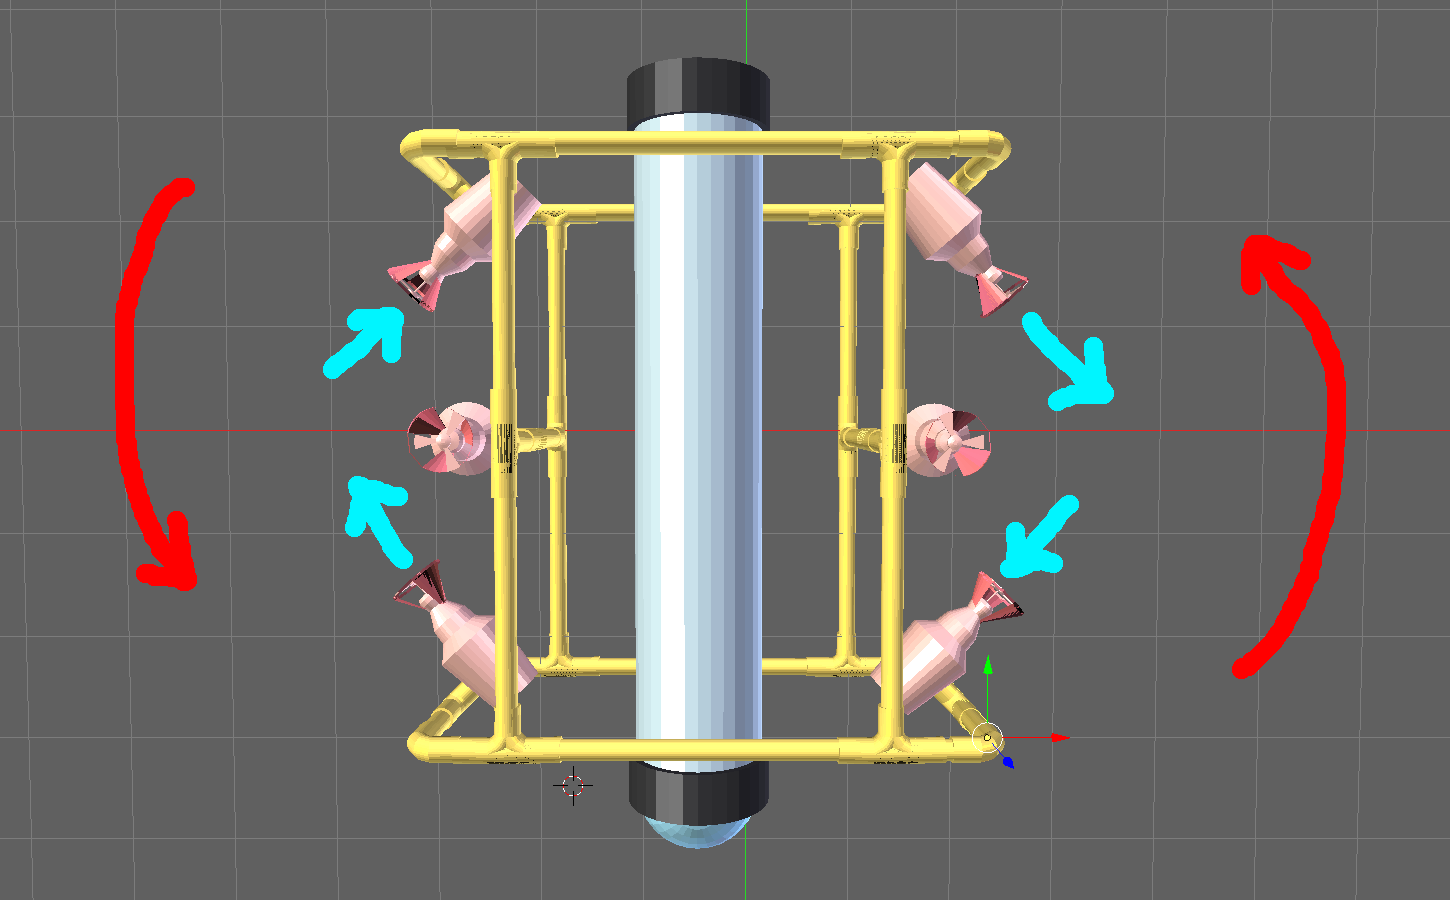
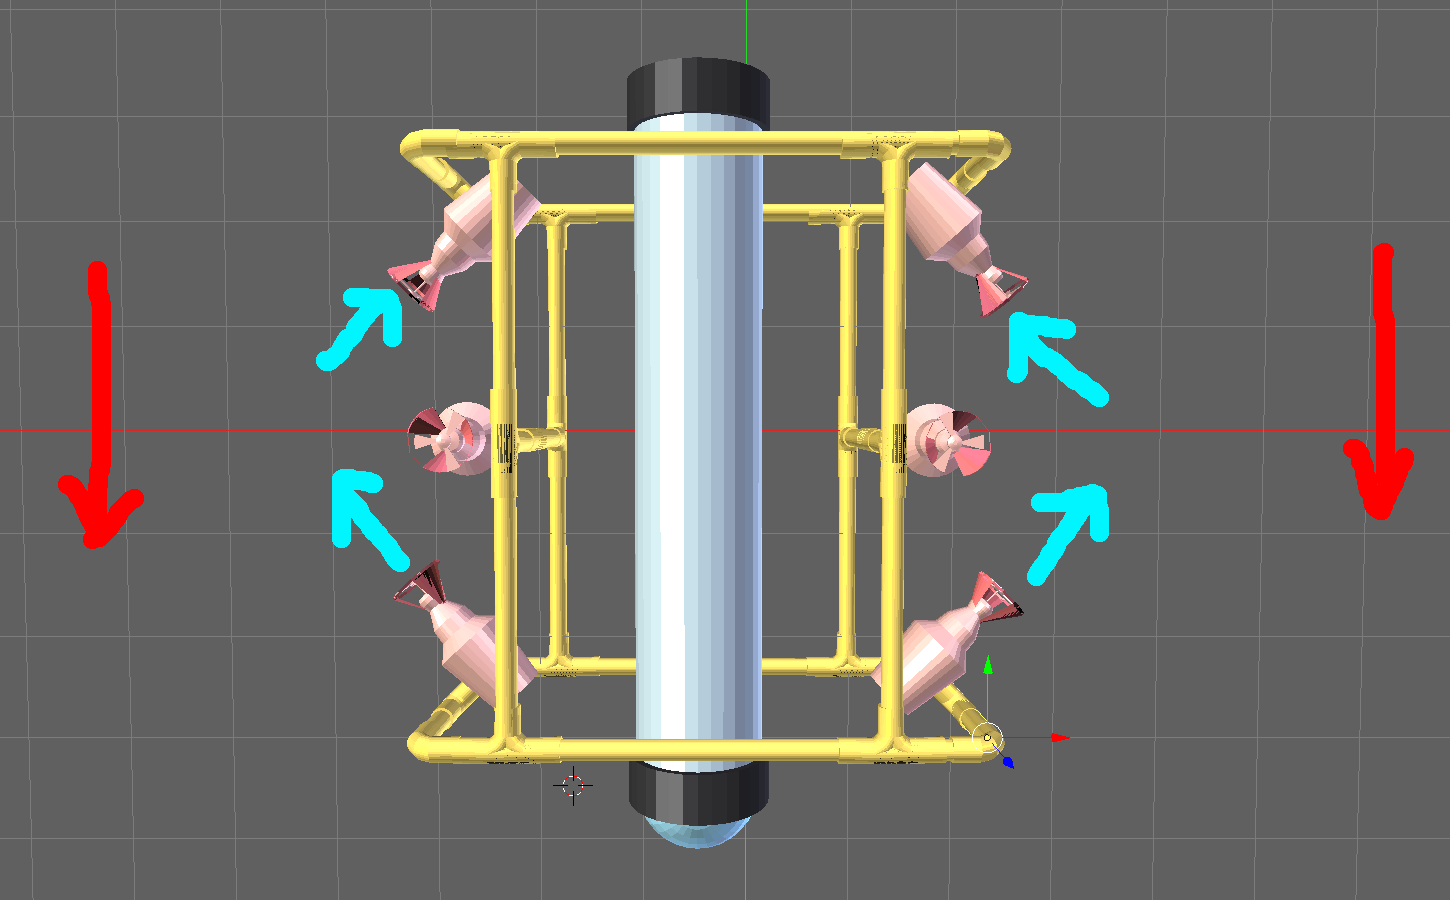
Before building the frame, I studied the possible movements I would develop. That is the reason that the frame looks like it does. Those movements are named “6 degrees of freedom“:
This ROV won’t be able to tilt up or down. We would need two more thrusters for this movement, meaning more power consumption.
All these movements are based on theory. I believe once in the water. It may behave differently so that we will adapt to the environment. To build adaptive software, I have read about controllers with feedback so far, but I expect to get similar results using fuzzy logic algorithms.
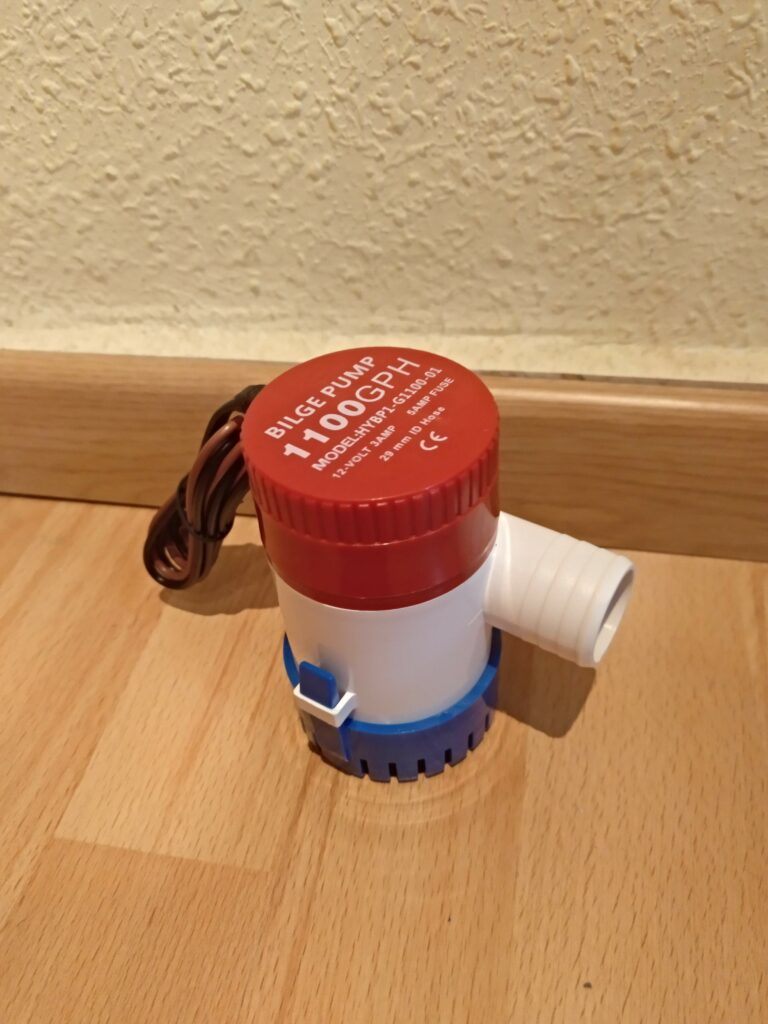
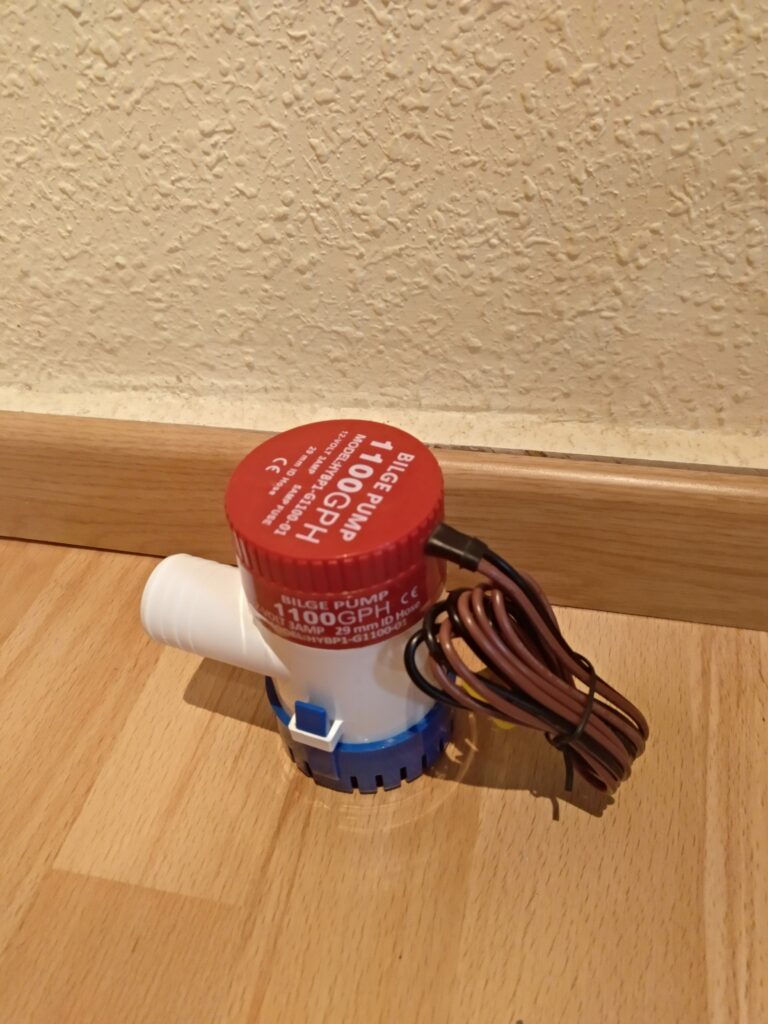
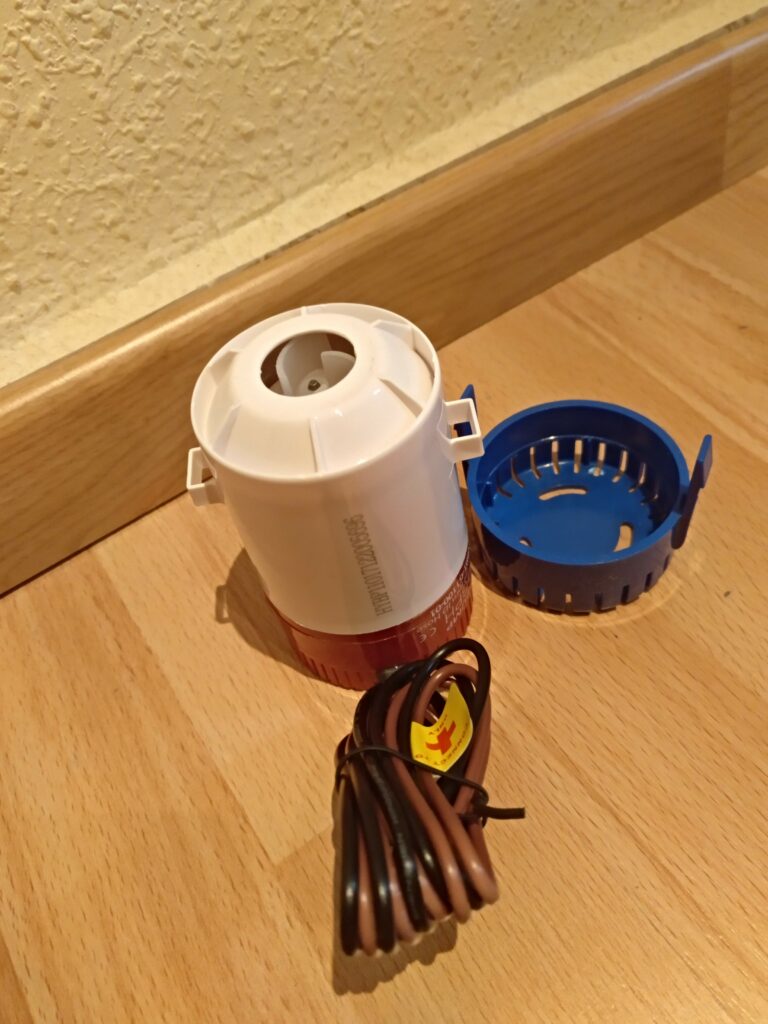
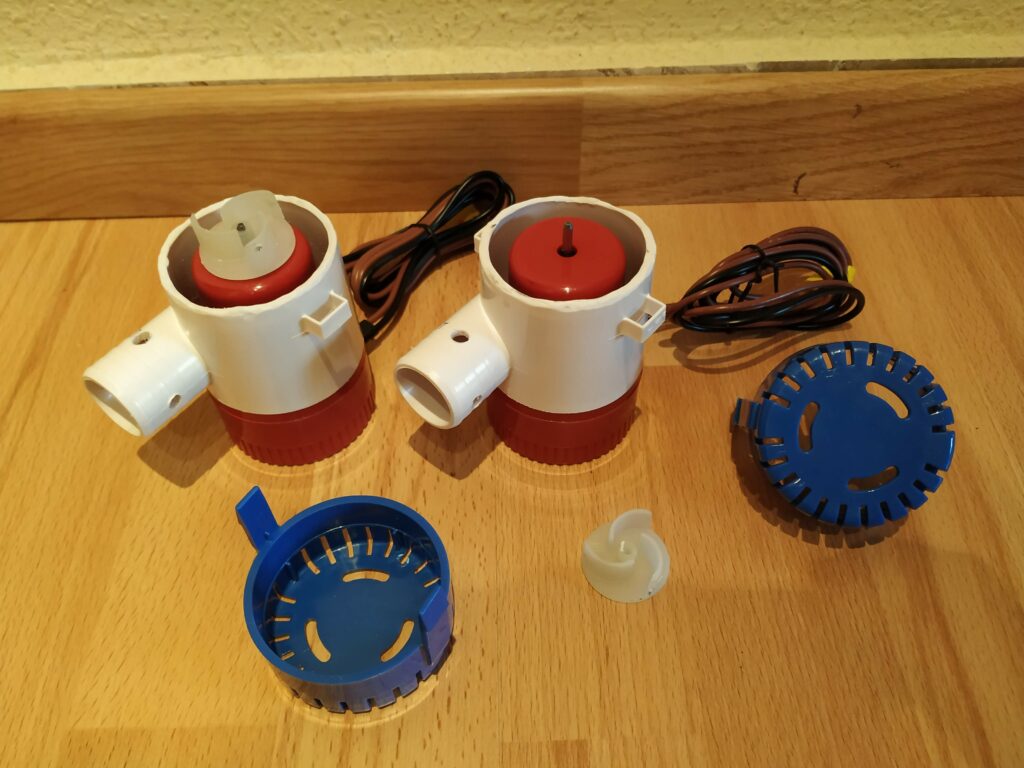
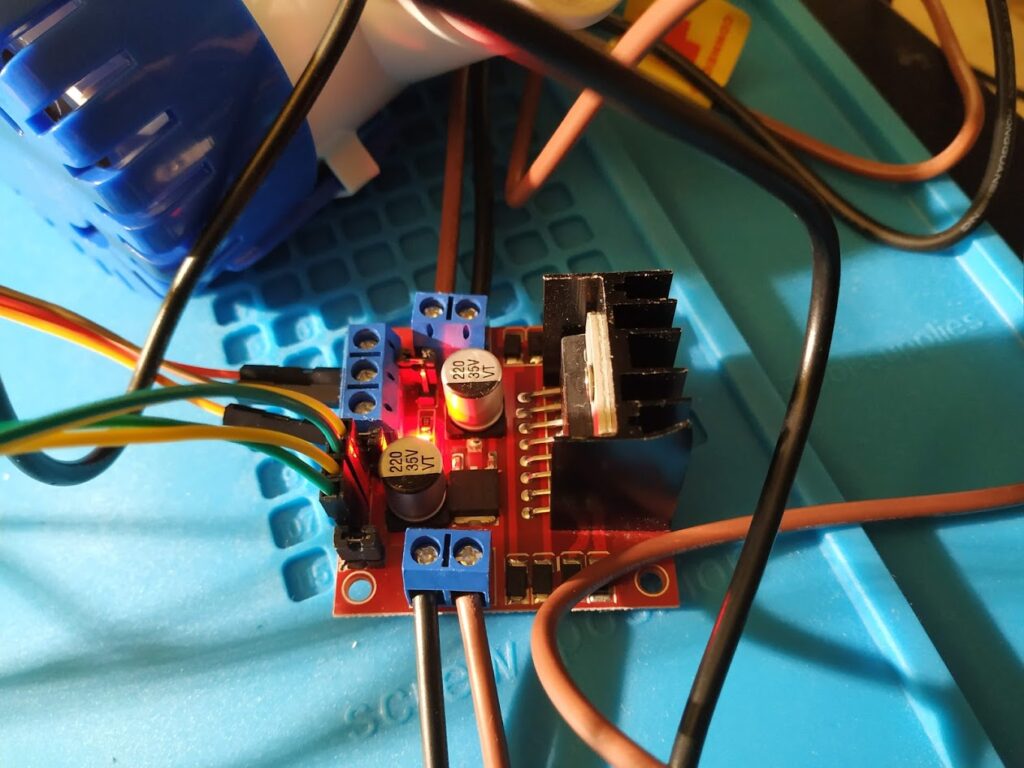
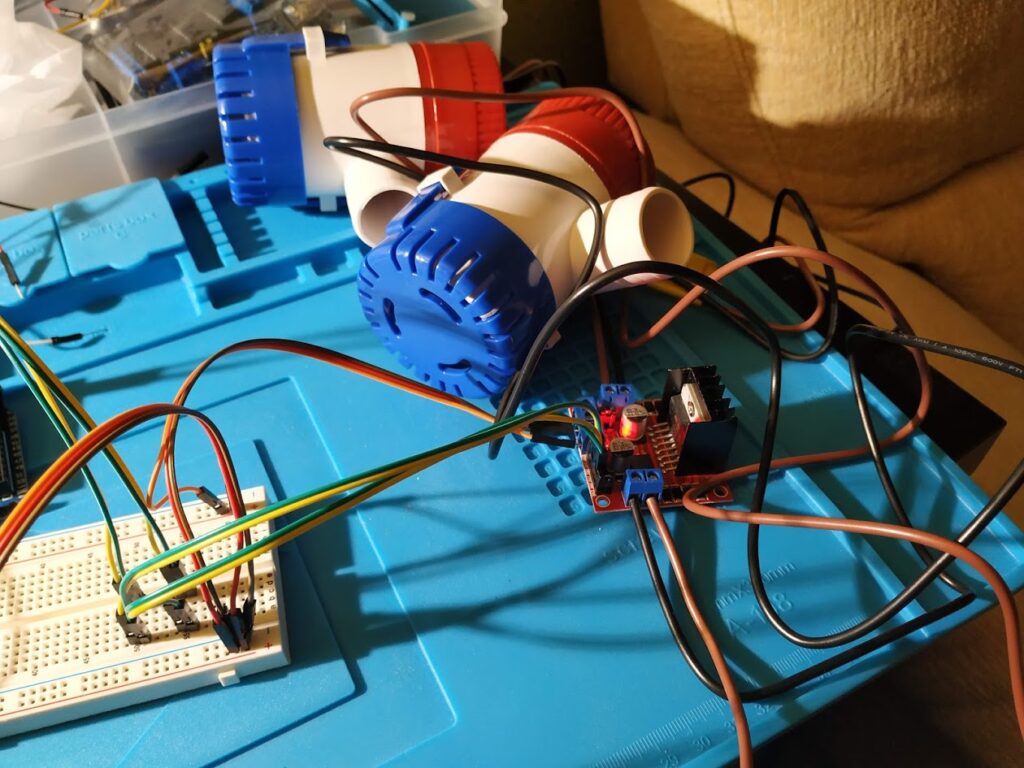
The engines I am using are Bilge Pump 1100 GPH for fish tanks which I removed the cover to uncover the motor shaft:
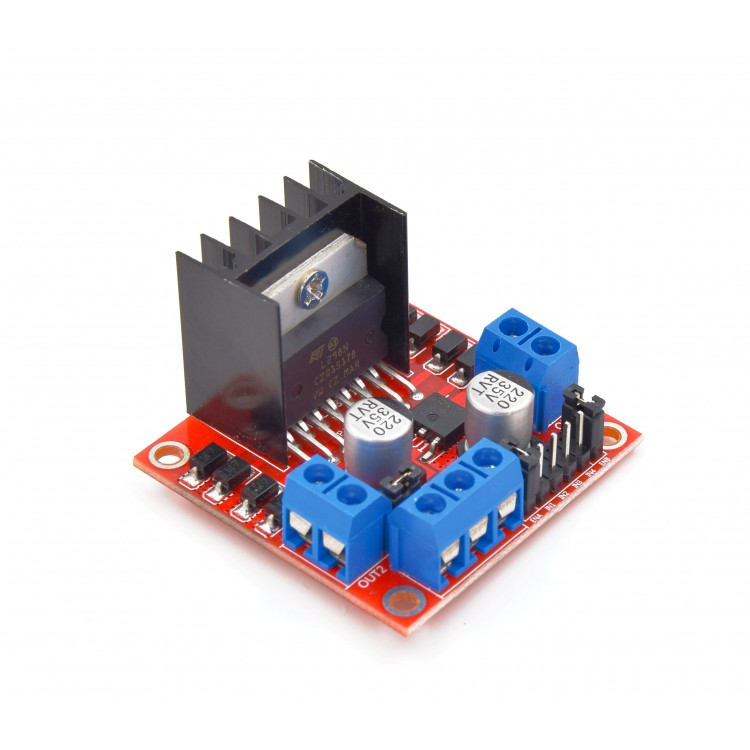
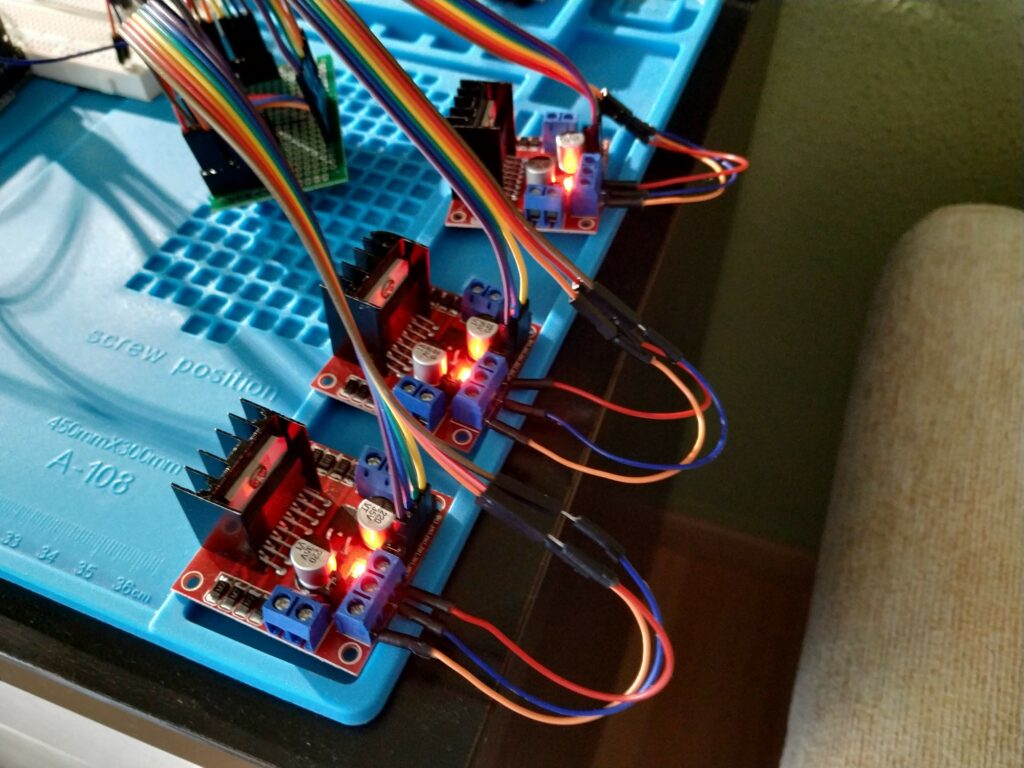
To make motors work, I got 3 x L298N Dual Bridge controllers, each of which can handle two motors:
L298N Dual Bridge Engine Controller
Once the controller was connected, it worked like a charm:
L298N Dual Bridge Engine Controllers in actionEngines Bus DriverL298N Dual Bridge Engine Controller workingL298N Dual Bridge Engine Controller with Arduino
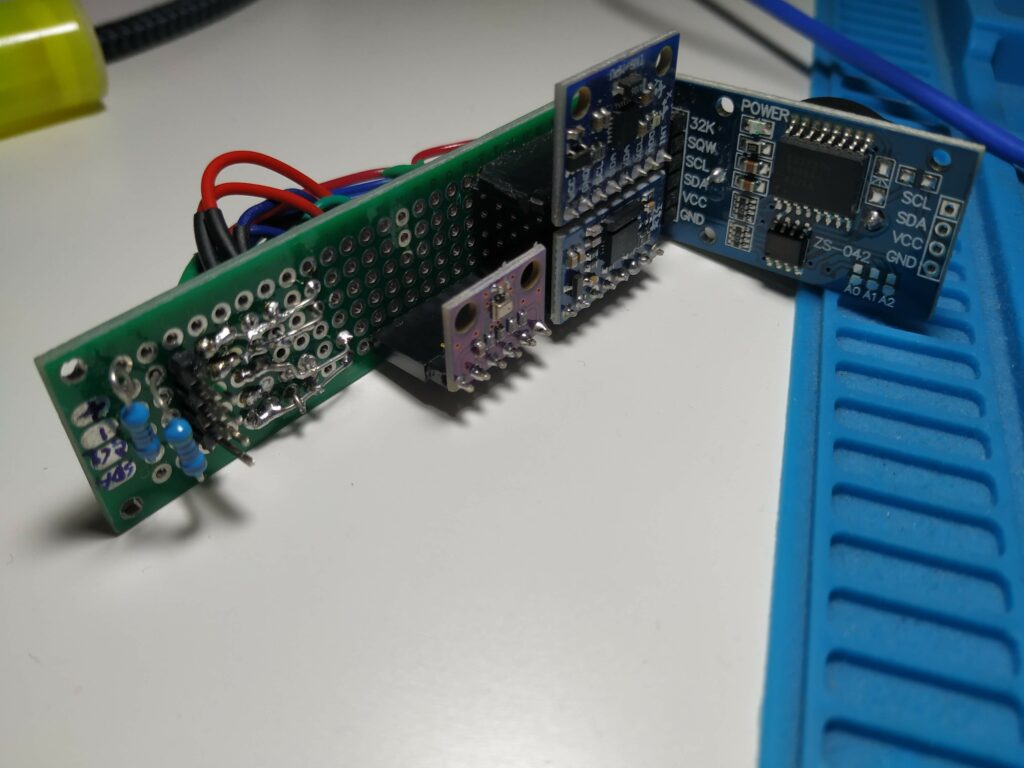
Sensors
Alioli ROV also has several I2C sensors:
Two temperature sensors (DS18B20 Temperature Sensor: one inside the dry chamber and another in touch with water)
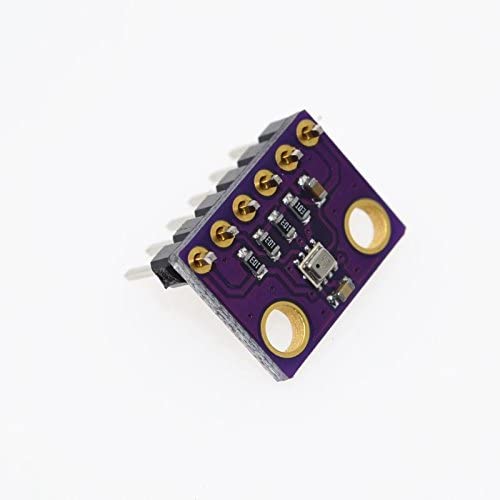
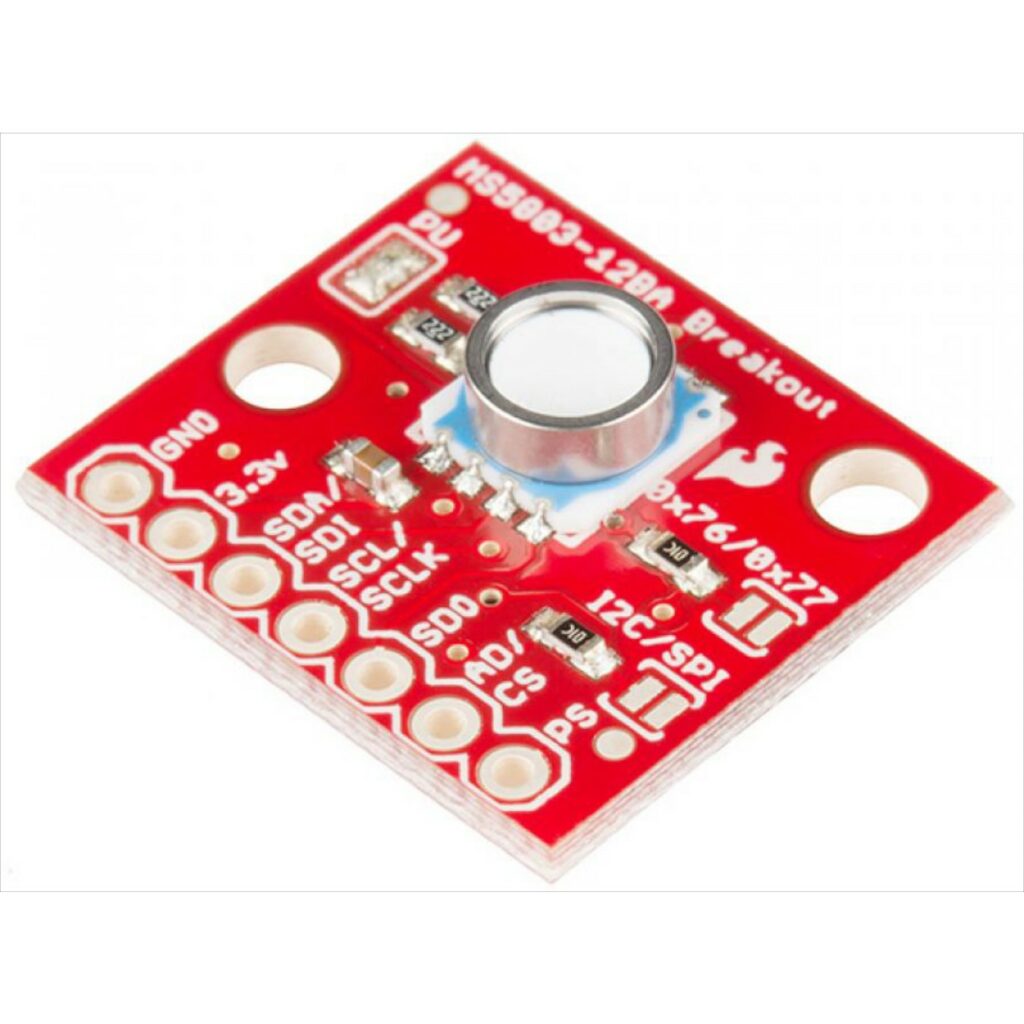
Two pressure sensors (GY-BMP280 pressure sensor, which will work inside the dry chamber to make sure we have control of the pressure inside the chamber and an MS5803 14BA, which can manage until 14 atmospheres and it will be in touch with water)
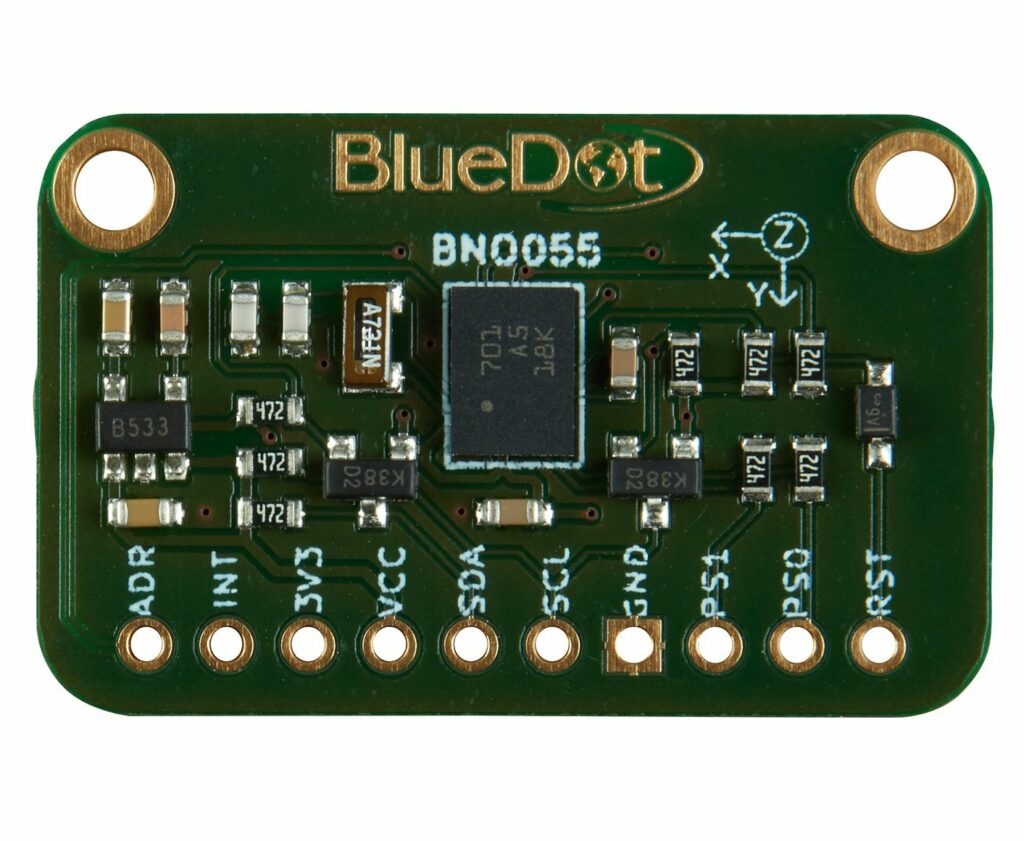
Gyroscope (BlueDot BNO055 9 Axis IMU). I decided to go with this one because firstly, Arduino’s one doesn’t have a magnetometer, so you wouldn’t get information about positions, and this one includes an IMU with a Fusion sensor algorithm from Bosch Sensortec which make several calculi for me, freeing Arduino’s CPU from this computation and errors.
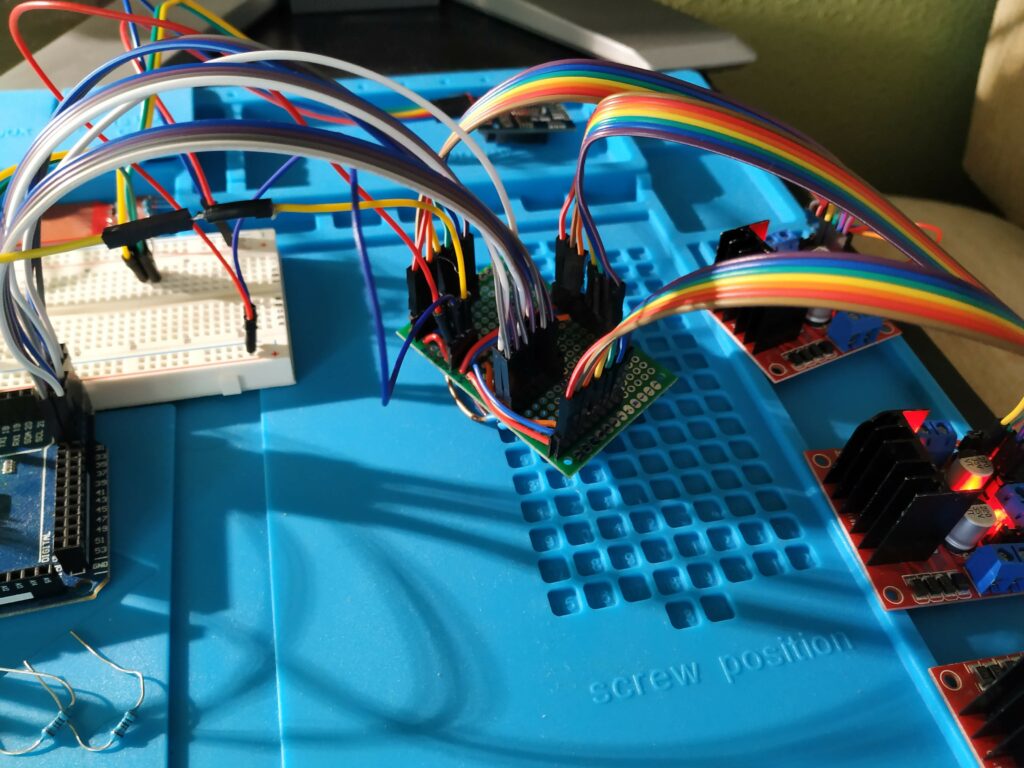
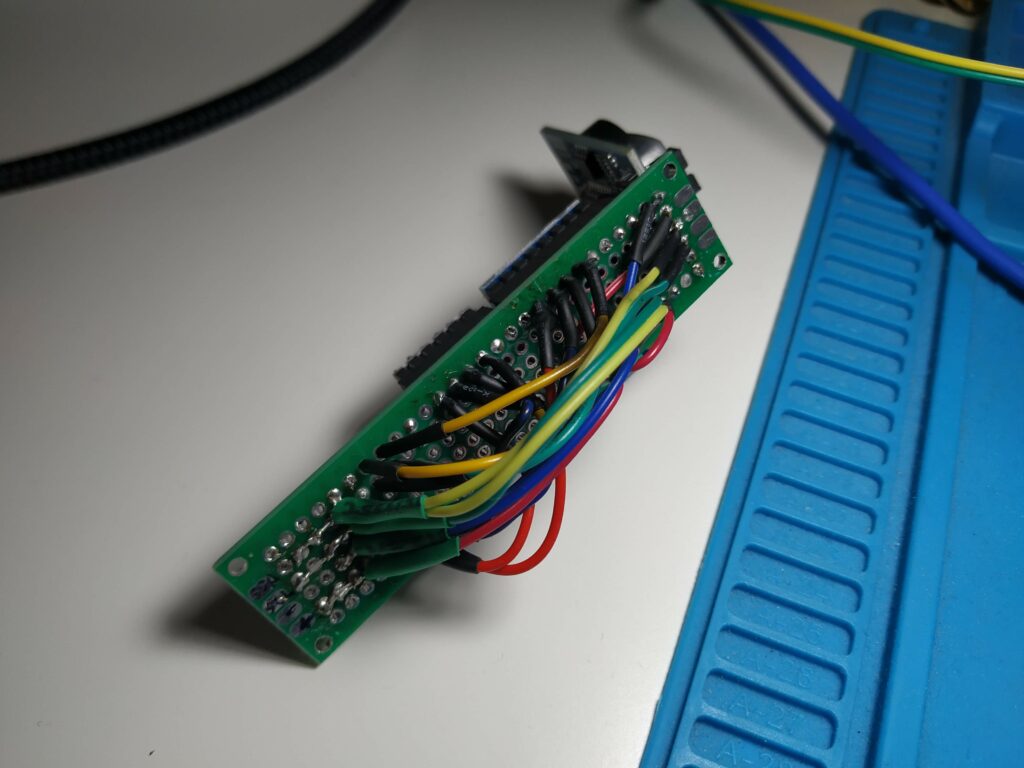
DS18B20 Temperature SensorGY-BMP280 Pressure SensorMS5803-14BA Pressure SensorBlueDot BNO055 Gyroscope SensorI2C Bus Driver TopI2C Bus Driver Bottom
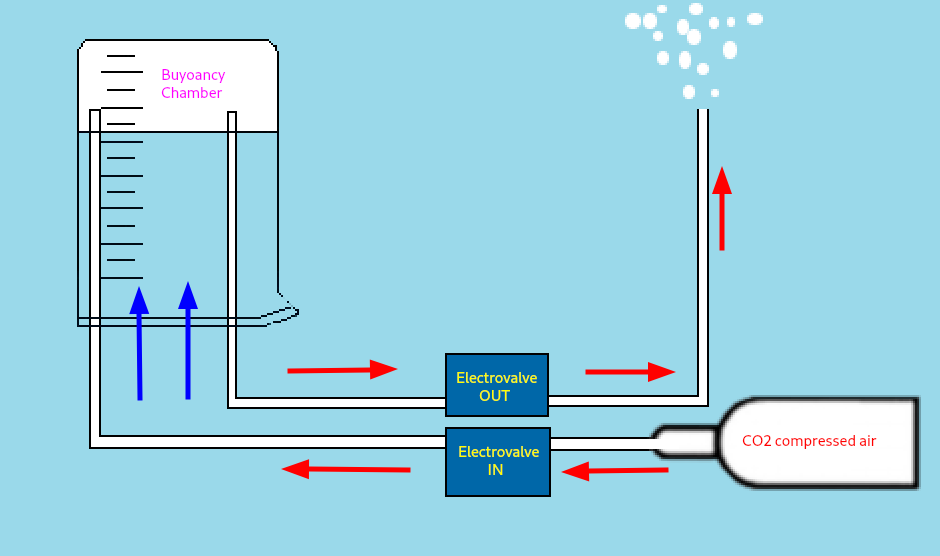
Buoyancy
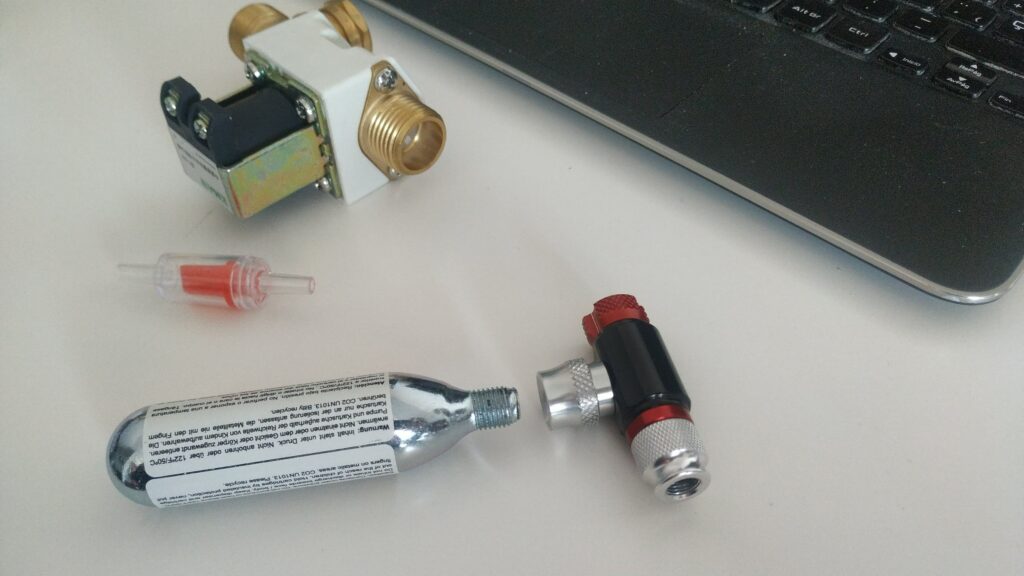
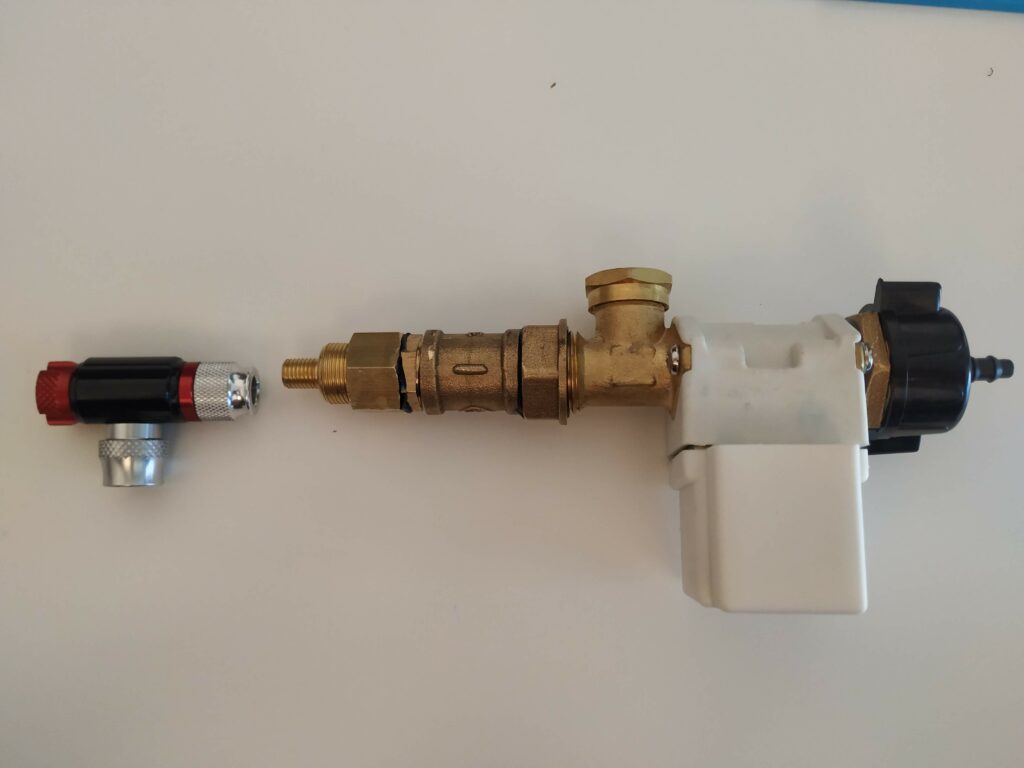
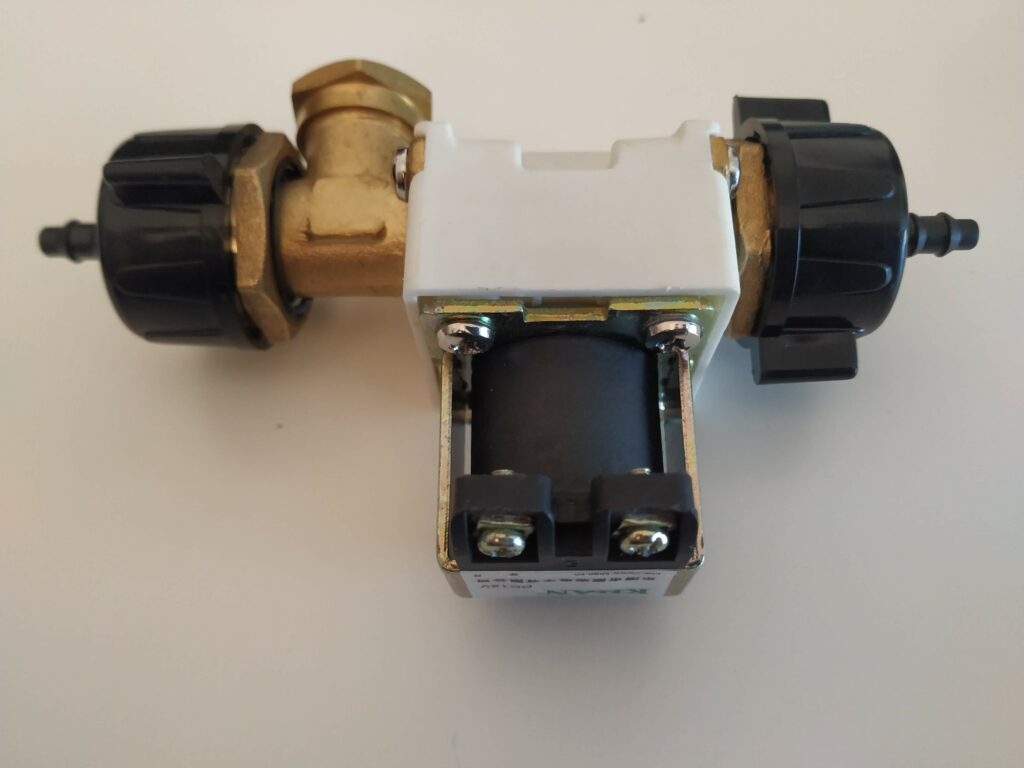
In my last designs, I decided to add a buoyancy control system, so this will be done with two relays that will control the flow of air in-out a buoyancy chamber. Pressurized air will come from a CO2 bottle (the one used to fill the wheels of bikes), and the bottle will be connected to an electro valve that will let the air go out from the pressurized circuit to the buoyancy chamber. The buoyancy chamber will open to the water so it can flow in and out without control. To control the system, it will use a second electro valve to let the air go out pushed by water pressure. All the pipes in contact with water will have a non-returning valve.
Schema for Buoyancy System
Buoyancy System materialsElectrovalve INElectrovalve OUT
Lights
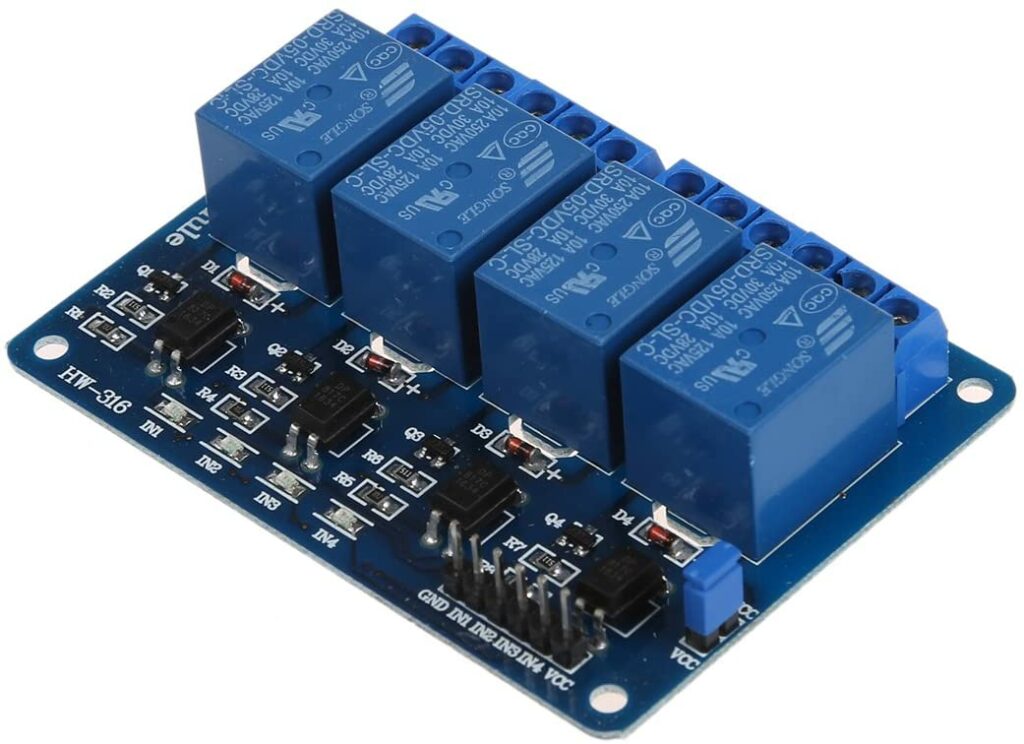
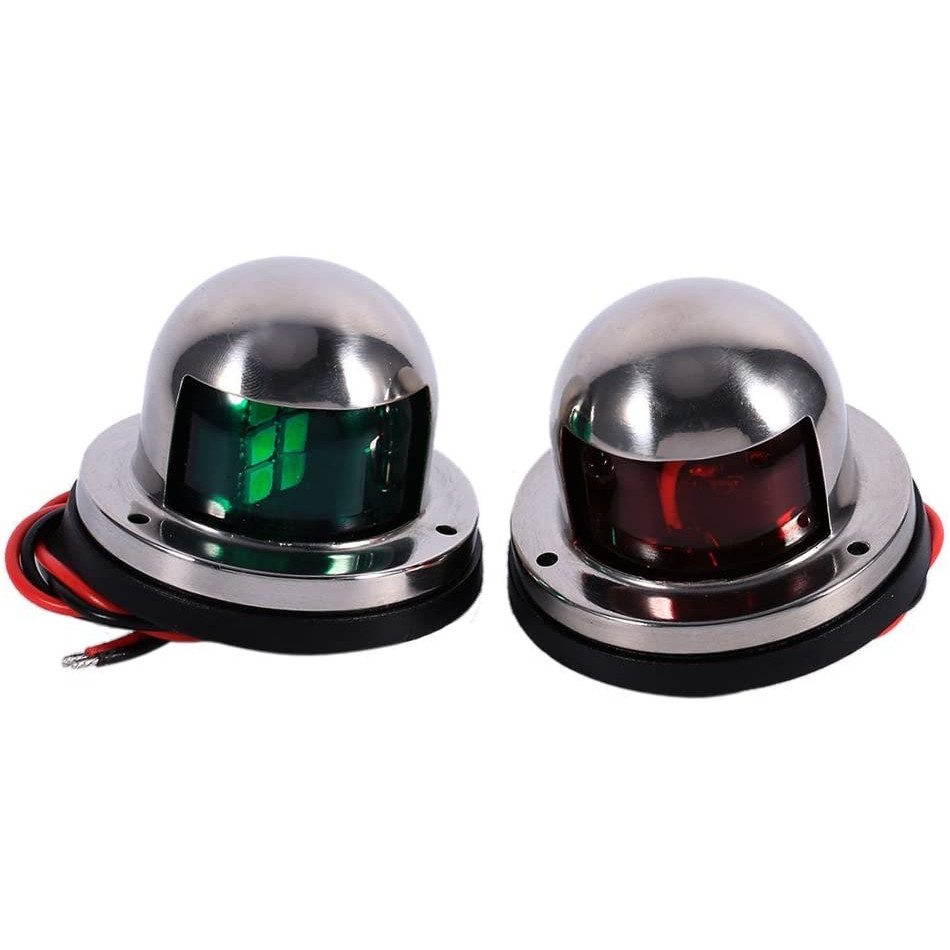
How could I say this is an ROV if it wouldn’t have lights? So I got some isolated led lights for boats and connected them to the relay system.
Relays 4 in 1ROV Lights
Communications
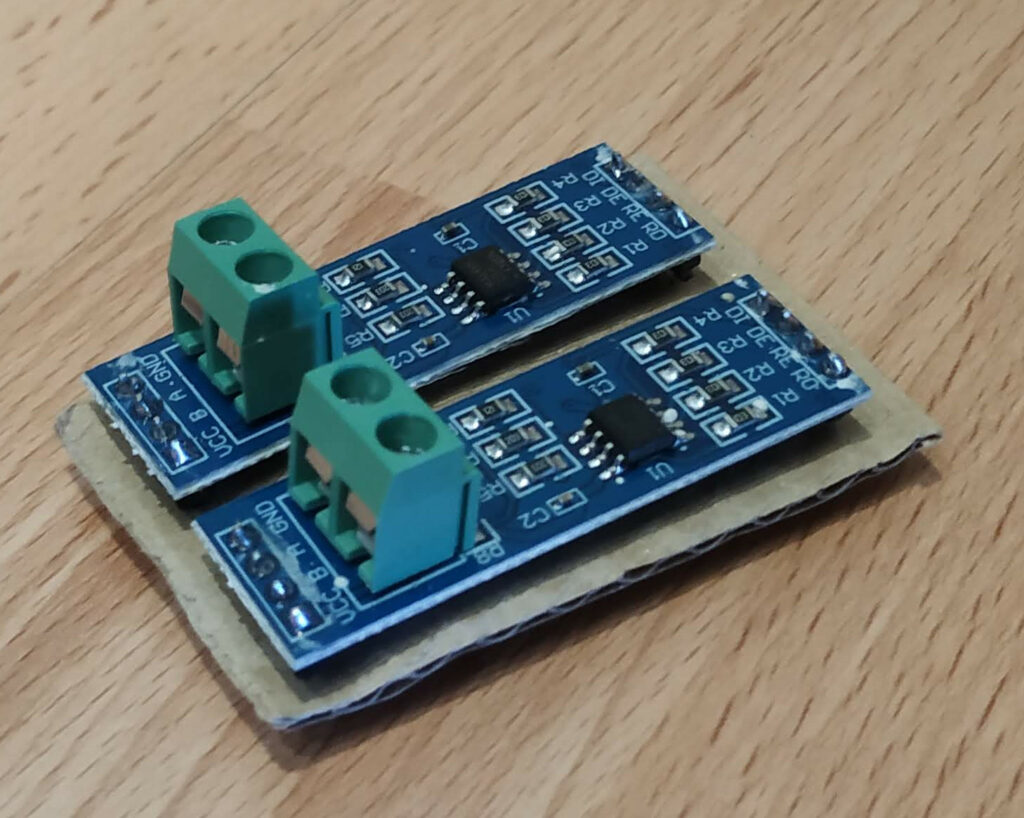
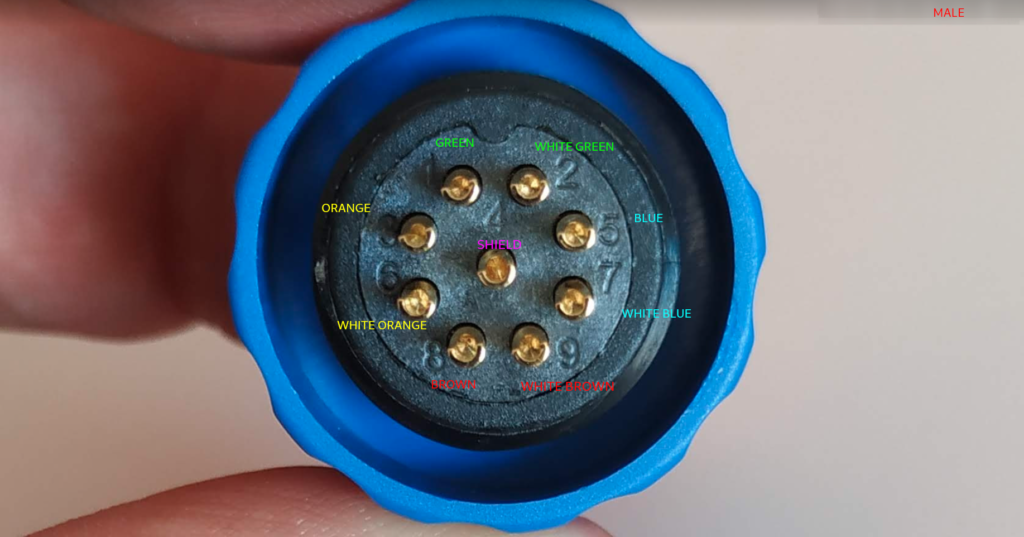
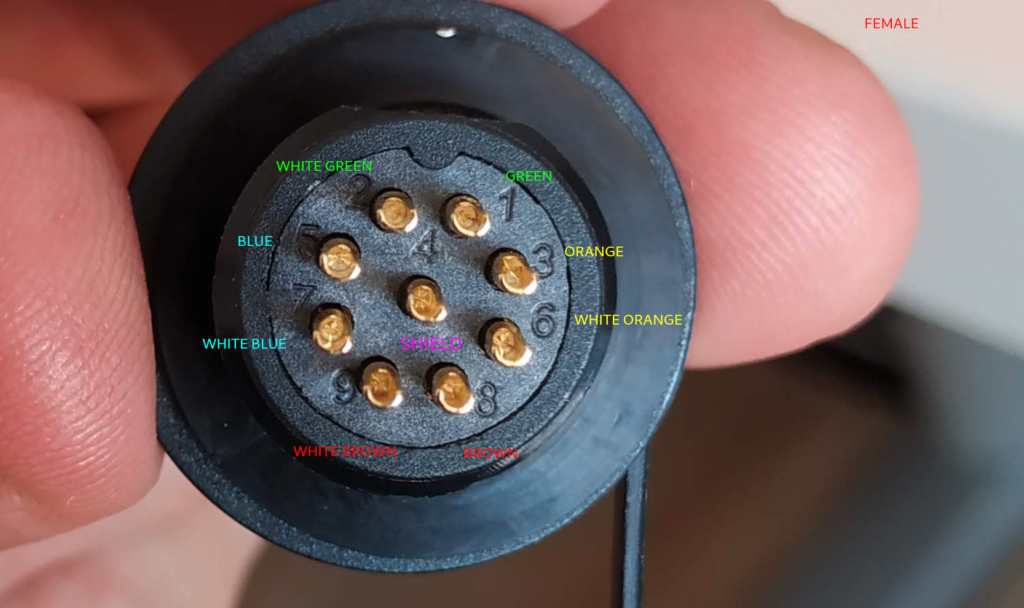
The communication with the surface will happen with an RS485 bus. I located a network cable cat8 (which has shields in pairs so I can use four buses).
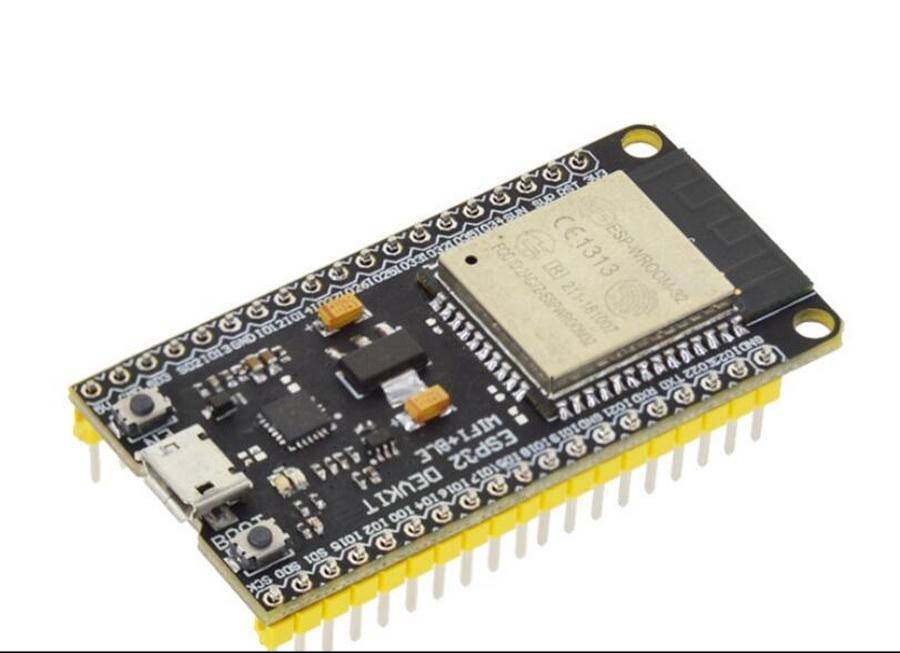
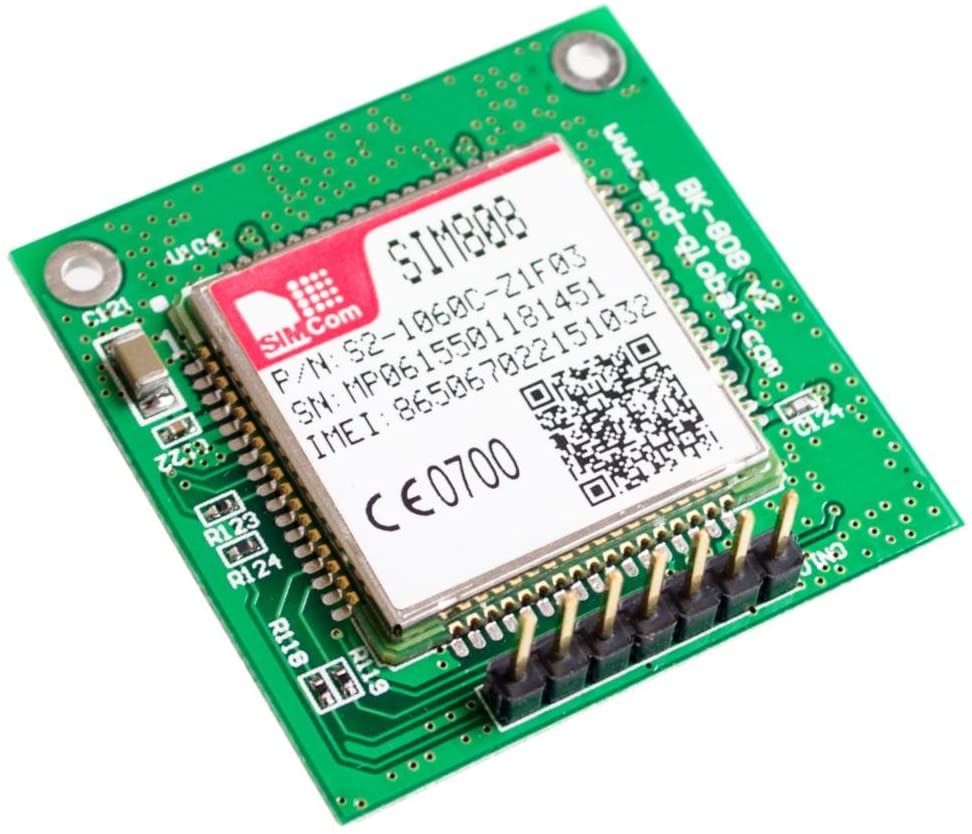
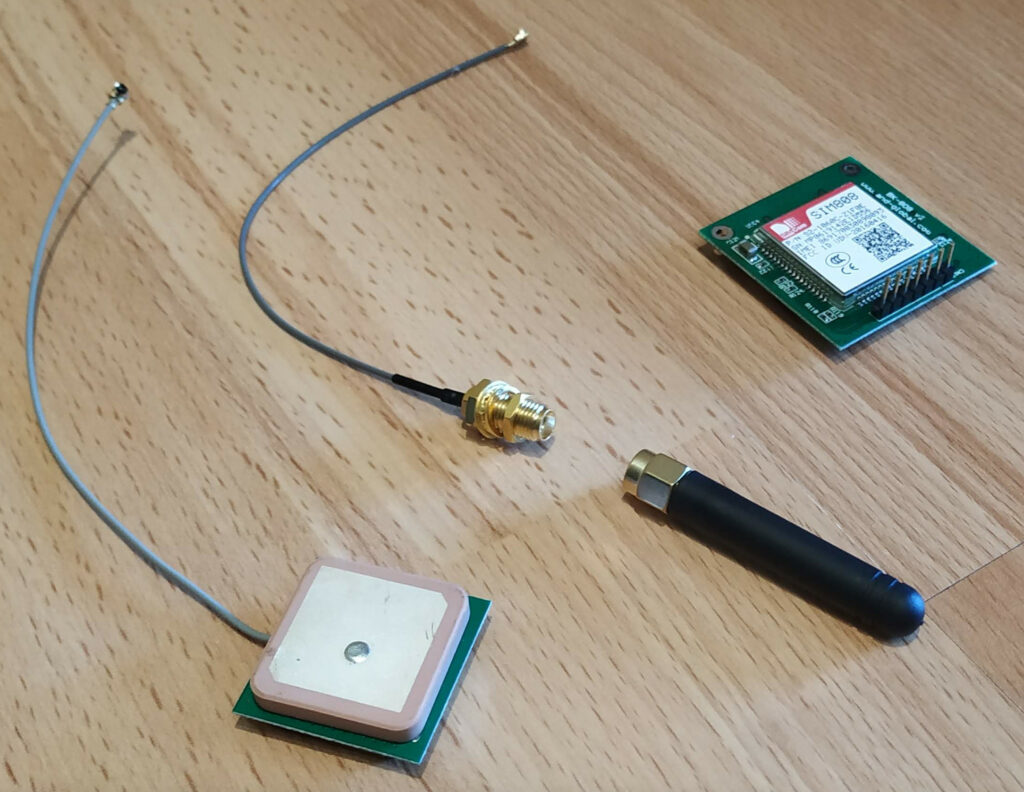
The communication with the pilot will happen using a Wireless connection (2.4GHz). On the surface, it will be an ESP32 Module with Wifi support to transfer commands and some basic telemetry information. I also considered using MicroPython to get water quality for analytical information (waves, temperature, oscillations, pressure, wind, salinity, O2, Ozone, visibility, and others). It will also be possible to communicate using GPRS, but since Wifi seems to be enough, I will use only the GPS to position the earth’s surface equipment. The board I am using is a SIM808 which supports GSM, GRPS, GPS, and Bluetooth.
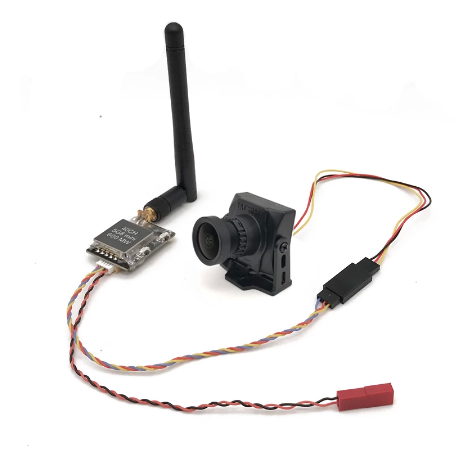
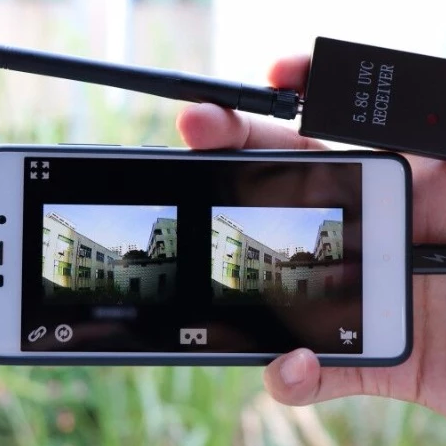
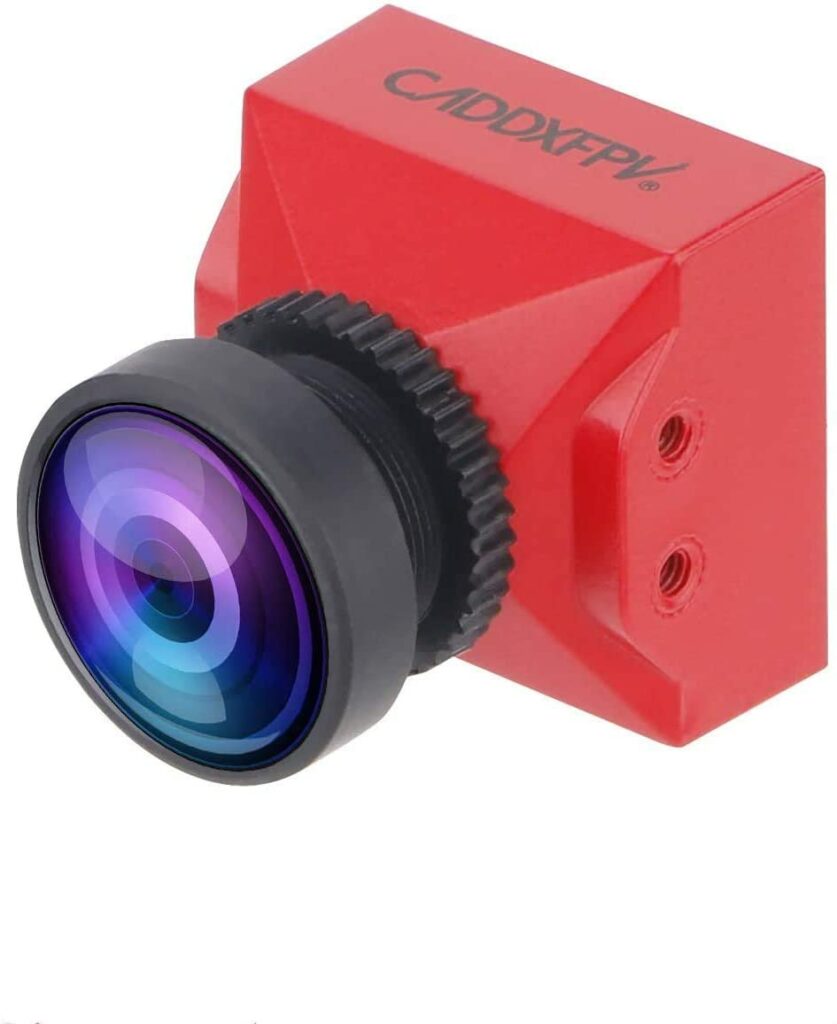
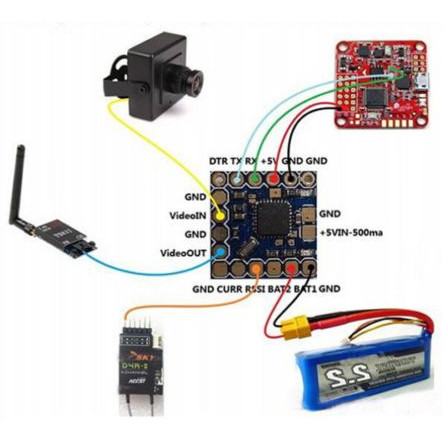
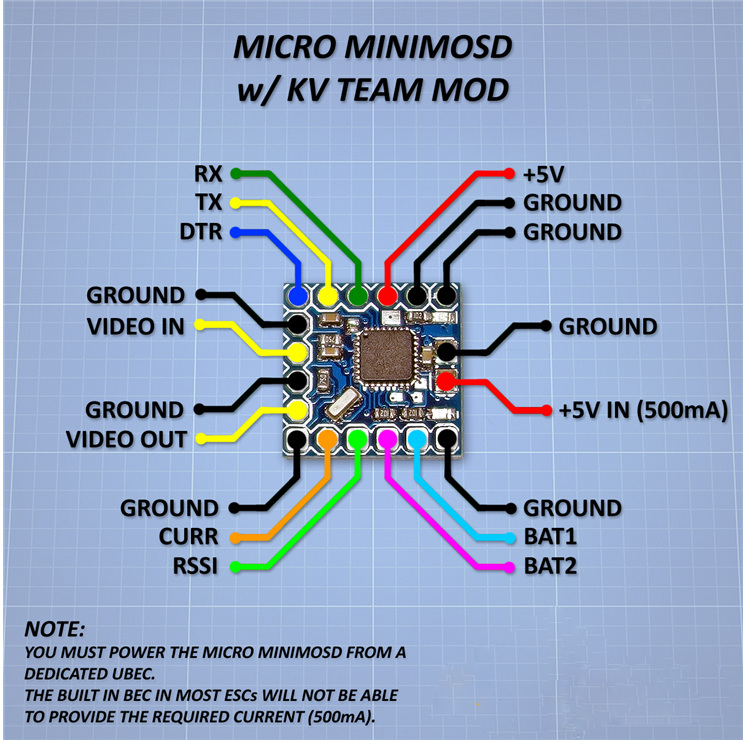
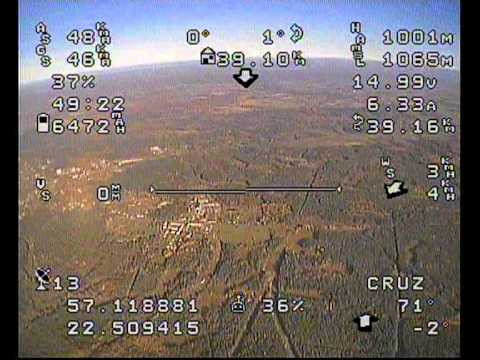
The ROV also has a video link that will be sent using Skydroid hardware.
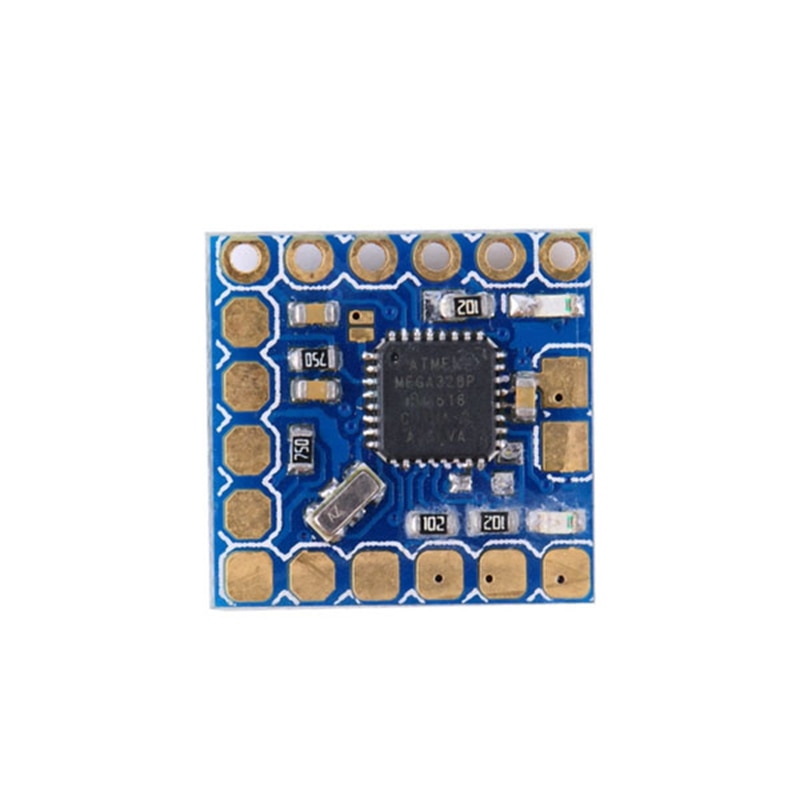
I also got a drone camera and Skydroid, they work perfectly for this purpose, and the image is in real-time, preventing Arduino from working with images. To add telemetry, I also got a Micro Minim OSD board so that the ROV will send the camera image (already with telemetry) through a ca. Thennd then, and from there, the video will be forwarded at 5.8 GHz to the pilot.
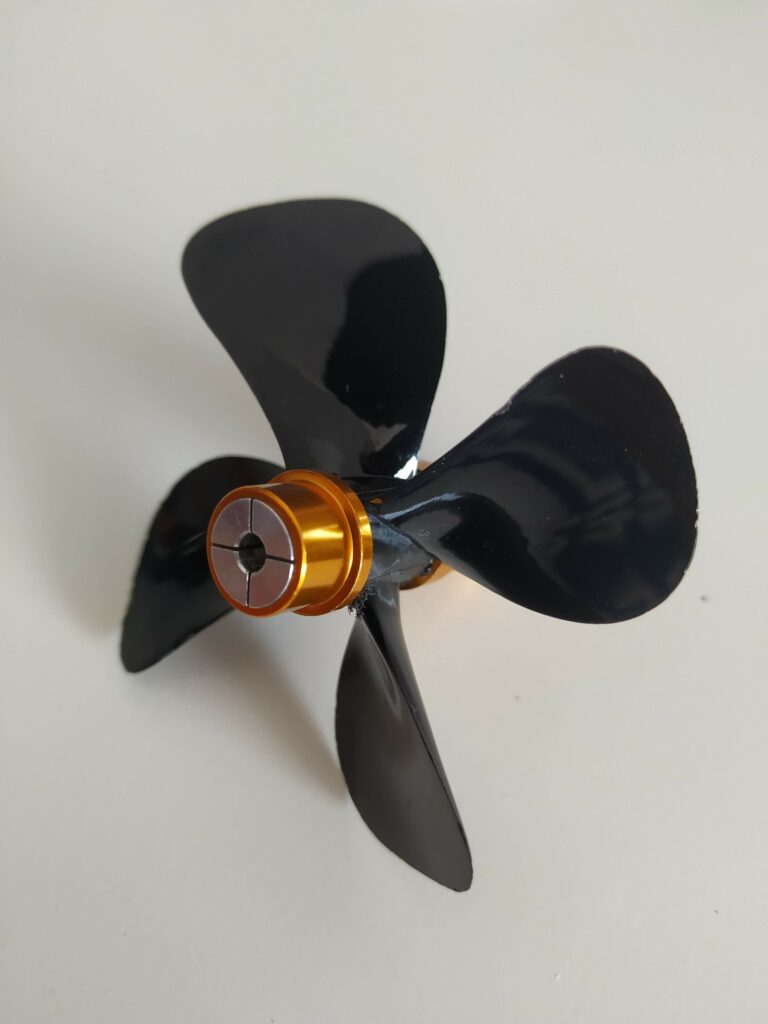
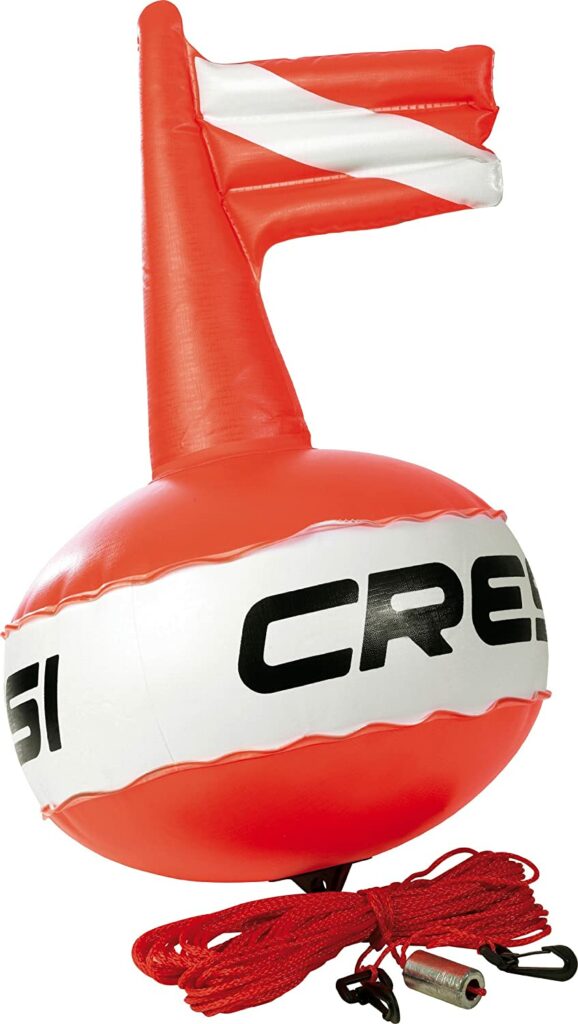
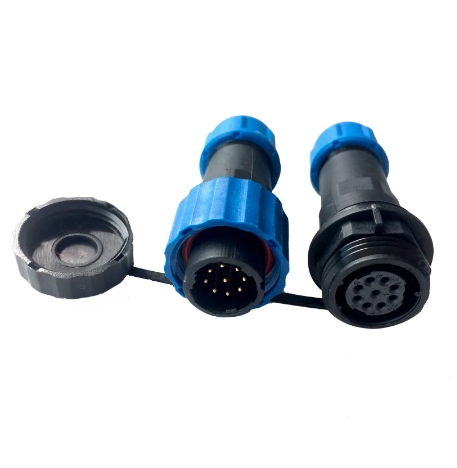
PropellerWindowBuoyDry connector for backbone busDry connector MaleDry connector Female
Next post
Those details are the hardware and ideas that keep moving this project forward. In the next post, I will publish all the details about how the hardware interconnects with each other and the boards I have built, the “Alioli ROV Boards“.
Conectar un motor paso a paso (Stepper) a un microcontrolador usando MicroPython abre la puerta a infinidad de proyectos de robótica, CNC, impresoras 3D o automatización. En este artículo te cuento los pasos que he seguido para hacer funcionar un NEMA17 con un ESP32 y un driver A4988, acompañado del diseño de mi propia placa […]
In my last post, “Underwater Alioli ROV“, I shared all the information I got from the Internet to build my Underwater ROV. In this post, I will explain how I made the frame. The main thing the ROV needs to become real is a frame, something to rest on. After checking several designs from different […]